Embracing a plant‑forward and flexitarian lifestyle means filling your plate with vibrant vegetables, hearty legumes, and flavorful herbs while still enjoying occasional animal‑based proteins. The secret to consistently delicious meals is growing many of these ingredients yourself. When you harvest fresh, you control quality, reduce waste, and deepen your connection to the food you eat. Below is a data‑driven, step‑by‑step guide to cultivating the most versatile plants for a plant‑forward plate, followed by practical tips for storing and using them in everyday flexitarian recipes.
Why Plant‑Forward & Flexitarian Meals Work
Studies show that meals rich in vegetables, whole grains, and legumes can lower cardiovascular risk, improve gut health, and support sustainable food systems. A flexitarian approach—primarily plant‑based with occasional meat, dairy, or fish—captures these benefits while offering flexibility for social occasions and personal preferences. By growing your own produce, you ensure nutrient density, reduce the carbon footprint of transport, and enjoy the freshest flavors possible.
Choosing the Right Plants for Your Plate
Data from the USDA’s National Nutrient Database highlights a few star ingredients that appear most frequently in successful plant‑forward dishes:
- Leafy greens (spinach, kale, arugula) – high in iron, calcium, and antioxidants.
- Legumes (green beans, peas, chickpeas) – excellent protein sources and fiber.
- Root vegetables (carrots, beets, radishes) – add natural sweetness and texture.
- Herbs (basil, cilantro, mint) – boost flavor without extra salt.
Focusing on these categories gives you a versatile pantry that can be mixed, matched, and seasoned to create endless flexitarian plates.
Step‑by‑Step Guide to Growing Key Ingredients
1. Planning Your Garden Space
Actionable tip: Use a simple spreadsheet to map out planting dates, spacing, and sunlight requirements. For example, allocate 2‑sq‑ft per kale plant and 1‑sq‑ft per bean row. This visual aid helps you avoid overcrowding and ensures each plant receives optimal light.
2. Preparing Soil
Actionable tip: Conduct a quick soil test (available at most garden centers) to check pH. Aim for a range of 6.0‑7.0 for most leafy greens and legumes. Amend heavy clay with 2‑3 inches of compost and fine sand to improve drainage. For raised beds, mix 1 part compost, 1 part peat moss, and 1 part vermiculite.
3. Sowing Seeds Indoors (for early start)
Actionable tip: Start kale and basil seeds 4‑6 weeks before the last frost in seed trays. Use a seed‑starting mix, keep the medium moist (not soggy), and provide 12‑14 hours of light using a LED grow lamp. Transplant seedlings when they have 2‑3 true leaves and the outdoor temperature stays above 50°F (10°C).
4. Direct Sowing Outdoors
Actionable tip: Plant peas and beans directly after the soil warms to 45‑55°F (7‑13°C). Sow peas 1‑inch deep, spaced 2 inches apart, and beans ½‑inch deep, spaced 4‑6 inches apart. Use a row cover to protect seedlings from late frosts and to boost germination rates by up to 30%.
5. Watering Wisely
Actionable tip: Install a drip‑irrigation system with a timer set to water early in the morning. Aim for 1‑1.5 inches of water per week, adjusting for rainfall. Mulch with straw or shredded leaves to retain moisture and suppress weeds—this can reduce watering needs by up to 40%.
6. Feeding and Fertilizing
Actionable tip: Apply a balanced organic fertilizer (10‑10‑10) at planting, then side‑dress with compost tea every 3‑4 weeks. Legumes fix nitrogen naturally, so they need less nitrogen fertilizer; focus on phosphorus and potassium to support pod development.
7. Pest Management
Actionable tip: Use companion planting—intercrop basil with tomatoes to deter aphids, and plant marigolds near beans to repel nematodes. For an immediate fix, spray a homemade neem oil solution (1 tsp neem oil + 1 tsp dish soap in 1 quart water) weekly. This organic approach reduces pesticide residues on your plates.
8. Harvesting at Peak Flavor
Actionable tip: Harvest kale leaves when they’re 4‑6 inches long; the plant will keep producing new leaves. Pick beans when pods are firm and about ½‑inch thick for maximum sweetness. For herbs, snip just above a leaf node to encourage bushier growth. Regular harvesting stimulates continued production and prevents bolting.
Harvesting and Storing for Maximum Flavor
Quick Cooling
Immediately after harvest, submerge greens in ice water for 2‑3 minutes. This “shock” preserves color, texture, and nutrient content. Pat dry with a salad spinner before refrigerating.
Proper Storage
Leafy greens: Wrap loosely in a paper towel, place in a perforated bag, and store in the crisper drawer (ideal temperature 32‑35°F / 0‑2°C). Expect 7‑10 days of freshness.
Beans and peas: Store in a breathable container (e.g., a mesh bag) in the fridge’s vegetable drawer. Use within 5‑7 days for peak crunch.
Herbs: Trim stems, place in a jar with water, cover loosely with a plastic bag, and keep on the countertop. Most herbs stay vibrant for 1‑2 weeks; basil benefits from a brief dip in cold water before storage.
Putting It All Together: Simple Flexitarian Recipes
Rainbow Kale & Bean Salad
- Massage 4 cups of fresh kale with 1 tbsp olive oil and a pinch of sea salt for 2‑3 minutes.
- Add 1 cup blanched green beans, ½ cup cooked chickpeas, and ¼ cup grated carrots.
- Dress with a lemon‑tahini vinaigrette (2 tbsp tahini, juice of 1 lemon, 1 tsp honey, water to thin).
- Top with toasted pumpkin seeds for crunch.
Herb‑Infused Stir‑Fry
- Heat 1 tbsp sesame oil in a wok; add sliced carrots, bell peppers, and snap peas.
- Stir‑fry for 4‑5 minutes, then toss in a handful of chopped basil and cilantro.
- Finish with a splash of low‑sodium soy sauce and a squeeze of lime.
- Serve over quinoa or brown rice for a complete flexitarian bowl.
Roasted Beet & Goat Cheese Flatbread
- Pre‑heat oven to 425°F (220°C). Toss sliced beets with 1 tbsp olive oil, salt, and pepper; roast 20‑25 minutes.
- Spread a thin layer of goat cheese on whole‑grain flatbread, top with roasted beets, arugula, and a drizzle of balsamic reduction.
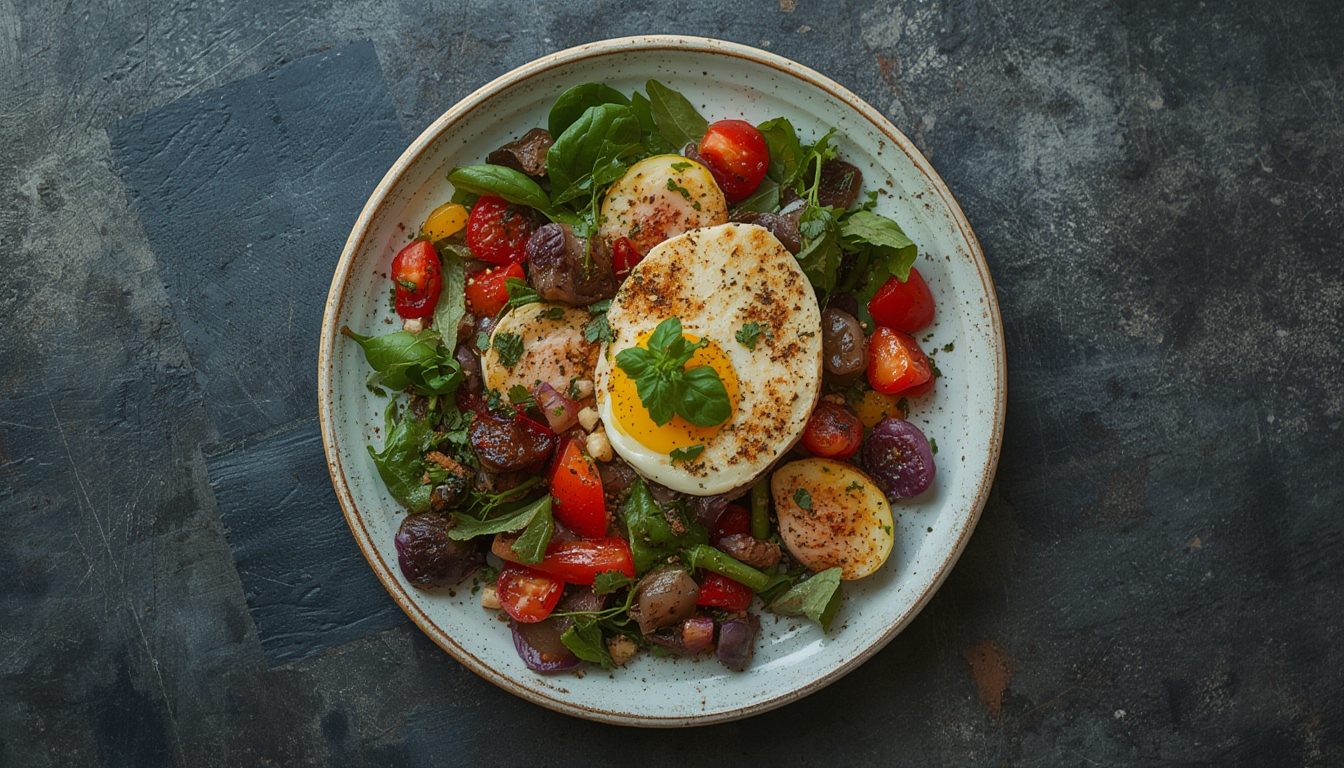
- Optional: Add a poached egg for extra protein, keeping the plate flexitarian.
By growing these core ingredients yourself, you guarantee freshness, reduce costs, and create a resilient kitchen pantry. The steps above are designed to be straightforward, data‑backed, and adaptable to any garden size—from balcony containers to backyard beds. With a little planning and consistent care, your plant‑forward plates will become the centerpiece of every meal, delivering flavor, nutrition, and sustainability in every bite.