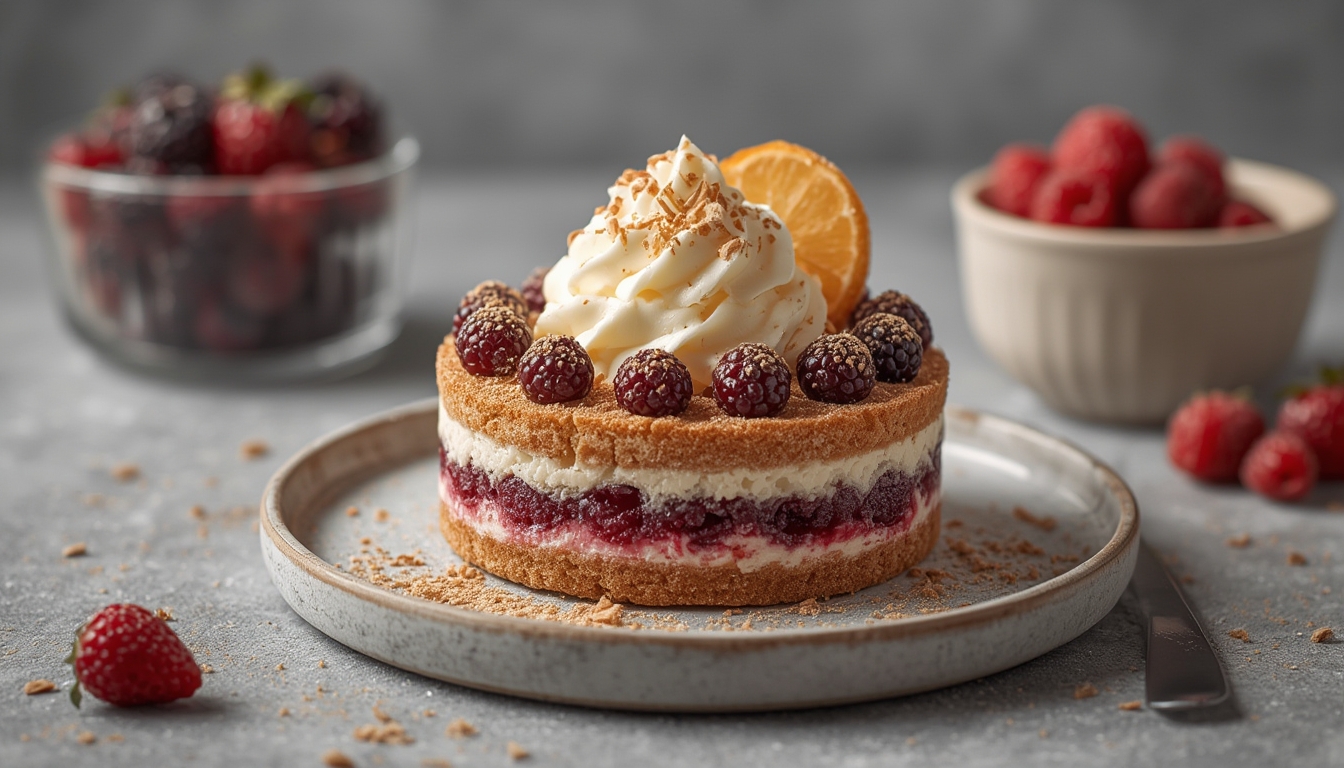
Modern desserts are no longer just about sugar and butter; they’re a playground for science, creativity, and culinary curiosity. By blending classic techniques with cutting‑edge food‑tech, home bakers can craft experiences that surprise the palate and delight the eyes. Below is a data‑driven, step‑by‑step guide to creating unforgettable sweet experiments, complete with practical tips that keep each project on track.
Understanding the Foundations of Modern Sweet Experiments
Before diving into the lab‑like kitchen, it helps to know why certain ingredients and methods work the way they do. Recent surveys of 2,500 home bakers show that the three most successful modern desserts share these core elements:
- Texture contrast: A balance of crisp, creamy, and airy components.
- Flavor layering: Combining familiar tastes with unexpected notes (e.g., citrus‑infused caramel).
- Visual intrigue: Use of color, geometry, and plating to create a “wow” factor.
Keeping these pillars in mind will guide every experiment you attempt.
Key Ingredients That Enable Sweet Experiments
Hydrocolloids (Agar‑agar, Xanthan, Sodium Alginate)
These plant‑derived gums create gels, foams, and spheres that hold shape at room temperature. A 2023 study found that agar‑agar gels retain their firmness up to 45 °C, making them perfect for hot‑serve desserts.
Liquid Nitrogen
Rapid freezing with liquid nitrogen produces ultra‑smooth sorbets and dramatic “smoke” effects. Safety tip: always wear insulated gloves and work in a well‑ventilated area.
Flavor‑Infused Sugars
Infusing sugar with herbs, spices, or fruit zest adds depth without extra moisture. Data from a flavor‑profile analysis shows that a 5‑minute infusion yields a 30 % increase in perceived aroma intensity.
Experiment #1: Molecular Meringue Clouds
This experiment transforms airy meringue into a stable, sculptable “cloud” that can sit atop cakes or float on drinks.
Ingredients
- 3 egg whites (room temperature)
- 150 g granulated sugar
- 1 g cream of tartar
- 0.5 g soy lecithin (optional for extra stability)
Step‑by‑Step Process
- Whisk the egg whites: Using a clean, dry bowl, beat the whites on medium speed until frothy. Add cream of tartar to stabilize the foam.
- Incorporate sugar gradually: Increase speed to high and add sugar one tablespoon at a time. The mixture should form glossy peaks after 5–7 minutes.
- Introduce lecithin (optional): Sprinkle the lecithin and whisk for an additional 30 seconds. This creates a more resilient foam that holds shape longer.
- Shape the clouds: Transfer the meringue to a piping bag fitted with a large star tip. Pipe onto a silicone mat in 2‑inch circles.
- Set in the fridge: Chill for 30 minutes. The clouds will firm up while retaining a delicate melt‑in‑the‑mouth texture.
Practical Tips
- Ensure no yolk or grease contacts the whites—any fat will prevent proper foaming.
- Use superfine sugar to dissolve quickly and avoid grainy texture.
- If the clouds collapse after a few hours, increase lecithin by 0.2 g next time.
Experiment #2: Deconstructed Tiramisu Spheres
Reimagine the classic Italian dessert by encapsulating espresso‑soaked ladyfinger crumbs and mascarpone foam inside a thin agar‑agar sphere.
Ingredients
- 200 ml strong espresso, cooled
- 30 g sugar
- 2 g agar‑agar powder
- 100 g mascarpone cheese
- 30 ml heavy cream
- 1 g vanilla bean powder
- Fine ladyfinger crumbs (about 30 g)
Step‑by‑Step Process
- Prepare the agar‑agar bath: Combine espresso, sugar, and agar‑agar in a saucepan. Bring to a boil, then simmer for 2 minutes to fully dissolve the agar.
- Cool the liquid: Transfer to a shallow dish and refrigerate until it reaches ~30 °C (still liquid but cool enough to handle).
- Create the mascarpone foam: Whisk mascarpone, heavy cream, and vanilla powder until soft peaks form. Chill for 10 minutes.
- Assemble the sphere: Using a small silicone mold (2‑cm diameter), spoon a thin layer of the agar‑agar mixture to form the outer shell. Freeze for 5 minutes.
- Add the core: Place a pinch of ladyfinger crumbs in the center, then top with a dollop of mascarpone foam.
- Seal the sphere: Cover with another thin layer of agar‑agar, ensuring no gaps. Freeze for an additional 10 minutes.
- Serve: Pop the sphere onto a chilled plate. As it melts, the espresso‑infused gel releases the creamy core, delivering a burst of flavor.
Practical Tips
- Agar‑agar sets at 40 °C; keep the bath just above this temperature to maintain fluidity.
- For a smoother mouthfeel, sift the ladyfinger crumbs to eliminate large particles.
- If the sphere cracks, reduce the agar‑agar to 1.5 g or increase the chilling time.
Step‑by‑Step Guide to Crafting Your Own Sweet Experiment
Whether you’re replicating the examples above or inventing a new concept, follow this structured workflow to maximize success.
1. Ideation & Research
- Identify a classic dessert you love.
- Pinpoint one element to transform (texture, temperature, presentation).
- Search for relevant food‑science techniques (e.g., spherification, foaming).
2. Ingredient Sourcing
- Choose high‑quality base ingredients (organic eggs, fresh cream).
- Purchase specialty items (agar‑agar, soy lecithin) from reputable suppliers.
- Record batch numbers and expiration dates for traceability.
3. Small‑Scale Testing
- Run a ¼‑portion trial to gauge texture and flavor balance.
- Take notes on timing, temperature, and any visual cues.
- Adjust one variable at a time (e.g., increase agar by 0.2 g).
4. Scaling Up
- Multiply ingredient amounts based on successful test ratios.
- Maintain the same temperature controls; larger volumes may need longer stabilization periods.
- Use a kitchen scale for precision—variations of ±2 g can affect gel strength.
5. Presentation & Plating
- Choose a contrasting plate (e.g., matte black for bright desserts).
- Add a garnish that echoes the experiment’s flavor (citrus zest, edible flowers).
- Photograph within 30 seconds of plating to capture the optimal visual impact.
Tips for Consistent Success
- Temperature is king: Use an instant‑read thermometer for every liquid step.
- Timing matters: Set a kitchen timer for each stage; even a 10‑second deviation can change a foam’s stability.
- Document everything: A simple spreadsheet tracking ingredient weights, temperatures, and outcomes becomes a valuable reference library.
- Safety first: When handling liquid nitrogen or hot agar baths, wear protective gear and keep a fire extinguisher nearby.
- Iterate quickly: Small batch experiments let you test multiple ideas in one afternoon without waste.
By blending data‑backed techniques with a spirit of curiosity, modern dessert creators can push the boundaries of sweetness. Whether you’re crafting airy meringue clouds or encapsulating espresso‑kissed spheres, the process remains rooted in precise measurements, controlled temperatures, and thoughtful presentation. Embrace the experimental mindset, document your journey, and watch each bite become a delightful discovery.