Understanding Aesthetic Food & Styling
In today’s visual‑driven culinary world, the way a dish looks can be just as important as how it tastes. Aesthetic food styling blends art, design, and gastronomy to create plates that are Instagram‑ready, restaurant‑worthy, and unforgettable. The goal is to transform ordinary ingredients into a visual story that engages the viewer’s senses before the first bite.
Why Visual Appeal Matters
- First impressions: Studies show that diners form an opinion about flavor within seconds of seeing a plate.
- Social sharing: A beautifully styled dish is more likely to be photographed and shared, extending your brand’s reach.
- Perceived value: Elegant presentation can elevate the perceived price of a dish.
Core Elements of Aesthetic Styling
Successful food styling hinges on four pillars: color, texture, composition, and lighting.
- Color: Use a balanced palette of contrasting and complementary hues. Bright reds, deep greens, and creamy neutrals create visual harmony.
- Texture: Mix smooth sauces with crunchy garnishes to add depth and intrigue.
- Composition: Apply the rule of thirds, negative space, and layering to guide the eye across the plate.
- Lighting: Natural light (soft, diffused) showcases true colors, while directional light can highlight textures.
Integrating Fresh, Home‑Grown Ingredients
Nothing beats the freshness of ingredients you grow yourself. Home‑grown herbs, microgreens, and edible flowers not only boost flavor but also add a unique, personal touch to your styling. Below is a step‑by‑step guide to cultivating microgreens—a versatile, fast‑growing plant perfect for aesthetic plating.
Step 1: Choose the Right Seeds
Microgreens thrive on a variety of seeds, but for striking visual impact, consider:
- Radish: Vivid magenta stems.
- Sunflower: Bold, sunny yellow leaves.
- Pea shoots: Fresh, bright green tips.
- Beet: Deep ruby‑red stems.
Tip: Purchase seeds labeled “microgreen” to ensure they are untreated and germination‑ready.
Step 2: Prepare Your Growing Tray
Use a shallow, food‑safe tray (about 1‑2 inches deep). Follow these steps:
- Line the tray with a single layer of damp paper towels or a biodegradable mat.
- Sprinkle seeds evenly, aiming for a dense but not overcrowded coverage.
- Cover the seeds with a thin layer of soil or additional damp paper to retain moisture.
Practical advice: Lightly press the seeds into the substrate with a clean board to improve contact and germination rates.
Step 3: Provide Optimal Light and Temperature
Microgreens need bright, indirect light and a warm environment (65‑75 °F / 18‑24 °C).
- Place the tray on a sunny windowsill or under a grow light set to 12‑14 hours per day.
- Maintain humidity by covering the tray with a clear plastic dome; remove it once seedlings emerge to prevent mold.
Quick tip: Rotate the tray every few days to ensure even light exposure and uniform growth.
Step 4: Water Wisely
Consistent moisture is key, but overwatering can drown the delicate roots.
- Use a spray bottle to mist the surface daily, keeping the substrate damp but not soggy.
- Check the bottom of the tray for excess water; if it pools, tilt the tray to drain.
Actionable advice: Feel the soil with your fingertips—if it feels dry an inch below the surface, it’s time to mist again.
Step 5: Harvest at the Right Moment
Microgreens are ready to cut when they reach 1‑2 inches tall, typically 7‑14 days after sowing, depending on the variety.
- Use clean, sharp scissors to snip just above the soil line.
- Rinse gently in cold water and pat dry with a paper towel.
Pro tip: Harvest in the morning when the leaves are most hydrated for optimal crunch and color.
Applying Home‑Grown Microgreens to Aesthetic Plates
Now that you have fresh microgreens, integrate them into your styling workflow with these practical ideas.
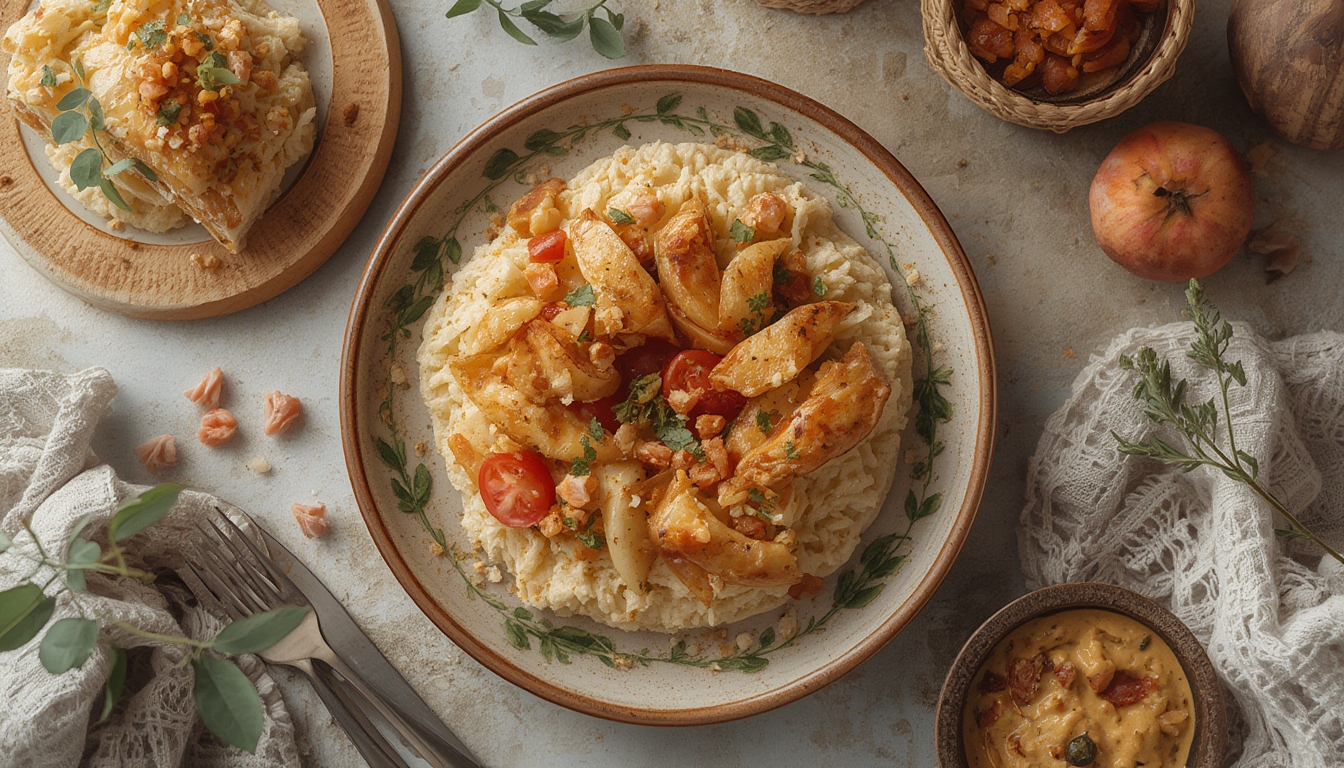
Color Pop
Scatter a handful of ruby‑red beet microgreens over a neutral‑colored risotto to create an instant visual contrast.
Texture Layering
Place crisp pea shoots atop a silky panna cotta, adding a subtle bite that balances the smoothness of the dessert.
Height and Structure
Use taller sunflower shoots as vertical accents, giving the plate a sense of movement and depth.
Seasonal Themes
Combine seasonal microgreens with matching produce—think radish microgreens with spring asparagus, or beet microgreens with autumnal roasted squash.
Final Touches for a Polished Presentation
Beyond the ingredients, the final look of a dish depends on subtle finishing techniques.
Plate Selection
Choose plates that complement the colors of your food. White porcelain highlights vibrant greens, while dark slate can make bright hues pop.
Garnish Placement
Apply the “three‑point rule”: place a primary element at one corner, a secondary element opposite, and a garnish (like microgreens) in the remaining space to create balance.
Finish with Light
Before photographing or serving, give the plate a quick mist of water to revive wilted greens, and use a soft diffuser to soften shadows.
Maintaining a Continuous Supply
To keep your aesthetic food styling fresh year‑round, set up a rotating microgreen schedule:
- Start a new tray every 3‑4 days.
- Stagger varieties so you always have at least one ready to harvest.
- Store harvested microgreens in a sealed container with a damp paper towel to preserve crispness for up to a week.
This approach ensures you never run out of vibrant, home‑grown accents for your dishes.
Conclusion
Aesthetic food styling is an art that thrives on fresh, visually striking ingredients. By growing your own microgreens, you gain control over color, texture, and seasonality, turning every plate into a curated masterpiece. Follow the simple, data‑driven steps above, experiment with placement, and watch your culinary creations become as beautiful as they are delicious.