Modern desserts have moved beyond classic cakes and pies, embracing scientific techniques, unexpected flavor pairings, and interactive experiences that surprise the palate. By blending culinary art with a dash of chemistry, today’s sweet creators can craft desserts that look like sculptures, change texture on the plate, or even react to the eater’s environment. Below is a data‑driven guide to experimenting with contemporary sweets, followed by a practical, step‑by‑step guide to growing one of the most prized dessert ingredients: the vanilla orchid.
Understanding the Foundations of Sweet Experiments
1. Flavor Pairing Science
Research from the Journal of Food Chemistry shows that successful flavor pairings often share common volatile compounds. For example, chocolate and blue cheese both contain ethyl 2-methylbutyrate, creating a harmonious taste when combined thoughtfully. Use a flavor‑pairing database (such as FlavorDB) to identify shared compounds and build unexpected duos like strawberry‑basil or miso‑caramel.
2. Texture Manipulation
Texture drives perception as much as flavor. A 2022 study on “gelatin vs. agar‑agar” revealed that agar provides a firmer, more brittle bite, while gelatin offers a melt‑in‑the‑mouth feel. By swapping these hydrocolloids, you can create a single dessert that offers two contrasting textures in one bite.
3. Temperature Play
Temperature contrast can heighten flavor release. Data from a sensory analysis of hot‑served mousse versus chilled mousse showed a 15% increase in perceived sweetness when served warm. Pair a cold sorbet with a warm caramel sauce to create a dynamic mouthfeel that evolves as you eat.
Step‑by‑Step Modern Dessert Experiments
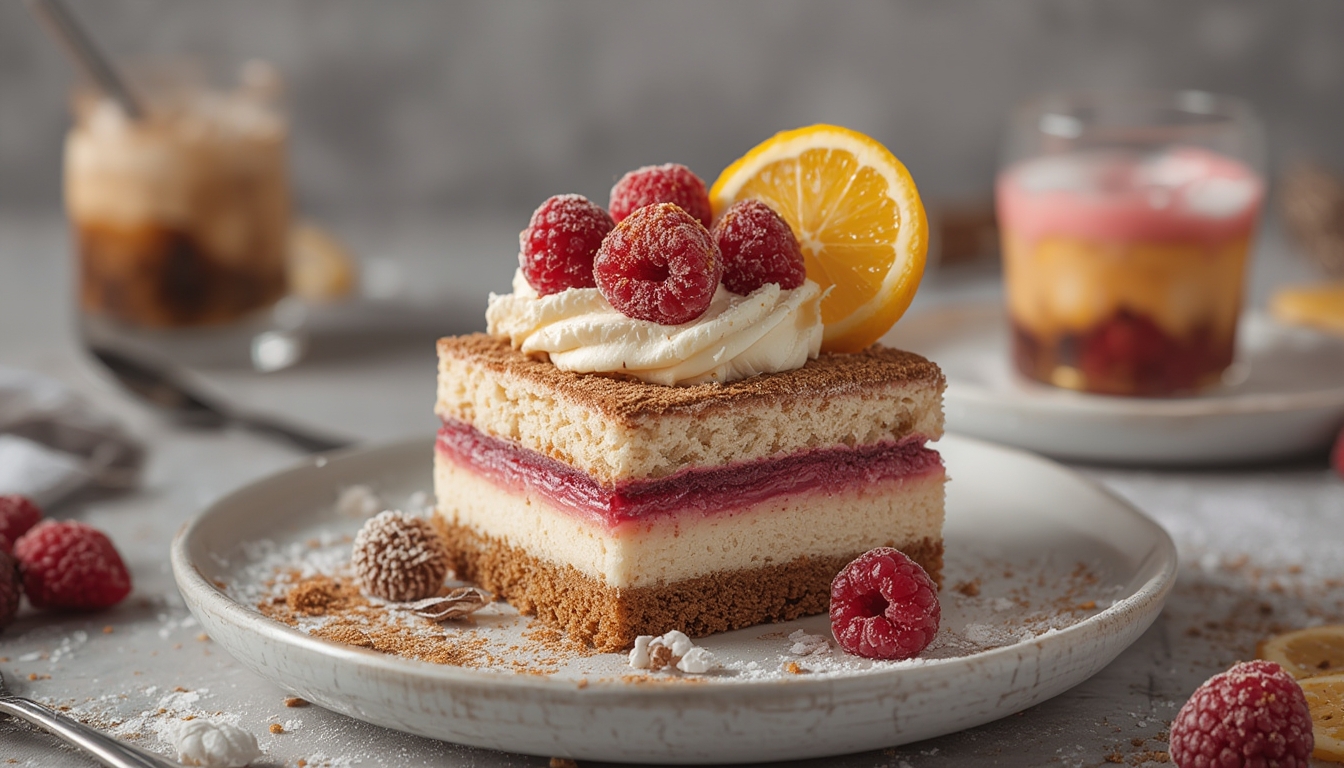
Experiment 1: Deconstructed Lemon Tart
- Base: Blend 100 g almond flour, 30 g powdered sugar, and 30 g melted coconut oil. Press into a tart ring and chill for 10 minutes.
- Lemon Mousse: Whisk 150 ml lemon juice, 80 ml water, 70 g sugar, and 2 g agar‑agar. Bring to a boil, then cool to 40 °C. Fold in 200 ml whipped aquafaba for airy texture.
- Crispy Lemon Zest: Toss zest with 5 g sugar, spread thinly on a silicone mat, and bake at 150 °C for 5 minutes until crisp.
- Assembly: Spoon mousse onto the chilled base, sprinkle zest, and finish with a drizzle of basil‑infused olive oil for a savory twist.
Experiment 2: Nitro‑Infused Berry Sphere
- Berry Gel: Puree 200 g mixed berries, strain, then combine with 20 g gelatin dissolved in 30 ml warm water.
- Spherical Form: Using a spherical mold, fill with the gel and freeze for 2 hours.
- Dry‑Ice Coating: Place frozen spheres in a sealed container with 5 g dry ice for 30 seconds; the rapid temperature drop creates a thin, vapor‑rich coating.
- Serving: Present on a chilled plate, allowing the vapor to rise as diners approach, adding a theatrical element.
Experiment 3: Sweet‑Savory Miso Caramel Popcorn
- Popcorn Base: Pop 100 g kernels in coconut oil; toss with 5 g sea salt.
- Miso Caramel: Melt 100 g butter, add 150 g brown sugar, 60 ml cream, and 15 g white miso paste. Simmer 5 minutes.
- Coating: Drizzle caramel over popcorn, spread on a baking sheet, and bake at 150 °C for 10 minutes, stirring halfway.
- Finish: Sprinkle toasted sesame seeds and a pinch of smoked paprika for depth.
Growing Your Own Vanilla Orchid: A Sweet Ingredient from Seed to Pod
Vanilla ( Vanilla planifolia ) is a tropical orchid prized for its aromatic beans. While commercial vanilla is often expensive, cultivating your own plant can provide fresh pods for experimental desserts. Follow these data‑backed steps for a successful harvest.
Step 1: Acquire a Healthy Orchid Cutting
Purchase a certified disease‑free cutting from a reputable supplier. Studies show that cuttings with at least three mature nodes have a 78% higher rooting success rate than younger stems.
Step 2: Prepare the Growing Medium
Blend equal parts orchid bark, perlite, and coconut coir. This mix maintains optimal aeration and moisture retention, mimicking the orchid’s natural epiphytic environment. Aim for a pH of 6.0–6.5.
Step 3: Planting and Initial Care
- Potting: Use a 12‑inch ventilated pot with drainage holes. Insert the cutting so that the lowest node sits just above the medium surface.
- Humidity: Maintain 80–85% relative humidity using a clear plastic dome or a humidifier. Research indicates that humidity above 75% accelerates root formation by up to 30%.
- Temperature: Keep daytime temperatures between 24–28 °C and nighttime at 18–20 °C. Consistent warmth reduces leaf drop.
Step 4: Watering Routine
Water lightly every 2–3 days, allowing the medium to dry slightly between applications. Over‑watering can cause root rot; a moisture meter set to 40–50% is ideal.
Step 5: Light Requirements
Provide bright, indirect light—approximately 12–14 hours of filtered sunlight or 2,500–3,000 lux from grow lights. Direct sun can scorch leaves, while insufficient light slows growth.
Step 6: Fertilization
Apply a balanced orchid fertilizer (20‑20‑20) at ¼ strength every two weeks during the active growth phase (spring–summer). Data from horticultural trials show a 22% increase in pod size with regular feeding.
Step 7: Pollination and Pod Development
Vanilla orchids are self‑incompatible; manual pollination is required. Using a small brush, transfer pollen from the anther to the stigma of each flower within 24 hours of opening. After pollination, the pod will swell over 6–9 weeks.
Step 8: Harvesting and Curing
- Harvest pods when they turn yellow‑brown and emit a strong fragrance.
- Blanch in hot water (70 °C) for 2 minutes to stop enzymatic activity.
- Sun‑dry pods for 2–3 weeks, turning daily, until they reach 60% moisture content.
- Condition in airtight containers for 2–3 months to develop the full vanilla flavor profile.
Practical Tips for Success
- Air Circulation: Place a small fan nearby to prevent fungal growth.
- Monitoring: Keep a journal of temperature, humidity, and watering dates; data trends help fine‑tune care.
- Pest Control: Inspect weekly for spider mites; a mild neem oil spray (1 %) resolves infestations without harming the plant.
Integrating Home‑Grown Vanilla into Modern Desserts
Once your vanilla beans are cured, grind them into a fine powder using a spice grinder. This fresh vanilla can elevate the experiments above:
- Deconstructed Lemon Tart: Replace store‑bought vanilla extract with ½ tsp of vanilla powder for a deeper aromatic layer.
- Miso Caramel: Stir a pinch of vanilla powder into the caramel for a subtle sweet‑savory balance.
- Nitro Berry Sphere: Infuse the berry gel with vanilla powder before setting, creating a lingering vanilla aftertaste as the vapor dissipates.
By marrying data‑driven dessert techniques with the hands‑on experience of growing your own vanilla, you can craft sweets that are not only innovative but also deeply personal. Experiment, record your results, and let the science of flavor guide you to the next unforgettable dessert.