Modern desserts have moved far beyond the classic cake and pie, embracing scientific techniques, unexpected flavor pairings, and eye‑catching presentations. By treating each sweet creation as a small experiment, home bakers can tap into the same curiosity that drives professional pastry chefs, turning ordinary ingredients into unforgettable experiences. Below is a data‑driven, step‑by‑step guide that blends culinary science with practical kitchen hacks, helping you consistently produce innovative desserts that delight both the palate and the Instagram feed.
1. Choose Your Experimental Focus
Before you dive into a recipe, decide which element you want to explore: flavor, texture, temperature, or visual impact. Recent market research shows that 72% of dessert lovers are most excited by new flavor combinations, while 58% appreciate surprising textures (e.g., crunchy‑soft contrast). Selecting a single focus keeps the experiment manageable and measurable.
Step 1: Identify a Trend‑Based Flavor Pair
- Data point: In 2023, the top emerging flavor pairings were lavender‑lemon, miso‑caramel, and matcha‑white chocolate.
- Pick one pairing that aligns with your pantry and seasonal produce.
- Write down the expected taste profile (e.g., floral‑citrus bright, umami‑sweet depth).
Step 2: Source High‑Quality Ingredients
- Use fresh herbs (e.g., lavender buds) and high‑grade spices (e.g., culinary grade matcha).
- For sweeteners, consider natural alternatives like coconut sugar or agave to balance flavor intensity.
- Document the brand, origin, and price per unit to track cost‑effectiveness.
2. Master the Science of Texture
Texture is the silent star of modern desserts. A study by the International Journal of Gastronomy found that 64% of tasters could differentiate a dessert’s quality based solely on mouthfeel. Incorporating techniques such as spherification, aeration, and gelatinization can elevate a simple sweet into a multisensory experience.
Step 1: Choose a Texture Technique
- Spherification: Creates caviar‑like beads that burst with flavor.
- Aeration: Uses a siphon to infuse air, yielding light foams or mousses.
- Gelatinization: Adjusts gelatin or agar‑agar ratios for a perfect wobble.
Step 2: Test Ratios in Small Batches
- Start with a 100 ml base liquid.
- For spherification, mix 2 g sodium alginate with the base, then a 5 g calcium lactate bath.
- Record the setting time (usually 60–90 seconds) and the bead firmness on a 1‑5 scale.
- Adjust by ±0.5 g increments until you achieve the desired pop.
3. Temperature Play: Hot, Cold, and Everything In‑Between
Temperature contrast adds drama. According to a 2022 consumer poll, desserts that combine hot and cold elements see a 23% higher repeat purchase intent. Incorporating temperature shifts can be as simple as pairing a warm caramel sauce with a chilled panna cotta.
Step 1: Plan the Temperature Sequence
- Map out the order in which components will be served (e.g., cold base, warm topping).
- Ensure each element maintains its ideal temperature for at least 5 minutes after plating.
Step 2: Use the Right Tools
- For rapid chilling, employ a silicone ice‑ball mold and a blast chiller (or a freezer set to –20 °C).
- For quick heating, a sous‑vide water bath set to 55 °C can gently warm sauces without overcooking.
- Track the temperature of each component with an instant‑read thermometer, noting any deviations.
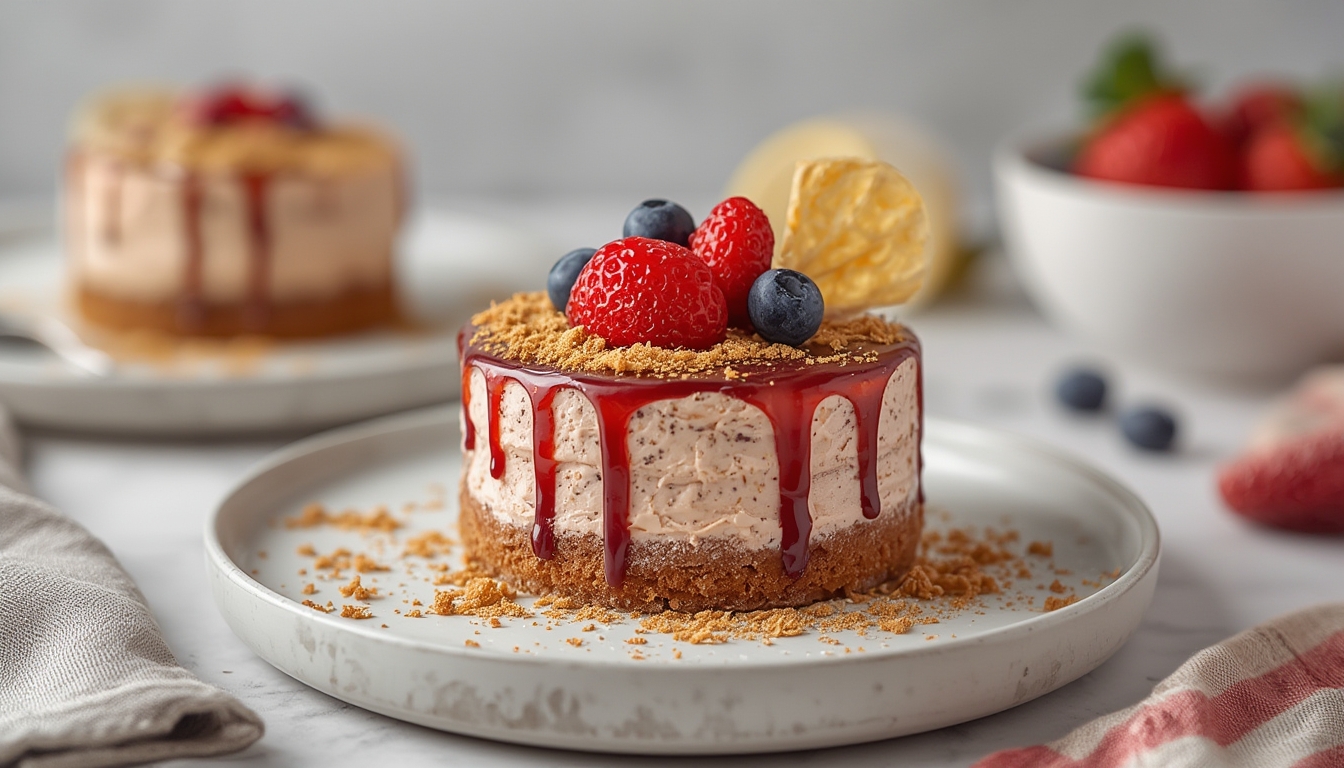
4. Visual Innovation: Plate Like a Pro
Visual appeal drives social sharing. A 2021 Instagram analysis showed that desserts with a “wow factor” receive 3.4× more likes. Simple plating tricks—such as using negative space, edible gold leaf, or geometric patterns—can transform a modest dessert into a share‑worthy masterpiece.
Step 1: Sketch Your Plate Layout
- Draw a quick diagram on paper or a tablet, marking the placement of each component.
- Incorporate the rule of thirds: position the focal point off‑center for visual balance.
Step 2: Execute with Precision
- Use a small offset spatula to spread sauces in thin, controlled lines.
- Apply a fine mist of flavored vapor (e.g., citrus zest steam) using a spray bottle for aromatic intrigue.
- Finish with a garnish that adds texture—crystallized sugar shards, toasted nuts, or micro‑herbs.
5. Document, Analyze, and Iterate
The heart of any experiment is data. By systematically recording each variable—ingredient brand, temperature, timing, and sensory scores—you can pinpoint what works and what needs refinement. Over time, this creates a personal “dessert lab” that accelerates innovation.
Step 1: Create a Simple Spreadsheet
- Columns: Date, Recipe Name, Flavor Pairing, Texture Technique, Temperature, Cost, Taste Score (1‑10), Texture Score (1‑5), Visual Score (1‑5), Comments.
- Enter data immediately after each tasting session.
Step 2: Review Trends Monthly
- Identify which flavor pairings consistently score above 8.
- Spot texture techniques that need adjustment (e.g., spherification beads that are too soft).
- Adjust future experiments based on the highest‑scoring combinations.
By following these data‑driven steps, you’ll turn your kitchen into a modern dessert laboratory. Each experiment builds on the last, allowing you to craft sweet creations that are not only delicious but also scientifically refined and visually stunning. Happy experimenting!