Embracing a plant‑forward and flexitarian lifestyle doesn’t require a complete overhaul of your kitchen; it’s about making intentional, data‑backed swaps that boost nutrition, lower environmental impact, and keep meals exciting. Below is a practical, step‑by‑step guide that walks you through building balanced plates and growing the core ingredients at home. Each step includes actionable tips so you can see results quickly, whether you’re cooking for one or feeding a family.
Understanding Plant‑Forward & Flexitarian Eating
What is Plant‑Forward?
Plant‑forward eating places vegetables, fruits, whole grains, legumes, nuts, and seeds at the center of every meal, while still allowing for modest animal‑based components. Research from the Harvard T.H. Chan School of Public Health shows that meals where at least 50 % of calories come from plant sources are linked to lower risks of heart disease and type 2 diabetes.
What is Flexitarian?
The flexitarian approach is a flexible vegetarian diet: you aim for mostly plant‑based foods but include meat, fish, or dairy on occasion. A 2022 meta‑analysis found that flexitarians consume 30 % fewer calories from saturated fat and have a 12 % lower overall mortality risk compared to regular omnivores.
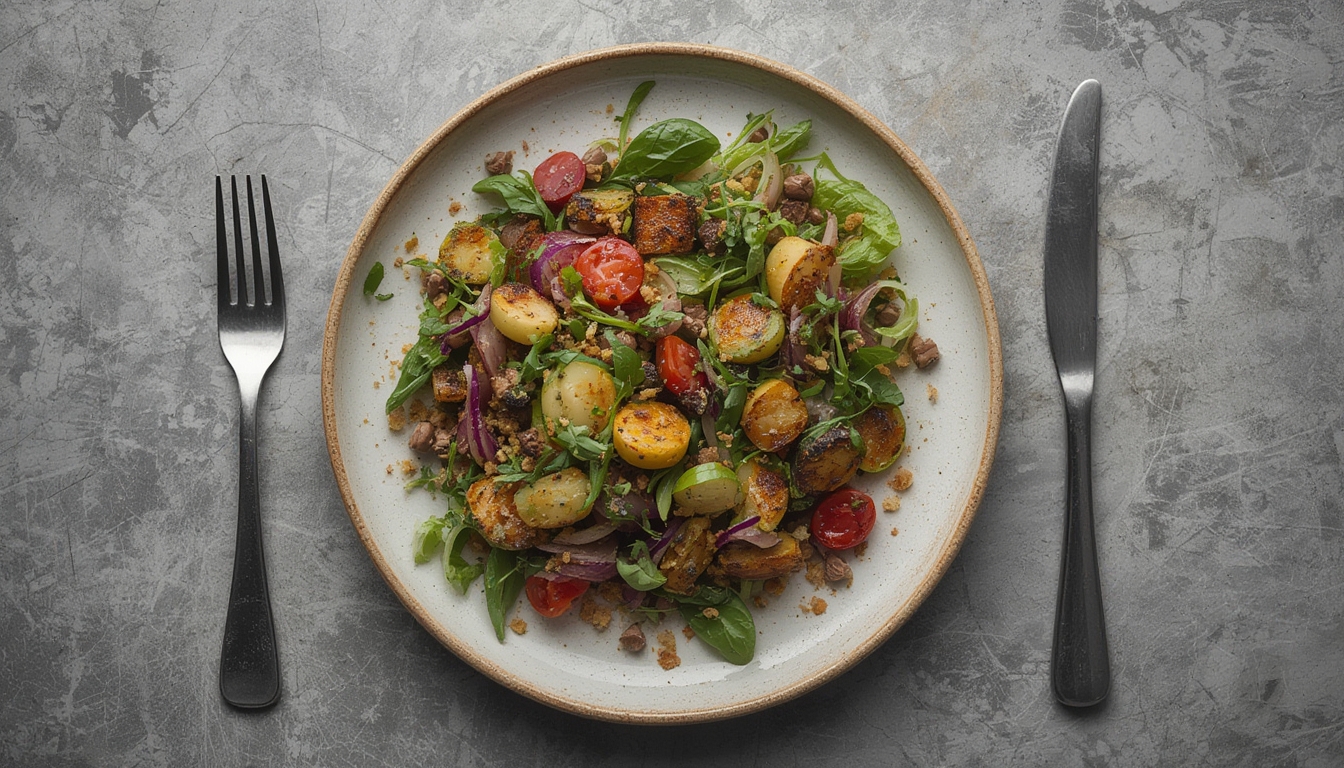
Step‑by‑Step Guide to Building a Plant‑Forward Plate
1. Choose a Starch Base (30‑40 % of the plate)
Data point: Whole grains provide 2‑3 g of fiber per serving, compared with <1 g in refined grains.
- Action: Cook ½ cup of quinoa, brown rice, farro, or barley per serving. Use a 2:1 water‑to‑grain ratio and bring to a boil, then simmer covered for 15‑20 minutes.
- Tip: Add a pinch of sea salt and a splash of olive oil while cooking to improve flavor and nutrient absorption.
2. Add Plant‑Based Protein (20‑30 % of the plate)
Data point: One cup of cooked lentils supplies 18 g of protein and 15 g of fiber.
- Action: Incorporate beans, lentils, chickpeas, or edamame. Rinse canned beans to reduce sodium by up to 40 %.
- Tip: For a quick protein boost, toss a handful of roasted chickpeas (pre‑roasted at 400 °F for 20 minutes with a drizzle of smoked paprika) over salads.
3. Load Up on Colorful Vegetables (30‑35 % of the plate)
Data point: A study in Nutrition Reviews shows that each additional color of vegetable increases antioxidant intake by 10‑15 %.
- Action: Aim for at least three different colors. Example: roasted carrots (orange), sautéed kale (green), and beet‑red quinoa mix (red).
- Tip: Use a high‑heat roasting method (425 °F, 20‑25 minutes) to caramelize natural sugars, enhancing taste without added sauces.
4. Add Healthy Fats (5‑10 % of the plate)
Data point: Avocado and nuts provide monounsaturated fats that improve HDL cholesterol by 5‑7 % after 4 weeks of regular consumption.
- Action: Drizzle 1‑2 tablespoons of extra‑virgin olive oil, sprinkle toasted pumpkin seeds, or add sliced avocado.
- Tip: Toast nuts and seeds lightly (5‑7 minutes at 350 °F) to release their natural oils and deepen flavor.
5. Season & Finish (Flavor Layer)
Data point: Fresh herbs contain up to 30 % more antioxidants than dried equivalents.
- Action: Finish dishes with a squeeze of lemon, a handful of chopped cilantro or parsley, and a pinch of sea salt.
- Tip: Store herbs in a glass of water in the fridge, covered loosely with a plastic bag, to keep them fresh up to two weeks.
Growing Key Ingredients at Home
1. Selecting Seeds & Starter Plants
Choose varieties that thrive in your climate zone (USDA zones 5‑9 are ideal for most leafy greens). Look for certified organic, non‑GMO seeds to ensure higher germination rates—typically 85‑95 % for reputable suppliers.
2. Soil Preparation
Use a 1:1:1 mix of garden soil, compost, and coconut coir. This blend improves drainage, aeration, and nutrient retention. Test pH; most vegetables prefer a range of 6.0‑6.8.
- Action: Add 1 cup of bone meal per 10 sq ft for phosphorus, and ½ cup of kelp meal for potassium.
- Tip: Incorporate a slow‑release organic fertilizer (e.g., 4‑6‑8 NPK) to supply nutrients over the growing season.
3. Sowing & Transplanting
Follow seed packet spacing guidelines—generally 2‑3 inches apart for greens, 12‑18 inches for beans. Plant at a depth of twice the seed’s thickness.
- Action: Water gently with a misting bottle until the soil is uniformly moist.
- Tip: Use biodegradable peat pots for seedlings; they reduce transplant shock and can be planted directly into the garden.
4. Watering & Mulching
Consistent moisture is crucial; fluctuations can cause blossom end rot in tomatoes and cracking in carrots. Aim for 1‑1.5 inches of water per week, measured with a rain gauge.
- Action: Apply a 2‑inch layer of organic mulch (straw, shredded leaves) after planting.
- Tip: Mulch conserves soil moisture, suppresses weeds, and adds organic matter as it decomposes.
5. Harvesting & Storage
Harvest leafy greens when they reach 4‑6 inches tall; this encourages continuous growth. Beans are best picked when pods are 5‑7 cm long and still tender.
- Action: Use clean, sharp scissors to cut stems, reducing plant damage.
- Tip: Store harvested greens in a perforated bag with a damp paper towel in the refrigerator; they stay crisp for up to 10 days.
Putting It All Together: A Sample Day of Plant‑Forward Flexitarian Meals
Breakfast: Overnight oats with rolled oats, almond milk, chia seeds, and fresh berries. Top with a spoonful of almond butter for healthy fats.
Lunch: Quinoa‑base bowl: ½ cup cooked quinoa, ¼ cup black beans, roasted sweet potatoes, sautéed kale, avocado slices, and a lemon‑tahini dressing.
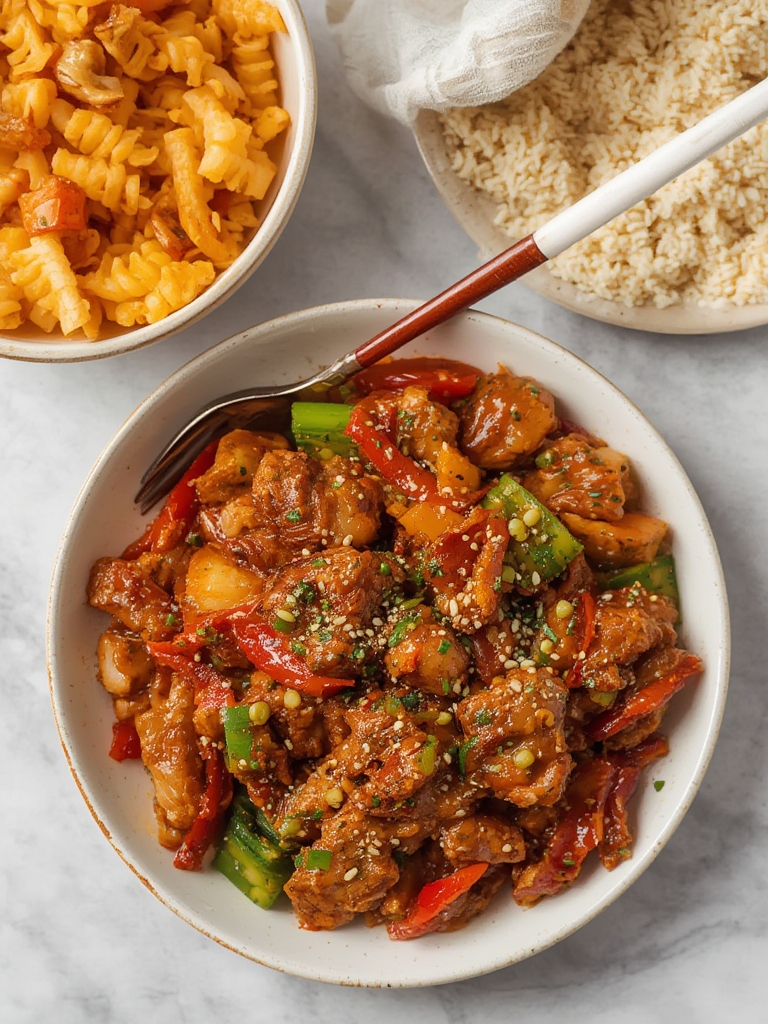
Dinner: Flexitarian stir‑fry: Brown rice, tofu cubes marinated in soy‑ginger sauce, mixed bell peppers, snap peas, and a sprinkle of toasted sesame seeds. Serve with a side of steamed broccoli.
Each meal meets the 50‑plus % plant‑based threshold while providing protein, fiber, and essential micronutrients. By following the steps above—both in the kitchen and the garden—you’ll create a sustainable, data‑driven routine that supports health and the planet.