
Embracing a plant‑forward and flexitarian lifestyle means filling your plate with vibrant vegetables, legumes, whole grains, and occasional animal proteins for balance. By growing many of these ingredients at home, you gain control over freshness, flavor, and nutrition while reducing food miles. Below is a step‑by‑step guide that blends garden planning, plant care, and plate assembly into a seamless routine you can start today.
1. Define Your Plant‑Forward Plate
Before you sow a seed, decide which food groups will dominate your meals. A data‑driven approach looks at national consumption trends: the USDA reports that Americans eat an average of 1.1 cups of vegetables per day, yet the recommended amount is 2‑3 cups. Aim to double that intake by making vegetables at least 50 % of each plate.
Step 1: Set a Macro Ratio
- Vegetables & fruits: 50‑60 % of plate (focus on leafy greens, cruciferous veg, and colorful produce).
- Whole grains & legumes: 20‑30 % (quinoa, brown rice, lentils, chickpeas).
- Protein (flexitarian): 10‑20 % (fish, poultry, eggs, or plant‑based alternatives).
- Healthy fats: 5‑10 % (avocado, nuts, olive oil).
Write these ratios on a kitchen board; they become a quick visual cue when you plate your meals.
2. Plan a Seasonal Garden That Supplies Your Ratios
Choosing crops that thrive in your climate ensures higher yields and less waste. Use USDA Plant Hardiness Zone maps to match varieties to your region.
Step 2: Choose High‑Yield, Nutrient‑Dense Crops
| Crop | Season | Yield per sq ft | Key Nutrients |
|---|---|---|---|
| Spinach | Spring/Fall | 10 lb | Vitamin K, A, iron |
| Cherry Tomatoes | Summer | 15 lb | Vitamin C, lycopene |
| Green Beans | Summer | 12 lb | Fiber, folate |
| Red Lentils (dry) | Year‑round (store‑bought) | — | Protein, B‑vitamins |
| Quinoa | Late Summer | 8 lb | Complete protein, magnesium |
Allocate at least 30 % of your garden space to leafy greens, 20 % to fruiting veg, and 10 % to beans or peas. The remaining area can host herbs (basil, cilantro) that add flavor without extra calories.
3. Prepare the Soil for Success
Step 3: Test and Amend
- Buy a basic pH test kit (available at garden centers). Ideal pH for most vegetables is 6.0‑6.8.
- If pH is low, spread lime; if high, add elemental sulfur. Follow label rates (usually 5 lb per 100 sq ft).
- Incorporate 2‑3 inches of compost to boost organic matter. Compost improves water retention and supplies slow‑release nutrients.
- For raised beds, mix 1 part compost, 1 part peat moss (or coconut coir), and 1 part vermiculite.
4. Planting Calendar and Spacing
Step 4: Stagger Plantings
To maintain a steady harvest, sow seeds every 2‑3 weeks. For example, plant spinach seeds in early March, then repeat in mid‑April and early May. This “cut‑and‑come‑again” method ensures fresh greens throughout the growing season.
Step 5: Follow Recommended Spacing
- Spinach: 3‑4 inches apart in rows 12 inches apart.
- Cherry tomatoes: 24‑30 inches apart; use cages or stakes.
- Green beans (bush): 4‑6 inches apart; pole beans need a trellis 6‑8 ft tall.
Proper spacing reduces disease pressure and improves air circulation, a key factor in preventing fungal issues.
5. Watering and Mulching Techniques
Step 6: Adopt the “Deep‑Water, Infrequent” Method
Water at the base of plants early in the morning, delivering 1‑1.5 inches per week. Use a rain gauge or a simple 1‑liter jug to measure. Deep watering encourages roots to grow downward, making plants more drought‑resistant.
Step 7: Mulch for Moisture Retention
Apply a 2‑inch layer of straw, shredded leaves, or wood chips around the base of each plant. Mulch suppresses weeds, stabilizes soil temperature, and reduces the need for frequent watering by up to 30 %.
6. Fertilizing with a Data‑Driven Approach
Step 8: Use a Balanced Fertilizer Based on Soil Test
If your soil test shows nitrogen deficiency, apply a 10‑10‑10 granular fertilizer at 1 lb per 100 sq ft after planting. For fruiting crops (tomatoes, beans), supplement with a phosphorus‑rich fertilizer (e.g., 5‑10‑5) at the first sign of flower buds.
Step 9: Incorporate Organic Boosters
Side‑dress beds with compost tea every 3 weeks. A simple recipe: steep 1 cup of well‑rotted compost in 5 gallons of water for 24 hours, strain, and apply with a watering can.
7. Harvesting for Peak Nutrition
Step 10: Harvest at the Right Time
- Spinach: Cut leaves when they reach 3‑4 inches; younger leaves have higher vitamin C.
- Tomatoes: Pick when fully colored and slightly soft; they contain the most lycopene.
- Green beans: Harvest when pods are 4‑6 inches long; over‑mature beans become fibrous.
Use clean, sharp scissors to avoid damaging the plant, which can invite disease.
8. Storing and Preserving Your Harvest
Step 11: Quick‑Cool for Freshness
Place harvested greens in a bowl of ice water for 5 minutes, then spin dry and store in a perforated bag in the refrigerator. This extends shelf life by up to 7 days.
Step 12: Batch‑Cook Whole Grains and Legumes
Cook a large pot of quinoa and a batch of lentils at the start of the week. Portion into airtight containers; they keep for 4‑5 days and serve as the protein backbone of your flexitarian plates.
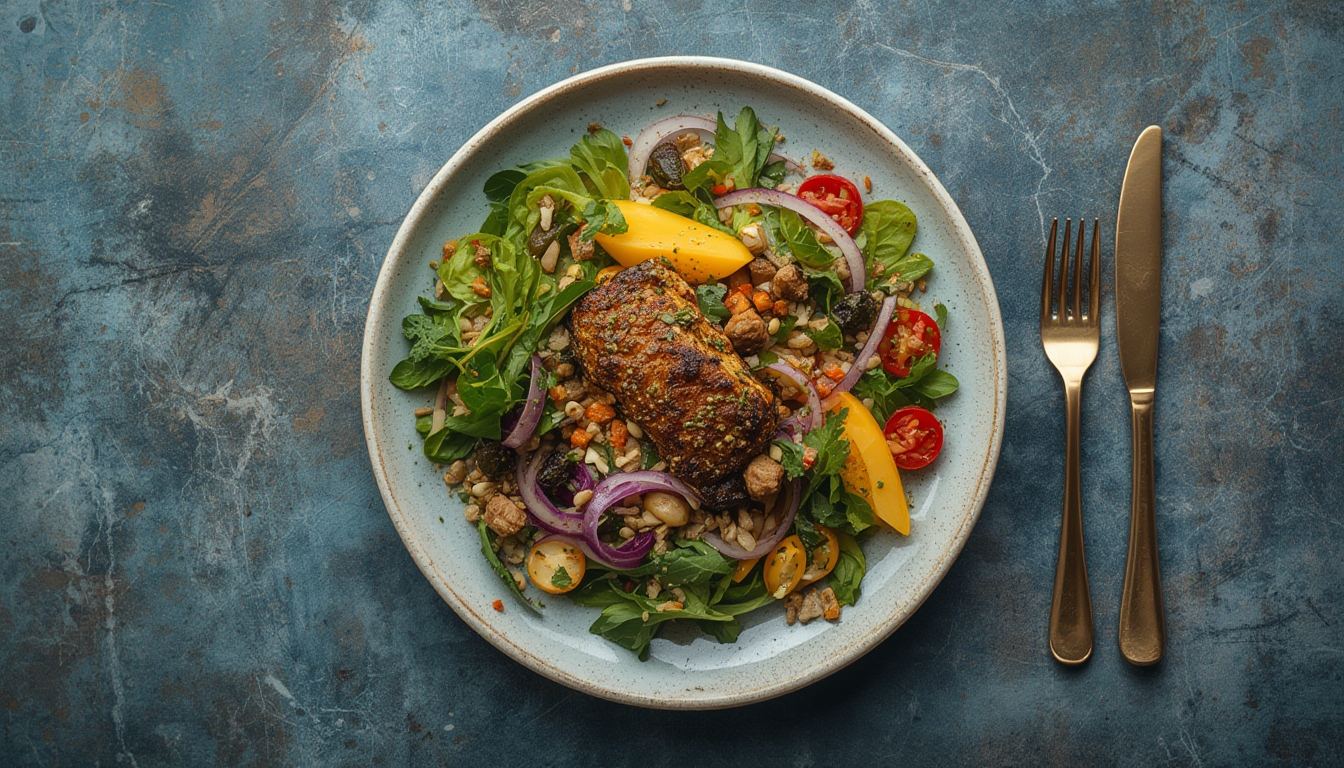
9. Assembling the Plant‑Forward Plate
Step 13: Follow the Macro Ratio
- Lay a bed of mixed greens (spinach, arugula, kale) – ½ of the plate.
- Add a scoop of cooked quinoa or brown rice – ¼ of the plate.
- Top with a protein source: a handful of chickpeas, a few slices of grilled salmon, or a boiled egg – ¼ of the plate.
- Finish with a drizzle of olive oil, a squeeze of lemon, and a sprinkle of toasted nuts for healthy fats.
Colorful plates are not just appealing; research shows that a variety of pigments correlates with higher antioxidant intake.
10. Troubleshooting Common Issues
Step 14: Leaf Spot on Greens
Remove affected leaves immediately and increase airflow by thinning rows. Apply a copper‑based fungicide if the problem persists.
Step 15: Blossom End Rot in Tomatoes
Often caused by calcium deficiency and inconsistent watering. Mulch heavily, water evenly, and add a calcium supplement (gypsum) at planting.
Step 16: Poor Germination
Check seed viability (most seeds have a 1‑year shelf life). Soak seeds for 12‑24 hours before planting to improve moisture uptake.
11. Making the Lifestyle Sustainable
Track your harvest and plate composition in a simple spreadsheet. Log the date of planting, yield per square foot, and the meals you create. Over a season, you’ll see patterns—perhaps a surplus of beans in July that can be frozen for winter, or a shortfall of leafy greens in early spring that can be addressed with a quick‑grow microgreen kit.
By aligning garden planning, plant care, and plate assembly, you turn the plant‑forward and flexitarian concept from a buzzword into a daily habit. The result is a nutrient‑dense, environmentally friendly diet that’s both satisfying and easy to maintain.