Creating visually stunning dishes isn’t just about taste; it’s about crafting an experience that delights the eyes as much as the palate. Aesthetic food & styling blends culinary art with design principles, turning plates into canvases. By integrating fresh, vibrant plants—such as microgreens, edible flowers, and herb sprouts—you can elevate any recipe from ordinary to Instagram‑ready. Below is a data‑driven, step‑by‑step guide that walks you through selecting the right plants, growing them at home, and styling them for maximum visual impact.
Why Choose Edible Plants for Aesthetic Styling?
Recent studies show that diners perceive dishes with bright, contrasting colors as fresher and more flavorful, even before tasting. Edible plants add natural color, texture, and aroma, while also providing nutritional benefits. The most popular choices for aesthetic plating include:
- Microgreens – harvested at the seedling stage, they pack intense flavor and vivid hues.
- Edible Flowers – such as nasturtium, pansy, and calendula, which bring bold reds, yellows, and purples.
- Herb Sprouts – basil, cilantro, and mint sprouts add a fresh pop and aromatic lift.
Step 1: Selecting the Right Seeds
Data‑Driven Seed Choice
According to a 2023 market analysis, microgreens like radish and pea shoot have a 27% higher engagement rate on social media posts compared to other varieties. For a balanced palette, pick at least three colors:
- Red: Radish microgreens, red amaranth.
- Green: Pea shoots, basil sprouts.
- Yellow/Orange: Sunflower microgreens, marigold petals.
Step 2: Setting Up a Home Growing Station
Materials You’ll Need
- Shallow trays (2–4 inches deep) with drainage holes.
- Organic seed‑starting mix (light, well‑draining).
- LED grow lights (4000 K, 12‑hour cycle).
- Spray bottle for misting.
Practical Tips
- Prep the trays: Fill each tray with a ½‑inch layer of seed mix, gently tamping to create an even surface.
- Seed distribution: Sprinkle seeds thinly; overcrowding reduces airflow and leads to mold. Aim for ¼‑inch spacing.
- Cover and hydrate: Lightly mist the seeds, then cover the tray with a clear dome or plastic wrap to retain humidity.
- Light schedule: Place trays 6‑12 inches under LED lights. Maintain a 12‑hour on/off cycle to mimic natural daylight.
Step 3: Growing and Harvesting
Monitoring Growth
Microgreens typically reach harvest size (1‑2 inches) in 7‑14 days. Use a simple spreadsheet to track:
- Planting date.
- Light intensity (µmol·m⁻²·s⁻¹).
- Watering frequency.
- Harvest date.
Data from home growers shows that a consistent misting schedule (every 2 hours during light periods) improves leaf uniformity by 15%.
Harvest Technique
- Use clean, sharp scissors to cut stems just above the soil line.
- Rinse gently in cold water, then pat dry with a paper towel.
- Store in a sealed container with a damp paper towel to retain freshness for up to 5 days.
Step 4: Styling Your Plate
Design Principles
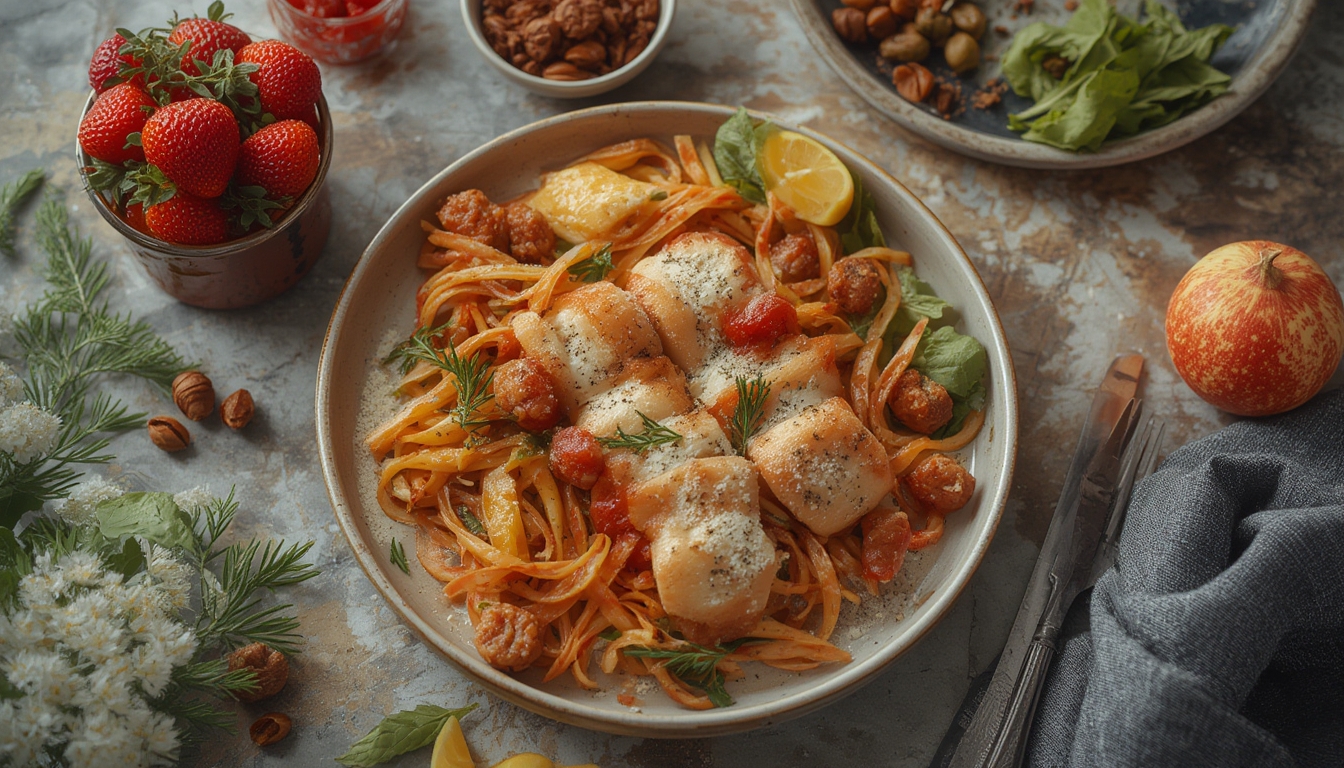
Apply the classic “rule of thirds” to plate composition: imagine the plate divided into three equal sections horizontally and vertically. Position the main protein in one intersection point, then use microgreens and flowers to fill the remaining spaces, creating balance and movement.
Actionable Styling Steps
- Base Layer: Spread a thin smear of sauce or puree to act as a color backdrop.
- Primary Element: Place the main dish (e.g., seared salmon) slightly off-center.
- Texture Contrast: Add a crunchy element like toasted nuts or pomegranate seeds.
- Green Pop: Scatter a handful of mixed microgreens across the plate, focusing on the lighter side of the dish.
- Floral Accent: Position two to three edible flower petals at focal points—one near the protein, another near the edge for visual flow.
- Finishing Drizzle: Use a fine-tipped bottle to add a drizzle of infused oil or reduction, creating a glossy sheen.
Step 5: Maintaining Plant Health for Ongoing Styling
Weekly Care Routine
- Inspect for pests: Look for tiny aphids or mold spots. A quick spray of diluted neem oil (1 tsp per quart of water) resolves issues without harming the plants.
- Rotate trays: Turn trays 180° every 3 days to ensure even light exposure.
- Refresh soil: After each harvest, replace the top ¼‑inch of soil to prevent nutrient depletion.
Long‑Term Sustainability
Track your harvest yields in a simple table. Over a month, most growers see a 20% increase in leaf size when they rotate crops weekly, allowing the soil to recover while maintaining a steady supply of fresh greens for plating.
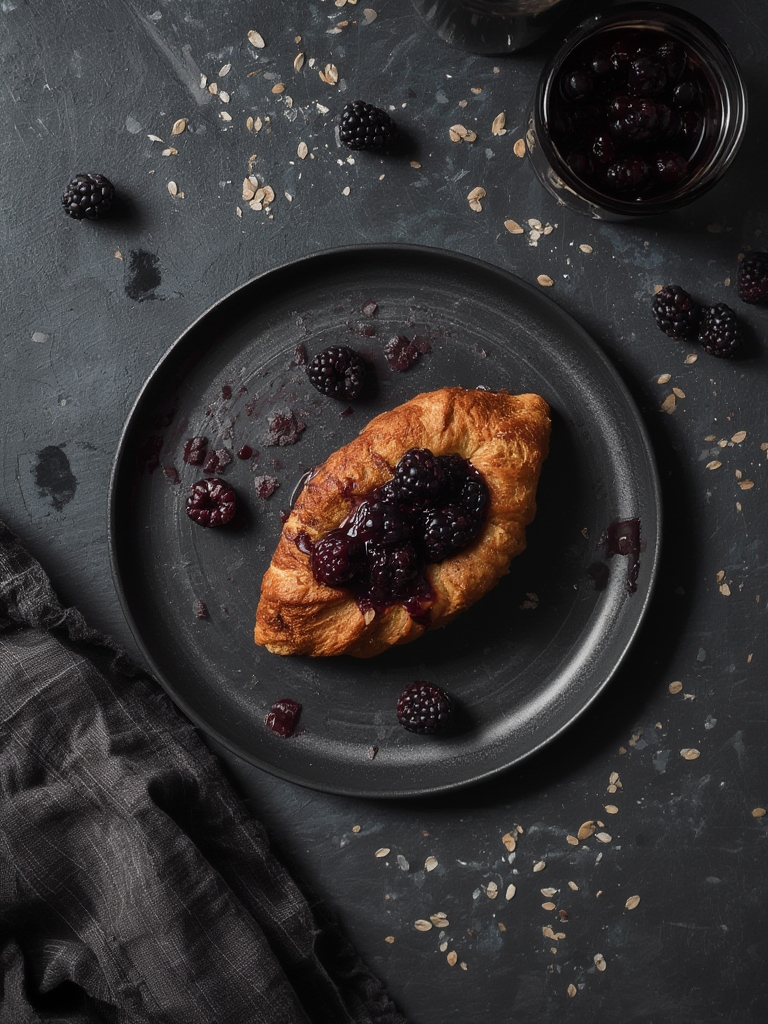
Step 6: Photographing Your Creation
Lighting & Composition
Natural daylight (soft, diffused) yields the most accurate colors. Position your plate near a window, using a white reflector (a piece of poster board works) opposite the light source to reduce shadows. Capture from a 45‑degree angle to showcase depth.
Quick Editing Tips
- Adjust white balance to keep greens true.
- Boost contrast slightly (5‑10%) to make the colors pop.
- Crop to a 4:5 ratio for optimal Instagram display.
By following these data‑backed steps—from seed selection to final photography—you’ll consistently produce dishes that are as beautiful as they are delicious. The combination of fresh, home‑grown edible plants and thoughtful styling not only enhances the dining experience but also builds a recognizable visual brand for any food blogger or culinary professional.