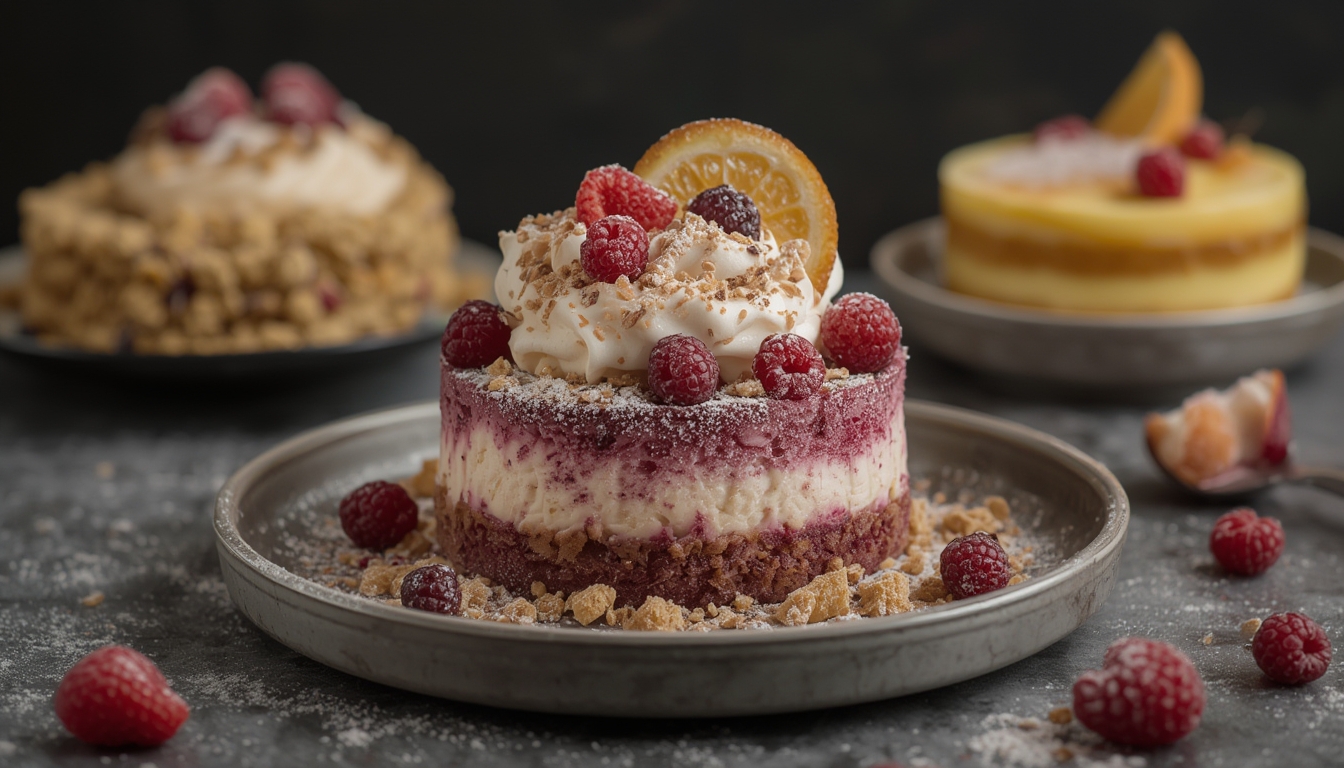
Modern desserts are no longer limited to classic cakes and pies; they’re evolving into daring, science‑infused creations that surprise the palate and delight the eyes. From deconstructed fruit tarts to nitrogen‑frozen sorbets, today’s sweet experiments blend culinary art with kitchen chemistry. Yet, many of these innovative treats start with a humble, natural ingredient that you can grow at home: the vanilla orchid (Vanilla planifolia). Fresh, home‑grown vanilla not only elevates flavor but also adds a personal touch to your experimental desserts.
Why Grow Your Own Vanilla?
Commercial vanilla beans can be pricey and often lack the nuanced aroma of freshly harvested pods. By cultivating your own vanilla, you gain control over the curing process, allowing you to tailor the flavor profile to match specific dessert concepts—whether you’re aiming for a bright, floral note in a citrus‑infused mousse or a deep, smoky undertone for a caramel‑spiced tart.
Getting Started: Setting Up the Ideal Environment
1. Choose the Right Container
Vanilla orchids thrive in well‑draining containers. Opt for a 5‑gallon pot with ample drainage holes. Fill the bottom with a layer of coarse orchid bark, then add a mix of sphagnum moss and perlite (about 50/50). This blend retains moisture while providing the aeration roots love.
- Tip: Line the pot with a breathable mesh to prevent soil from escaping while still allowing airflow.
2. Light Requirements
Vanilla needs bright, indirect light—think of a spot near an east‑facing window or under a grow light set to 12‑14 hours daily. Direct sunlight can scorch the leaves, while too little light stalls growth.
- Trick: Rotate the pot every few days to ensure even light exposure on all sides.
3. Temperature & Humidity
Ideal daytime temperatures range from 70‑85°F (21‑29°C), with nighttime lows no lower than 60°F (16°C). Humidity should stay between 70‑80%.
- Actionable advice: Use a humidity tray filled with pebbles and water beneath the pot, or run a small humidifier during dry months.
Step‑by‑Step Care Routine
Step 1: Watering
Water the orchid when the top inch of the growing medium feels dry to the touch. Use lukewarm, distilled water to avoid mineral buildup.
- Tip: Water early in the morning to allow excess moisture to evaporate, reducing the risk of fungal issues.
Step 2: Feeding
Feed with a balanced, water‑soluble fertilizer (20‑20‑20) diluted to half strength every two weeks during the growing season (spring‑summer). Reduce feeding to once a month in fall and stop entirely in winter.
- Trick: Add a pinch of calcium nitrate during the flowering phase to support pod development.
Step 3: Training the Vine
Vanilla vines can grow up to 30 feet in the wild, so they need support. Install a sturdy wooden or metal trellis in the pot and gently tie the vines using soft plant ties or twine.
- Actionable advice: Train the vine to climb in a clockwise direction; this mimics its natural growth pattern and encourages stronger stems.
Step 4: Pollination
In its native habitat, vanilla is pollinated by specific bees, but indoor growers must hand‑pollinate. When the flower opens (usually for just 12‑24 hours), use a small, fine brush or a toothpick to transfer pollen from the anther to the stigma.
- Tip: Perform pollination in the early morning when the flower is most receptive.
Step 5: Harvesting & Curing
Pods mature 6‑9 months after pollination. Harvest when they turn yellowish‑green and begin to split at the tip. The curing process unlocks the signature vanilla aroma:
- Kill: Briefly expose pods to sunlight for 1‑2 hours to halt growth.
- Sweat: Wrap pods in a blanket or place them in a warm, humid environment (70°F/21°C, 80% humidity) for 48 hours.
- Dry: Lay pods on a rack in a well‑ventilated area, turning them daily, until they reach ~60% moisture (takes 2‑3 weeks).
- Condition: Store dried pods in airtight containers for at least 2 months to develop full flavor.
- Practical tip: Label containers with the harvest date; older beans develop richer, more complex notes.
Integrating Fresh Vanilla into Modern Dessert Experiments
1. Nitrogen‑Frozen Vanilla Bean Ice Cream
Blend fresh vanilla seeds with a custard base, then flash‑freeze using liquid nitrogen. The result is an ultra‑smooth, airy ice cream with intensified vanilla aroma.
- Actionable advice: Strain the custard through a fine mesh before freezing to remove any residual pod fibers.
2. Deconstructed Vanilla Panna Cotta
Prepare a classic panna cotta, but serve it in three components: a vanilla‑infused gelatin cube, a vanilla‑scented foam, and a vanilla‑bean caramel drizzle. The separate textures let diners experience the flavor in layers.
- Tip: Use a siphon to create the foam, adding a dash of soy lecithin for stability.
3. Vanilla‑Infused Molecular Gel
Combine agar‑agar with a vanilla‑bean broth to form translucent gel ribbons. Pair these ribbons with a citrus sorbet for a contrast of bright acidity and deep vanilla warmth.
- Trick: Chill the broth before adding agar to prevent premature setting.
Maintaining a Continuous Supply
To keep a steady flow of vanilla for your experiments, stagger the planting of new vines every 3‑4 months. This ensures that at any given time, at least one vine is in the flowering stage, providing a regular harvest cycle.
- Actionable tip: Keep a simple spreadsheet tracking planting dates, pollination, and harvest to stay organized.
Final Thoughts
By growing your own vanilla orchid, you not only gain access to a premium ingredient but also connect the garden to the laboratory of your kitchen. The hands‑on care—from precise watering to meticulous hand‑pollination—mirrors the precision required in modern dessert experimentation. With fresh vanilla on hand, you can push the boundaries of flavor, texture, and presentation, turning every sweet creation into a truly unforgettable experience.