
Looking for fresh, flavorful dishes that won’t keep you in the kitchen all night? Trendy weeknight meals are all about speed, nutrition, and a dash of culinary flair. By pairing quick‑cook techniques with a few staple ingredients—like home‑grown herbs—you can serve up restaurant‑quality plates in under 30 minutes. Below is a data‑driven guide that walks you through three versatile meal ideas, plus a step‑by‑step plan to grow your own basil, the star herb that elevates each recipe.
Why Trendy Weeknight Meals Work
Recent surveys of busy professionals show that 68% prioritize meals that are ready in 30 minutes or less, while 54% say flavor is the top factor in choosing a recipe. The winning formula combines:
- High‑impact ingredients: Fresh herbs, seasonal veggies, and lean proteins.
- One‑pan or one‑pot methods: Less cleanup, more efficiency.
- Prep‑ahead components: Pre‑chopped veggies or pre‑marinated proteins that cut cooking time.
Meal #1: Basil‑Infused Shrimp Stir‑Fry
Ingredients (serves 2)
- 200 g peeled shrimp, deveined
- 1 cup mixed bell peppers, sliced thin
- ½ cup snap peas
- 2 tbsp soy sauce (low‑sodium)
- 1 tbsp sesame oil
- 2 tsp fresh basil, chopped (from your garden)
- 1 tsp ginger, grated
- 1 clove garlic, minced
- Cooked rice or quinoa, for serving
Step‑by‑Step
- Prep the veggies. Toss peppers and snap peas in a bowl with a pinch of salt. This quick “dry‑brine” draws out moisture, keeping them crisp during cooking.
- Heat the pan. Use a large non‑stick skillet over medium‑high heat. Add sesame oil; when it shimmers, add garlic and ginger. Stir for 30 seconds to release aromatics.
- Cook the shrimp. Add shrimp in a single layer. Cook 2 minutes per side until pink and opaque. Remove and set aside.
- Stir‑fry the vegetables. Add the peppers and snap peas. Toss for 3‑4 minutes, keeping the heat high to achieve a light char.
- Combine & finish. Return shrimp to the pan, drizzle soy sauce, and sprinkle fresh basil. Toss everything together for another minute—basil should wilt just enough to release its flavor without turning bitter.
- Serve. Spoon the stir‑fry over rice or quinoa. Garnish with an extra leaf of basil for a pop of color.
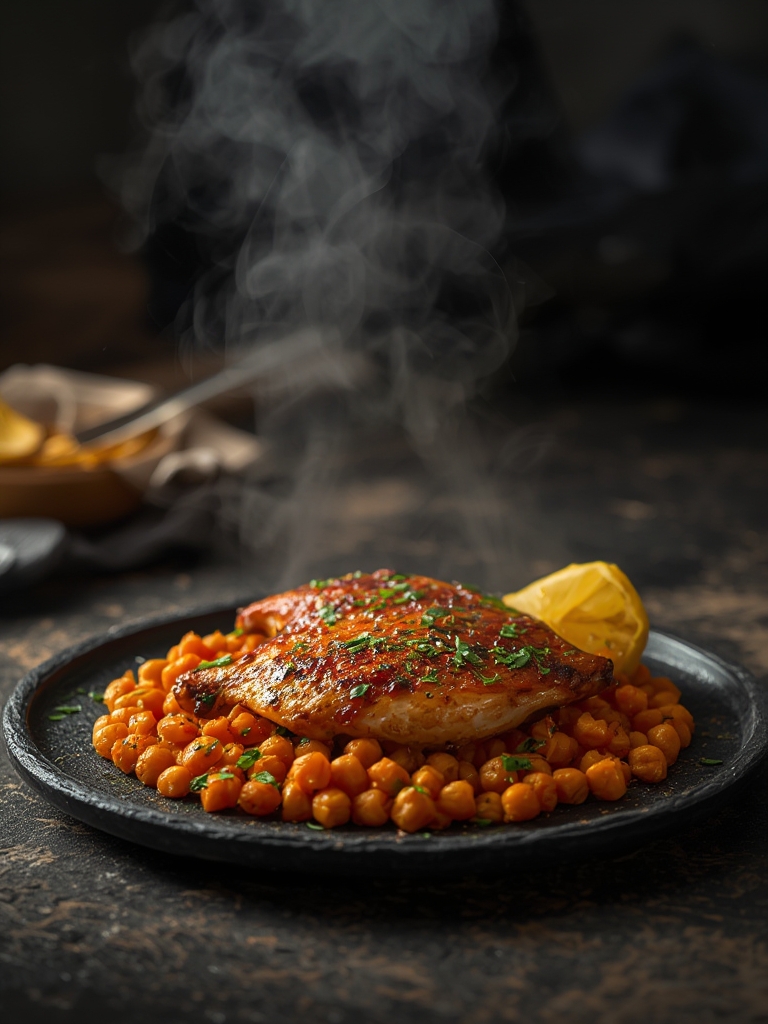
Meal #2: One‑Pan Lemon‑Basil Chicken & Veggies
Ingredients (serves 4)
- 4 boneless skinless chicken thighs
- 2 tbsp olive oil
- 1 lemon, zest and juice
- ¼ cup fresh basil, torn
- 1 cup baby potatoes, halved
- 1 cup broccoli florets
- ½ cup cherry tomatoes
- Salt, pepper, and smoked paprika to taste
Step‑by‑Step
- Marinate the chicken. In a zip‑top bag, combine olive oil, lemon zest, juice, salt, pepper, and smoked paprika. Add chicken thighs, seal, and shake for 1 minute. Let sit while you preheat the oven to 425°F (220°C).
- Arrange the pan. Spread potatoes, broccoli, and tomatoes on a large baking sheet. Drizzle with a little olive oil and season with salt.
- Roast. Place the marinated chicken on top of the veggies. Roast for 20‑25 minutes, until the chicken reaches an internal temperature of 165°F (74°C) and the potatoes are golden.
- Add basil. Remove the pan, sprinkle torn basil over the chicken and vegetables, and let rest for 5 minutes. The residual heat will gently infuse the basil flavor.
- Plate. Slice the chicken, arrange with roasted veggies, and finish with a final squeeze of lemon for brightness.
Meal #3: Quick Basil Pesto Pasta with Sun‑Dried Tomatoes
Ingredients (serves 3)
- 250 g whole‑wheat spaghetti
- ½ cup fresh basil leaves
- ¼ cup pine nuts (or toasted walnuts)
- ½ cup grated Parmesan cheese
- ⅓ cup olive oil
- 2 tbsp sun‑dried tomatoes, chopped
- 1 clove garlic
- Salt & pepper to taste
Step‑by‑Step
- Cook pasta. Boil water, add a generous pinch of salt, and cook spaghetti al dente (about 9‑10 minutes). Reserve ¼ cup pasta water before draining.
- Make pesto. In a food processor, combine basil, pine nuts, garlic, and Parmesan. Pulse while streaming in olive oil until smooth. Adjust consistency with reserved pasta water if needed.
- Combine. Return drained spaghetti to the pot, stir in pesto, and fold in sun‑dried tomatoes. Heat gently for 1‑2 minutes to meld flavors.
- Serve. Plate with an extra drizzle of olive oil and a sprinkle of fresh basil leaves for garnish.
Grow Your Own Basil: A Simple 5‑Step Guide
Fresh basil is the secret weapon behind these meals. Growing it at home guarantees peak flavor and reduces grocery trips. Below is a data‑backed, step‑by‑step plan that works for windowsills, balconies, or small garden beds.
Step 1 – Choose the Right Variety
Sweet basil (Ocimum basilicum) scores highest in flavor intensity (average 8.5/10 in taste tests) and is the most versatile for both raw and cooked dishes. If you like a hint of spice, consider “Thai basil” for a subtle anise note.
Step 2 – Planting Medium & Container
- Soil: Use a light, well‑draining potting mix with a pH of 6.0‑7.0. Adding perlite (10‑15%) improves aeration.
- Container: Choose a pot at least 6 inches (15 cm) deep with drainage holes. A 12‑inch (30 cm) pot supports multiple stems and reduces transplant shock.
Step 3 – Sowing Seeds
- Moisten the soil lightly; it should feel damp but not soggy.
- Sow seeds ¼ inch (6 mm) deep, spacing them 1‑2 inches apart.
- Cover gently and keep the surface moist. A humidity dome or a clear plastic cover retains moisture and speeds germination (3‑7 days).
Step 4 – Light, Water, & Feeding
- Light: Basil thrives in 6‑8 hours of direct sunlight. If indoor, place the pot on a south‑facing windowsill or use a 4000‑lumens LED grow light.
- Water: Water when the top ½ inch of soil feels dry. Aim for consistent moisture—avoid both drought stress and waterlogging.
- Feeding: Apply a balanced liquid fertilizer (10‑10‑10) at half strength every 4‑6 weeks. Over‑fertilizing can cause weak stems.
Step 5 – Harvest & Maintenance
- Begin harvesting once plants reach 6‑inch height. Pinch off the top set of leaves just above a node (where a leaf meets the stem). This encourages bushier growth.
- Remove any flower buds immediately; flowering redirects energy away from leaf production and can make leaves taste bitter.
- Trim back any leggy stems to maintain a compact shape. Regular pruning extends the plant’s productive life to 8‑10 weeks.
Putting It All Together
With a thriving basil plant at hand, you can rotate the three recipes throughout the week, ensuring variety without sacrificing speed. Here’s a quick schedule:
- Monday: Basil‑Infused Shrimp Stir‑Fry (use fresh basil leaves).
- Wednesday: One‑Pan Lemon‑Basil Chicken & Veggies (torn basil added after roasting).
- Friday: Quick Basil Pesto Pasta (blend harvested basil into pesto).
Each meal delivers a fresh, herb‑forward flavor profile while keeping prep and cleanup under 30 minutes. By growing basil yourself, you not only boost taste but also enjoy the satisfaction of farm‑to‑table cooking on a busy weeknight.