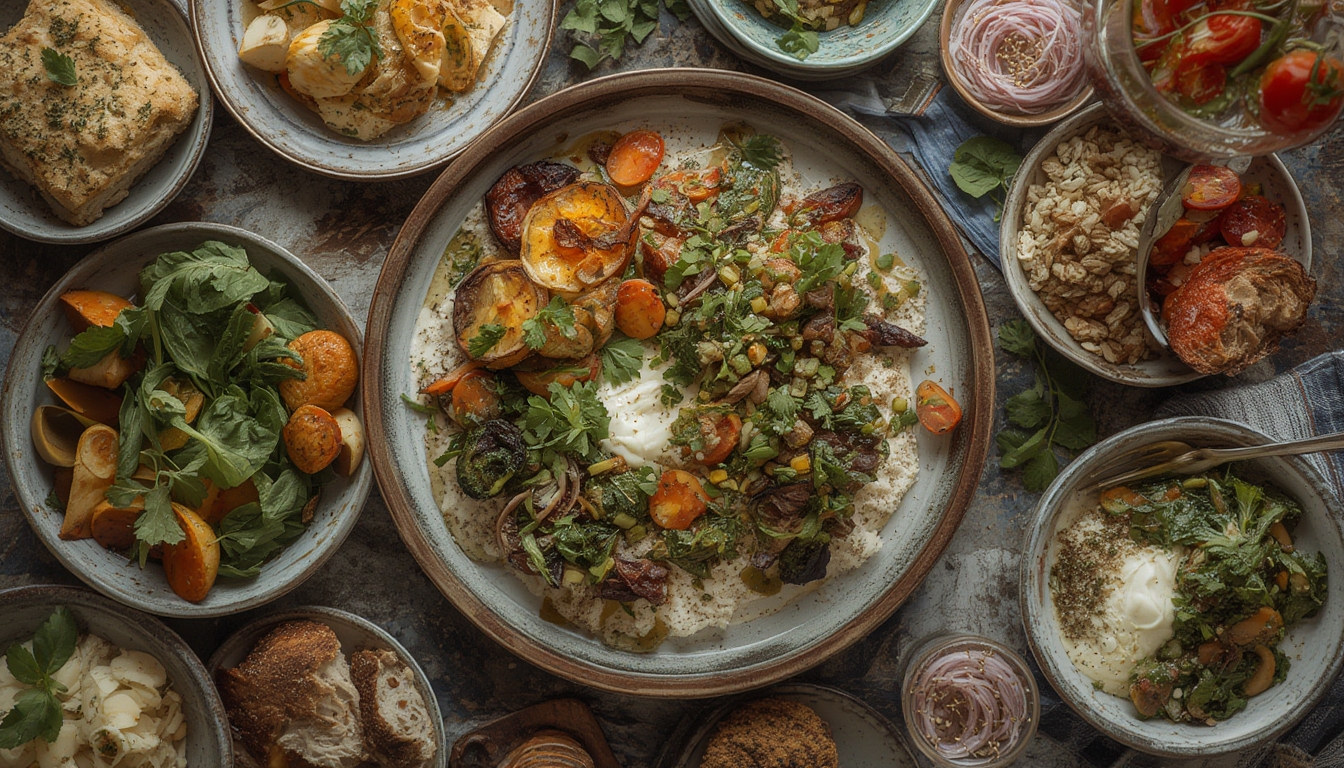
Embracing a plant‑forward lifestyle doesn’t mean you have to give up the flavors you love. By centering meals around vibrant vegetables, legumes, whole grains, and occasional animal proteins, a flexitarian plate becomes a colorful, nutritious, and satisfying experience. The secret to consistently enjoying these plates lies in growing your own key ingredients and caring for them with simple, data‑driven practices. Below is a step‑by‑step guide that walks you through selecting, planting, nurturing, and harvesting the staples that form the backbone of plant‑forward and flexitarian dishes.
1. Choose the Right Crops for a Balanced Plate
Start by identifying the vegetables and legumes that will give you protein, fiber, and a variety of textures. Based on USDA nutrient data, the following crops provide a solid nutritional foundation:
- Leafy greens (kale, spinach, Swiss chard) – high in iron, calcium, and vitamin K.
- Root vegetables (carrots, beets, sweet potatoes) – rich in beta‑carotene and complex carbs.
- Legumes (edamame, chickpeas, lentils) – excellent plant‑based protein and fiber.
- Alliums (onions, garlic, leeks) – flavor boosters with antioxidant properties.
- Herbs (basil, cilantro, mint) – add freshness and micronutrients.
Pick at least three from each category to ensure diversity throughout the growing season.
Actionable Tip
Use a spreadsheet to log the expected harvest dates for each crop. Align them with your weekly meal plan so you always have fresh produce on hand.
2. Prepare Soil Based on Data‑Driven Soil Tests
Healthy soil is the foundation of a thriving garden. Conduct a simple pH and nutrient test using a home kit or send a sample to a local extension service. Aim for:
- pH 6.0–6.8 for most vegetables.
- Organic matter ≥ 5 % for moisture retention.
- Balanced N‑P‑K (nitrogen, phosphorus, potassium) ratios: 20‑10‑10 for leafy greens, 10‑20‑10 for root crops.
Amend the soil accordingly:
- Raise pH with lime if below 6.0; apply 5 lb per 100 sq ft.
- Lower pH with elemental sulfur if above 6.8; use 2 lb per 100 sq ft.
- Increase organic matter by incorporating 2–3 inches of compost.
Actionable Tip
Mark each garden bed with a label indicating its pH and amendment schedule. Re‑test every 6 weeks to catch drift early.
3. Seed Selection and Planting Schedule
Choose varieties that are proven to perform well in your climate zone (USDA zones 5–9 cover most of the U.S.). Refer to the USDA Plant Hardiness Map for exact dates.
Step‑by‑Step Planting
- Start seeds indoors 6–8 weeks before the last frost for cool‑season crops (kale, spinach).
- Sow directly after soil temperature reaches 55 °F for warm‑season crops (sweet potatoes, beans).
- Spacing – follow seed packet guidelines; typically 12 in for leafy greens, 18 in for root veg, and 24 in for legumes.
- Water in gently with a fine mist to avoid displacing seeds.
- Thin seedlings to recommended spacing once true leaves appear.
Actionable Tip
Use a planting calendar app that sends reminders for each crop’s sowing, thinning, and transplant dates. Consistency reduces missed windows.
4. Ongoing Care: Water, Mulch, and Integrated Pest Management (IPM)
Data shows that consistent soil moisture improves yield by up to 30 %. Implement the following routine:
Watering
- Apply 1 inch of water per week, either via drip irrigation or a soaker hose.
- Check soil moisture with a probe; aim for a moist but not soggy feel 2 in below the surface.
Mulching
Lay a 2‑inch layer of organic mulch (straw, shredded leaves) around plants. Benefits include:
- Reduced evaporation → less frequent watering.
- Suppressed weeds → lower competition for nutrients.
- Slow release of organic matter as mulch decomposes.
Integrated Pest Management
Instead of blanket pesticide use, follow a data‑driven IPM approach:
- Monitor weekly with sticky traps and visual checks.
- Identify pests using a mobile app that matches photos to species.
- Threshold – act only if pest numbers exceed 5 % of plant population.
- Control – use neem oil, insecticidal soap, or beneficial insects (ladybugs, lacewings) as first line.
Actionable Tip
Keep a garden journal noting pest sightings, weather conditions, and actions taken. Over time, patterns emerge that help you anticipate problems.
5. Harvest Timing for Peak Flavor and Nutrition
Harvesting at the right moment maximizes both taste and nutrient density. Use these guidelines:
- Leafy greens – cut outer leaves when they reach 4–6 inches; the plant will keep producing.
- Root vegetables – pull when tops begin to yellow; for sweet potatoes, wait 90–120 days after planting.
- Legumes – pick pods when they are plump but before seeds harden (usually 55–65 days after sowing).
- Herbs – snip just before flowering for the most aromatic leaves.
Actionable Tip
Set a weekly “harvest day” on your calendar. Use a kitchen scale to record weight of each crop; over time you’ll see yield trends and can adjust planting density.
6. Transforming the Harvest into Plant‑Forward Plates
Now that you have fresh, home‑grown produce, the final step is turning it into balanced flexitarian meals. Follow these simple assembly rules:
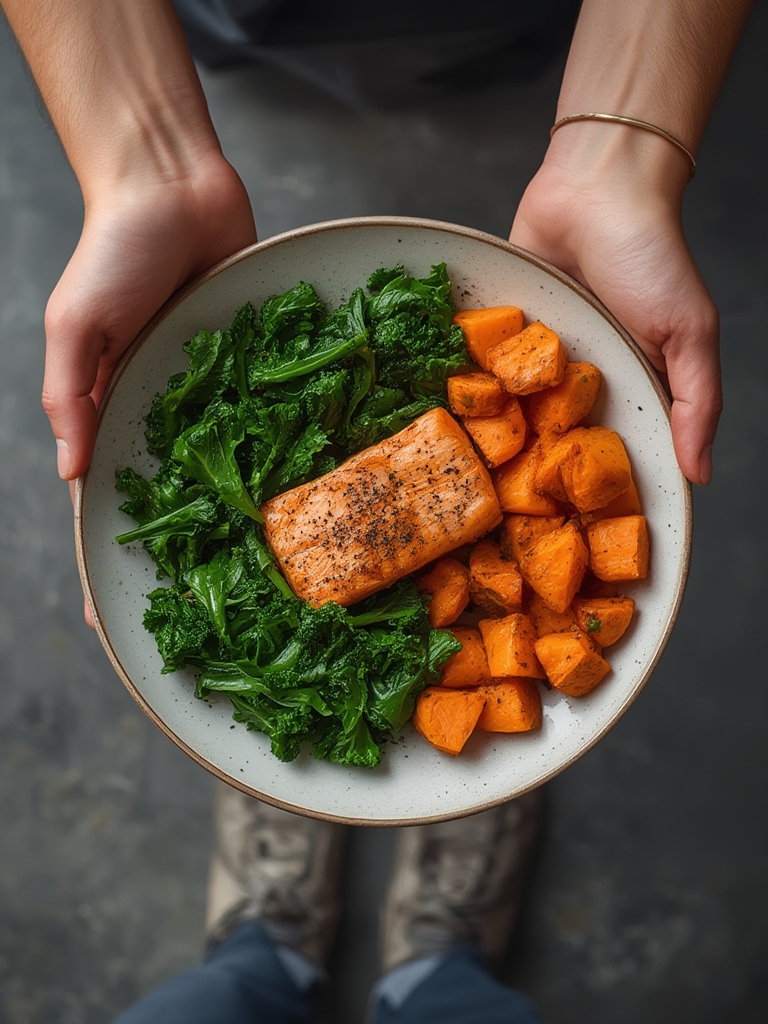
Build the Plate
- Base – ½ plate of colorful vegetables (raw, roasted, or sautéed).
- Protein – ¼ plate of legumes, tofu, tempeh, or a modest portion of fish/poultry (≤ 3 oz).
- Whole grain – ¼ plate of quinoa, brown rice, farro, or whole‑wheat pasta.
- Flavor boosters – drizzle with olive oil, sprinkle herbs, add a squeeze of citrus.
Quick Recipe Example
Rainbow Chickpea Stir‑Fry
- Heat 1 tbsp olive oil in a wok.
- Add 2 cups mixed greens (kale, spinach) and sauté 2 min.
- Stir in 1 cup diced carrots, ½ cup sliced beets, and 1 cup cooked chickpeas.
- Season with 1 tsp soy sauce, ½ tsp smoked paprika, and a pinch of sea salt.
- Serve over ½ cup cooked quinoa; garnish with fresh cilantro.
Actionable Tip
Batch‑cook grains and legumes on Sunday, store in airtight containers, and mix‑and‑match throughout the week for effortless plate assembly.
By following these data‑driven steps—from soil preparation to plate composition—you’ll create a reliable supply of nutrient‑dense ingredients and enjoy the flexibility of a plant‑forward, flexitarian diet. The result is not only a healthier you but also a garden that thrives season after season.