
When it comes to creating dishes that look as good as they taste, the visual component often begins long before the plate reaches the table. Growing your own edible “art”—from vibrant microgreens to delicate edible flowers—gives you total control over color, texture, and freshness. This guide walks you through the entire process of cultivating these plant‑based accents, from seed to service, so you can consistently produce Instagram‑worthy plates that wow both the eyes and the palate.
Choosing the Right Plants for Aesthetic Food Styling
Not every herb or garnish will translate into a striking visual element. Focus on varieties that offer bold hues, interesting shapes, and a quick turnaround. Here are three top performers:
- Microgreens (e.g., radish, pea shoots, beet): Offer intense color and a delicate, crunchy texture.
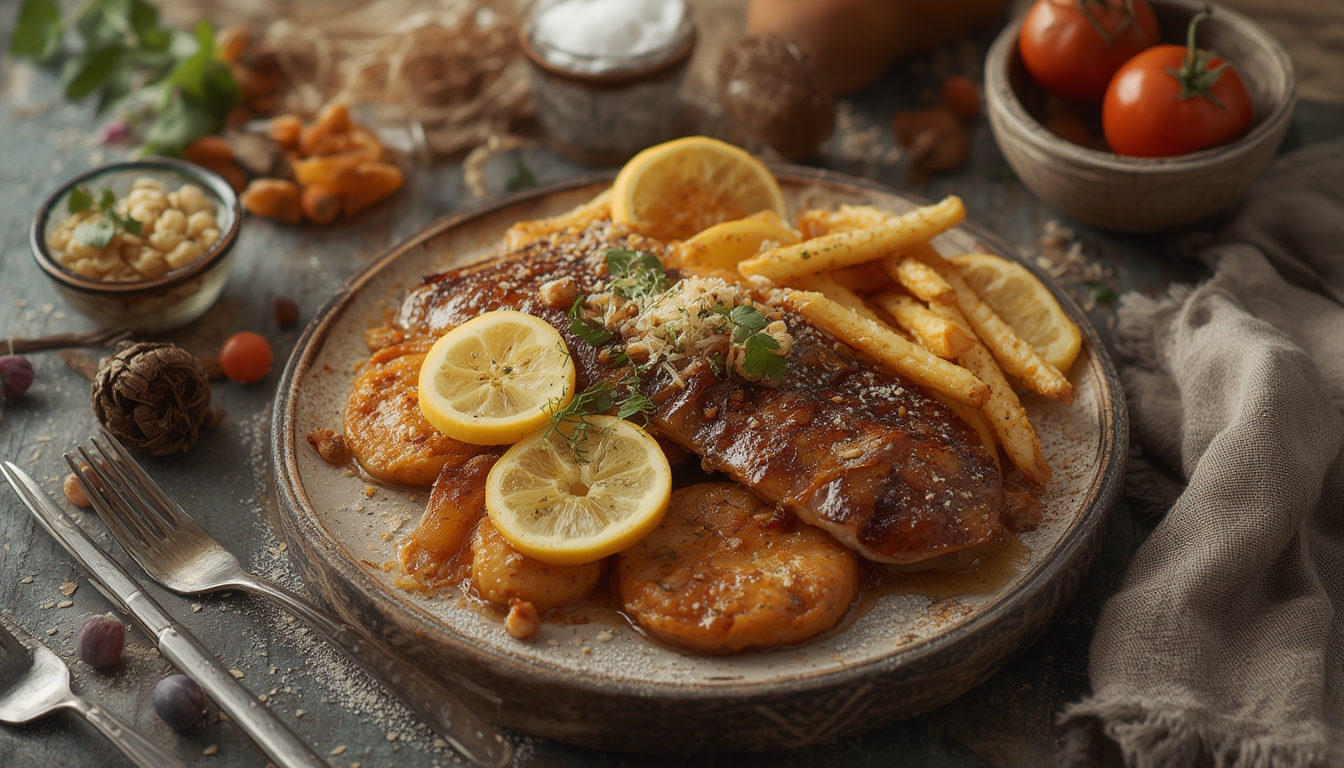
- Edible flowers (e.g., nasturtium, pansy, borage): Provide pops of red, orange, purple, and blue.
- Herb “frills” (e.g., cilantro curls, basil ribbons): Add a fresh, aromatic finish while creating visual movement.
Setting Up Your Growing Space
1. Choose a Light Source
Most aesthetic plants thrive with 12–16 hours of bright, indirect light. A sunny windowsill works for many microgreens, but a compact LED grow light ensures consistent results year‑round. Position the light 6–12 inches above the tray to avoid leggy growth.
2. Select the Right Containers
Flat, shallow trays (2–3 inches deep) with drainage holes are ideal. For a sleek kitchen aesthetic, opt for clear acrylic trays; they let you monitor moisture levels without lifting the lid.
3. Prepare a Growing Medium
Use a sterile, peat‑based seed-starting mix or coconut coir. Both retain moisture while providing good aeration. Fill trays to within ½ inch of the rim, then gently tap to settle the medium.
Step‑by‑Step Growing Process
Step 1: Seed Sowing
Scatter seeds evenly across the surface. For microgreens, aim for a dense but not overlapping coverage—about 1 seed per cm². Press the seeds lightly into the medium with a piece of cardboard, then mist with a fine spray of water.
Tip: Pre‑soak larger seeds (e.g., radish) for 2–3 hours to speed germination.
Step 2: Germination
Cover the tray with a clear dome or another tray to retain humidity. Keep the temperature between 65–75 °F (18–24 °C). Check daily; mist lightly if the surface looks dry. Most microgreens sprout within 2–4 days.
Step 3: Light Exposure
Once seedlings emerge, remove the cover and move the tray under your light source. Maintain a 12–16 hour photoperiod. Rotate the tray every 2 days to ensure even growth.
Step 4: Water Management
Water from the bottom by placing the tray in a shallow basin of water for 5–10 minutes, then let it drain completely. This prevents over‑watering and reduces the risk of fungal issues.
Step 5: Harvesting
Microgreens are ready to cut when they reach 1–2 inches tall and have developed their first true leaves—usually 7–14 days after sowing. Use clean scissors to snip just above the medium line. For edible flowers, harvest buds before they fully open to preserve color and flavor.
Actionable advice: Harvest in the early morning when the plants are most hydrated; this maximizes crispness on the plate.
Maintaining Plant Health for Consistent Aesthetic Quality
Monitor Moisture Levels
Feel the medium daily. It should be damp but not soggy. If it feels dry on the surface, mist lightly; if it feels wet, increase airflow by opening the dome or using a small fan.
Control Pests Naturally
Because the growth cycle is short, infestations are rare. If you spot aphids or spider mites, rinse the seedlings with a gentle spray of water mixed with a few drops of neem oil.
Rotate Crops
To keep a steady supply, stagger sowing every 3–4 days. This “continuous harvest” method ensures you always have fresh greens and flowers ready for plating.
Integrating Your Home‑Grown Garnishes into Dish Presentation
Now that you have a reliable source of vibrant greens and flowers, think about how each element can enhance a plate:
- Color contrast: Pair bright red nasturtium petals with a neutral‑colored mousse for a striking visual pop.
- Texture layering: Sprinkle delicate basil ribbons over a smooth purée to add a subtle crunch.
- Height and movement: Stand a few tall pea shoots upright in a shallow bowl to create vertical interest.
When plating, arrange components in small groups rather than scattering them. This creates focal points that guide the diner’s eye across the dish.
Quick Troubleshooting Checklist
- Leggy seedlings: Increase light intensity or lower the height of the light source.
- Yellowing leaves: Check for over‑watering; let the medium dry slightly between waterings.
- Fungal spots: Improve airflow and reduce humidity; remove affected leaves promptly.
By following these steps and paying close attention to light, moisture, and timing, you’ll turn a modest kitchen corner into a miniature studio for edible art. The result? Plates that not only taste amazing but also command attention on any social feed or fine‑dining table.