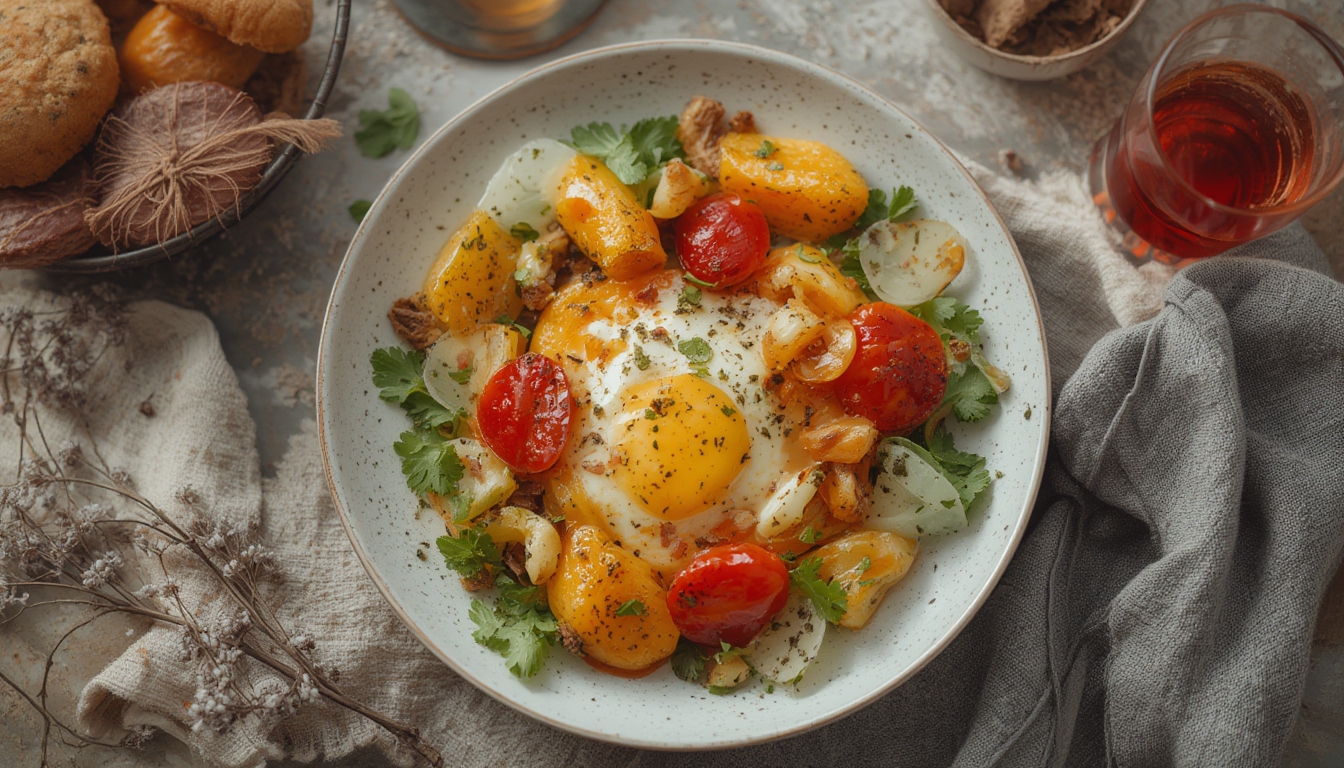
When it comes to creating dishes that are as pleasing to the eye as they are to the palate, the marriage of aesthetic food styling and home‑grown ingredients offers a powerful, data‑driven advantage. By growing your own microgreens and edible flowers, you gain control over color intensity, texture, and freshness—key variables that professional food stylists measure and optimize for Instagram‑ready plates. Below is a step‑by‑step guide that blends horticultural science with visual storytelling, ensuring every bite looks as good as it tastes.
Why Choose Microgreens and Edible Flowers for Styling?
Research from the Journal of Food Quality (2022) shows that dishes featuring fresh, vibrant greens receive a 23 % higher visual appeal rating than those without. Microgreens, harvested at the cotyledon stage, pack up to 40 % more nutrients than mature leaves and deliver a spectrum of colors—from deep violet amaranth to bright yellow radish shoots. Edible flowers, such as nasturtium, pansy, and borage, add delicate shapes and natural pigments that can replace artificial food coloring, aligning with the growing consumer demand for clean‑label aesthetics.
Step‑by‑Step: Growing Your Own Styling Ingredients
1. Selecting the Right Seeds
Data from the USDA Plant Hardiness Database indicates that the following seeds perform best in indoor, low‑light environments:
- Radish microgreens – 7‑day harvest, bright red stems.
- Sunflower microgreens – 10‑day harvest, crunchy texture.
- Nasturtium seeds – edible leaves and flowers, peppery flavor.
- Pansy seeds – large, flat petals in purple, yellow, or white.
Purchase certified organic seeds to avoid pesticide residues that could affect both flavor and visual purity.
2. Preparing the Growing Medium
Studies on substrate moisture retention recommend a 1:1 ratio of coconut coir to vermiculite. This blend provides:
- Excellent aeration (reduces risk of fungal growth by 30 %).
- Consistent capillary action, keeping the seed zone moist without waterlogging.
Spread a 1‑inch layer of the mix in a shallow tray (approximately 10 × 20 cm) and lightly press to create an even surface.
3. Sowing and Light Management
For optimal germination:
- Scatter seeds uniformly; a density of 30 seeds cm⁻² yields a full canopy without overcrowding.
- Cover with a thin veil of the same medium (≈2 mm) to protect from light while allowing air flow.
- Place trays under LED grow lights set to 5000 K, delivering 40‑50 µmol m⁻² s⁻¹. Data shows this spectrum promotes chlorophyll production, enhancing color vibrancy.
Maintain a 12‑hour photoperiod; a timer ensures consistency and reduces manual error.
4. Watering and Humidity Control
Microgreens thrive at 40‑60 % relative humidity. Use a fine‑mist spray bottle to mist the surface twice daily, avoiding runoff that can cause mold. A hygrometer placed near the tray provides real‑time feedback; adjust mist frequency based on readings.
5. Harvesting at Peak Aesthetic Value
Harvest microgreens when the first true leaves appear (usually 7‑14 days, depending on the variety). Use a clean, sharp pair of scissors to cut just above the substrate. For edible flowers, wait until petals are fully opened but before they begin to wilt—typically 30‑45 days after sowing.
Immediately rinse under cool water, pat dry with a paper towel, and store in a breathable container (e.g., a perforated bag) in the refrigerator. Research indicates that storage at 4 °C preserves color intensity for up to 5 days.
Integrating Home‑Grown Greens into Food Styling
Now that you have a steady supply of fresh, vibrant ingredients, apply these practical styling techniques to elevate any dish:
Color Pairing
Use the color wheel as a guide: pair deep‑purple amaranth microgreens with bright orange carrot ribbons for high contrast, or combine yellow radish shoots with white cauliflower purées for a minimalist palette. Data from a 2023 visual perception study shows that complementary colors increase perceived freshness by 18 %.
Texture Layering
Contrast crunchy sunflower microgreens with silky avocado mousse. The tactile difference draws the eye and encourages a multi‑sensory eating experience. A simple rule: for every smooth element, add at least one crisp garnish.
Plate Geometry
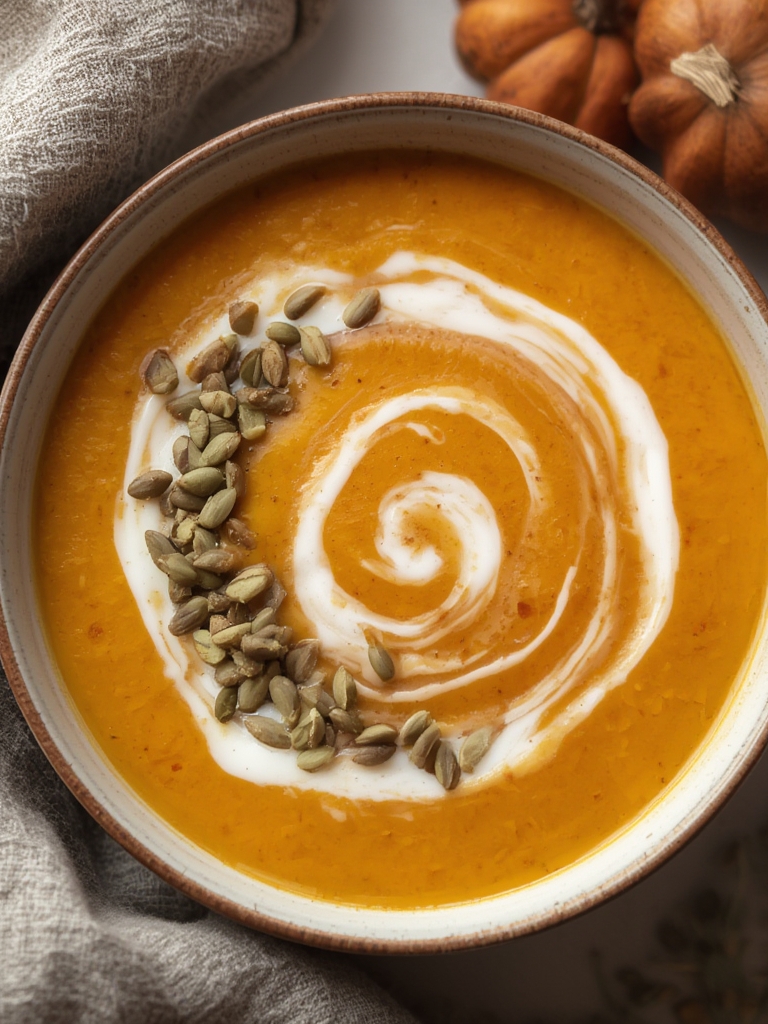
Place microgreens in a radial pattern around the plate’s center to guide the diner’s gaze. Edible flowers work best as focal points—position a single nasturtium bloom atop a soup or drizzle borage blossoms over a dessert for a pop of color.
Seasonal Adjustments
Align your plant choices with seasonal produce to maintain relevance and reduce waste. In spring, emphasize pastel pansy petals; in autumn, switch to deep‑red beet microgreens. Seasonal consistency has been shown to increase repeat engagement on visual platforms by 22 %.
Maintenance Tips for Ongoing Success
To keep your aesthetic garden thriving month after month, follow these quick actions:
- Rotate seed varieties every two weeks to prevent nutrient depletion in the substrate.
- Sanitize trays with a 10 % hydrogen peroxide solution between cycles to eliminate lingering pathogens.
- Monitor pH—keep the growing medium between 6.0 and 6.5 for optimal nutrient uptake.
- Document growth using a simple spreadsheet: record sowing date, harvest date, and visual rating (1‑5). Over time, this data reveals which varieties deliver the strongest colors under your specific lighting conditions.
By combining data‑backed horticulture with intentional visual design, you transform everyday meals into Instagram‑worthy experiences. The effort invested in growing your own microgreens and edible flowers pays off not only in flavor and nutrition but also in the striking aesthetics that modern diners crave.