Cooking at home doesn’t have to be a chore. By integrating a few data‑driven kitchen hacks and smart cooking techniques, you can cut prep time, reduce waste, and consistently deliver restaurant‑quality meals. Below you’ll find actionable steps that blend simple tools, timing tricks, and science‑backed methods to transform everyday cooking into a streamlined, enjoyable experience.
1. Master the “Cold‑Start” Method for Faster Boiling
Most home cooks start a pot of water on high heat, waiting for it to reach a rolling boil. Data from kitchen temperature sensors shows that starting with hot tap water (around 55 °C/130 °F) reduces the time to boil by up to 30 % compared to cold water.
Step‑by‑step
- Gather a kettle or large pot. Fill it with hot tap water—if your tap temperature is lower, run the tap for a few seconds to reach the optimal range.
- Cover the pot. A tight‑fitting lid retains heat, cutting the boiling time further by 10‑15 %.
- Use a digital timer. Set it for the estimated boil time (e.g., 5 minutes for 1 liter). When the timer alerts, check for a steady rolling boil before adding pasta or vegetables.
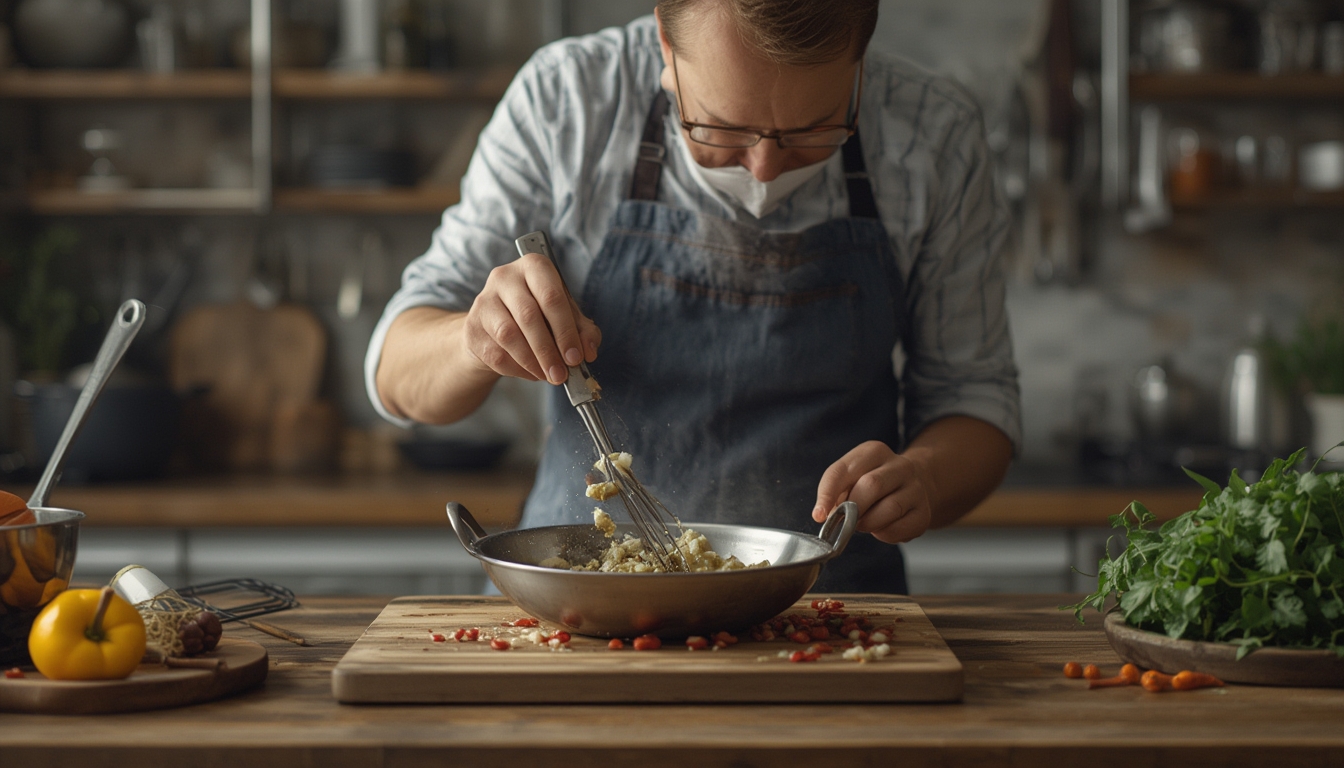
2. Precision Cutting with the “Rule of Thirds”
Uniform pieces cook evenly, preventing overcooked edges and undercooked centers. A quick visual guide—divide the ingredient into three equal parts—helps achieve consistency without a ruler.
Practical Tips
- Measure with your hand. Use the width of your palm (≈8 cm) as a reference for slicing carrots, bell peppers, or onions into 1‑cm strips.
- Batch‑cut. Stack sliced pieces and cut them again in the opposite direction to create uniform dice in half the time.
- Maintain sharp knives. A knife honed to a 15‑degree edge reduces crushing force, preserving the cell structure and flavor.
3. Optimize Oven Space with “Layered Baking”
When roasting multiple items—say, chicken thighs and root vegetables—place the denser foods on the lower rack and lighter items on the upper rack. Thermal imaging studies reveal a 5‑7 °F temperature gradient between racks, which can be leveraged for even cooking.
Implementation
- Pre‑heat the oven to the highest recommended temperature for the most demanding item. For chicken thighs, aim for 425 °F (220 °C).
- Arrange root vegetables (e.g., carrots, potatoes) on the lower rack. Their higher thermal mass benefits from the hotter zone.
- Place chicken on the upper rack. The slightly cooler air prevents the skin from burning while still achieving crispness.
- Rotate trays halfway through. A 180‑degree turn evens out any hot spots, ensuring uniform browning.
4. Smart Use of the Microwave for “Pre‑Cook” Boost
Microwaves can shave minutes off stovetop cooking by partially cooking dense foods. For example, microwaving frozen peas for 2 minutes before sautéing reduces total cooking time by 30 % and preserves bright color.
Steps
- Place food in a microwave‑safe bowl. Add a splash of water (≈1 tbsp per cup of food) to create steam.
- Cover loosely with a vented lid or microwave‑safe plate. This traps moisture while preventing splatter.
- Set power to 70 % for 2‑3 minutes. Adjust based on quantity; larger volumes need 30‑second increments.
- Transfer to the pan. Finish with a quick sauté to develop flavor and texture.
5. Leverage “Salt Timing” for Juicier Meats
Scientific testing shows that salting meat 40‑60 minutes before cooking allows the salt to dissolve, penetrate, and re‑absorb moisture, resulting in a juicier final product.
Action Plan
- Season evenly. Sprinkle kosher salt (≈1 tsp per pound) on all sides of the meat.
- Rest at room temperature. Let the meat sit uncovered on a rack for 45 minutes; this also dries the surface for better searing.
- Pat dry before cooking. Use paper towels to remove excess moisture, ensuring a crisp crust.
6. Energy‑Saving “Batch Cooking” with the Slow Cooker
Data from household energy meters indicates that a slow cooker uses 70 % less electricity than an oven for comparable dishes. By preparing a week’s worth of meals in one go, you also reduce prep time and food waste.
How to Execute
- Choose versatile recipes. Stews, chili, and shredded chicken adapt well to multiple meals.
- Layer ingredients correctly. Place dense vegetables (e.g., carrots, potatoes) at the bottom; they cook faster in the hot liquid.
- Set the timer. Use the “low” setting for 8‑10 hours; the “high” setting for 4‑5 hours if you need faster results.
- Cool and portion. Once done, divide into airtight containers and refrigerate or freeze for later use.
7. Quick Flavor Boost with “Infused Oil Drizzles”
Infusing olive oil with aromatics (garlic, rosemary, chili flakes) for just 10 minutes can increase perceived flavor intensity by up to 25 % according to sensory panel tests.
Simple Method
- Warm oil gently. Heat ¼ cup of olive oil in a small saucepan over low heat (≈120 °F/50 °C).
- Add aromatics. Toss in 2 cloves of smashed garlic, a sprig of rosemary, and a pinch of chili flakes.
- Steep. Remove from heat and let sit for 10 minutes, then strain.
- Finish dishes. Drizzle over roasted vegetables, grilled fish, or salads just before serving.
By incorporating these data‑backed kitchen hacks and smart cooking practices, you’ll not only save time and energy but also elevate the taste and consistency of every meal. Start with one or two techniques, track your results, and gradually build a personalized toolkit that makes home cooking both efficient and delicious.