
When you combine the art of cooking with the science of nutrition, you unlock a powerful way to boost your well‑being every day. Healthy & functional cooking isn’t just about choosing the right ingredients—it’s also about knowing how to grow them so they retain peak flavor, texture, and nutrient density. In this guide we’ll walk you through cultivating a versatile, nutrient‑rich plant right in your garden or kitchen, then show you how to transform it into delicious, functional meals that support energy, immunity, and overall health.
Why This Plant Is a Functional Food Powerhouse
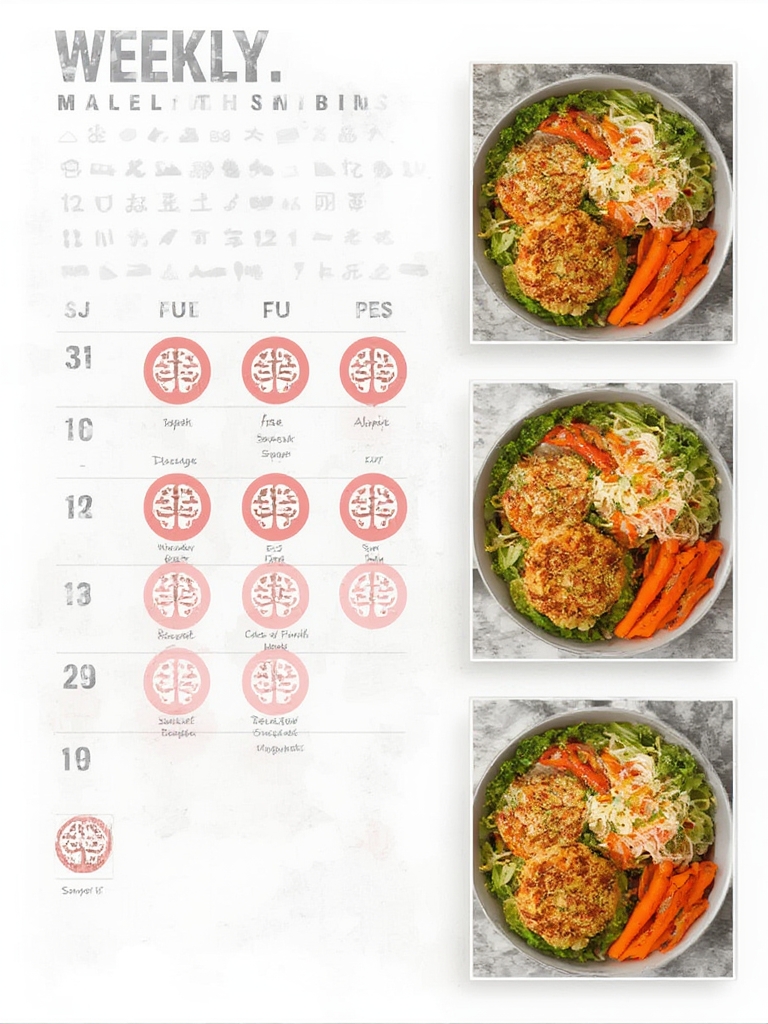
Among the many greens that can anchor a functional diet, kale stands out for its dense profile of vitamins A, C, K, and B‑complex, plus minerals like calcium, potassium, and magnesium. Its phytonutrients—especially glucosinolates and flavonoids—have been linked to anti‑inflammatory and detoxifying effects. Because kale thrives in a range of climates and can be harvested multiple times from a single sowing, it offers a reliable, year‑round source of functional nutrition.
Growing Kale at Home: A Step‑by‑Step Blueprint
Step 1: Choose the Right Variety
- Curly kale (e.g., ‘Winterbor’) – excellent for salads and smoothies.
- Lacinato (Dinosaur) kale – tender leaves, great for sautéing.
- Red Russian kale – milder flavor, ideal for raw preparations.
Tip: Pick a variety that matches your preferred cooking style; all retain high nutrient levels, but texture can influence the final dish.
Step 2: Prepare the Soil
- Test pH: Aim for 6.0–7.0. Amend with lime to raise pH or sulfur to lower it.
- Enrich with organic matter: Mix in 2–3 inches of compost or well‑rotted manure.
- Ensure good drainage: Kale dislikes waterlogged roots, which can dilute nutrient content.
Actionable advice: After adding compost, dig a shallow trench (12 inches deep) and backfill with the amended soil. This creates a loose, aerated root zone that promotes robust leaf growth.
Step 3: Sow Seeds or Transplants
- Direct sow: Plant seeds ¼ inch deep, spacing 12–18 inches apart in rows 24 inches apart.
- Transplant: Start seedlings indoors 4–6 weeks before the last frost, then harden off for 7–10 days before planting outdoors.
Tip: For continuous harvest, stagger planting every 2–3 weeks. This ensures a steady supply of young, tender leaves for raw dishes and mature leaves for cooked meals.
Step 4: Water Wisely
- Maintain consistent moisture: 1–1.5 inches of water per week, either from rainfall or drip irrigation.
- Avoid overhead watering: Wet foliage can encourage fungal diseases, reducing leaf quality.
Practical trick: Mulch with straw or shredded leaves. Mulch conserves moisture, suppresses weeds, and adds organic matter as it breaks down, boosting the plant’s nutrient profile.
Step 5: Feed for Maximum Nutrient Density
- Apply a balanced organic fertilizer (e.g., 10‑10‑10) at planting, then side‑dress with a nitrogen‑rich amendment (fish emulsion or blood meal) every 4 weeks.
- Consider a foliar spray of seaweed extract once a month to enhance micronutrient uptake.
Actionable tip: Over‑fertilizing can lead to rapid leaf growth but dilute phytonutrients. Follow label rates and observe leaf color—deep, dark green indicates optimal nutrient accumulation.
Step 6: Harvest at the Right Time
- For tender, mild leaves: Cut the outermost leaves when they reach 6–8 inches in length.
- For robust, cooked greens: Allow leaves to mature to 12–14 inches, then harvest the whole plant.
Quick tip: Use clean, sharp scissors to avoid tearing the plant. Harvest in the morning after the dew has dried for the highest vitamin C content.
Transforming Homegrown Kale into Functional Meals
Cold‑Pressed Kale Smoothie
Blend 1 cup of raw kale leaves with ½ banana, ½ cup frozen berries, 1 tablespoon chia seeds, and 1 cup unsweetened almond milk. The raw leaves preserve glucosinolates, while chia adds omega‑3s for anti‑inflammatory benefits.
Sautéed Kale with Garlic & Lemon
Heat 1 tablespoon extra‑virgin olive oil, add 2 minced garlic cloves, then toss in 2 cups chopped kale. Sauté for 3–4 minutes until wilted, finish with a squeeze of fresh lemon juice and a pinch of sea salt. This quick method enhances the bioavailability of fat‑soluble vitamins A and K.
Kale‑Infused Broth for Gut Health
Simmer kale stems, carrots, celery, and a piece of kombu in 4 cups water for 30 minutes. Strain and use as a base for soups or grain bowls. The broth extracts minerals and soluble fiber, supporting digestion and electrolyte balance.
Functional Kale Chips
Preheat the oven to 350°F (175°C). Toss torn kale leaves with 1 teaspoon olive oil, a pinch of smoked paprika, and a dash of nutritional yeast. Spread in a single layer and bake 10–12 minutes, turning halfway. The result is a crunchy snack rich in vitamin K and B‑complex, with added protein from the yeast.
Maintaining Nutrient Quality from Garden to Table
To preserve the functional compounds you’ve cultivated, follow these simple practices:
- Cool storage: Keep harvested kale in a perforated bag in the crisper drawer (32‑38°F). Use within 5 days for peak nutrients.
- Gentle washing: Rinse under cool running water; avoid soaking, which can leach water‑soluble vitamins.
- Quick processing: Blanch for 1 minute before freezing to lock in color and antioxidants if you’re not using the greens immediately.
Putting It All Together: A Sample Day of Functional Eating
Breakfast: Kale‑banana smoothie with a scoop of plant‑based protein.
Mid‑morning snack: Handful of kale chips.
Lunch: Warm quinoa bowl topped with sautéed kale, roasted sweet potato, and a drizzle of tahini‑lemon dressing.
Afternoon boost: Kale‑infused broth sipped warm.
Dinner: Grilled salmon served over a bed of kale and mixed greens, finished with a citrus vinaigrette.
This menu showcases how a single homegrown ingredient can be featured in multiple formats—raw, cooked, and liquid—delivering a balanced spectrum of functional nutrients throughout the day.
Final Thoughts
By growing your own kale, you control the soil conditions, reduce exposure to pesticides, and ensure that each leaf is harvested at its nutritional peak. Pairing this fresh, functional green with simple, science‑backed cooking techniques maximizes its health benefits while keeping meals exciting and flavorful. Start with the steps outlined above, experiment with your favorite recipes, and watch how a modest garden patch can become the cornerstone of a vibrant, health‑focused lifestyle.