Creating eye‑catching plates isn’t just about cooking skills; it’s also about the visual story you tell with fresh, vibrant ingredients. Growing your own edible plants—especially microgreens, herbs, and edible flowers—gives you control over color, texture, and seasonality, turning every dish into a miniature work of art. Below is a step‑by‑step guide that walks you through the entire process, from seed to plate, with practical tips you can apply today.
Choosing the Right Edible Plants for Aesthetic Styling
Microgreens
Microgreens are young seedlings harvested just after the first true leaves appear. Their intense colors (deep reds, purples, bright greens) and delicate textures make them perfect for garnish.
- Best varieties: radish (spicy red), beet (purple), sunflower (golden), pea shoots (sweet green).
- Why they work: They grow quickly (7‑14 days) and provide a burst of color that contrasts beautifully with main components.
Edible Flowers
Flowers such as nasturtium, pansy, and calendula add both visual flair and subtle flavor notes.
- Color palette: Nasturtium (orange‑red), pansy (deep violet), calendula (golden yellow).
- Flavor profile: Peppery (nasturtium), mild sweet (pansy), slightly citrusy (calendula).
Herbs
Fresh herbs like basil, cilantro, and mint bring a glossy green finish and aromatic lift.
- Visual impact: Large, glossy leaves create a natural frame for plated food.
- Multi‑use: Use both as garnish and flavor enhancer.
Setting Up Your Growing Space
Choosing Containers
Opt for shallow trays (2‑3 inches deep) with drainage holes. Recycled food containers work well if you add a few holes at the bottom.
- Tip: Line trays with a thin layer of peat moss or coconut coir to retain moisture without waterlogging.
Lighting
Most aesthetic edibles thrive under 12‑16 hours of bright, indirect light.
- Natural light: Place trays on a sunny windowsill facing east or west.
- Artificial light: Use LED grow lights set 12‑14 inches above the tray; a 5000 K spectrum mimics daylight.
- Tip: Rotate trays daily to ensure even growth and prevent one‑sided stretching.
Temperature & Humidity
Maintain a stable environment: 65‑75 °F (18‑24 °C) with 40‑60 % humidity.
- Tip: A simple humidifier or a tray of water nearby can boost humidity on dry days.
Planting and Care
Step 1: Prepare the Growing Medium
Fill the tray with a light, well‑draining mix (e.g., 70 % peat moss, 30 % perlite). Lightly tamp the surface to create an even base.
Step 2: Sow the Seeds
Scatter seeds evenly across the surface. For microgreens, aim for a dense but not clumped distribution; for herbs, sow more sparsely.
- Tip: Use a fine sieve for microgreen seeds to achieve uniform coverage.
Step 3: Cover and Moisturize
Gently press the seeds into the medium, then mist with a spray bottle until the surface is damp but not soggy. Cover the tray with a clear lid or another tray to retain humidity during germination.
Step 4: Light Exposure
After 2‑3 days (once seedlings break the surface), remove the cover and place the tray under your chosen light source.
- Tip: Keep the light 12‑14 inches above the seedlings to avoid scorching.
Step 5: Watering Routine
Water from the bottom by placing the tray in a shallow basin of water for 5‑10 minutes, then let excess water drain.
- Tip: Bottom‑watering reduces the risk of fungal growth on delicate leaves.
Step 6: Harvest Timing
Microgreens are ready when the first true leaves appear (usually 7‑14 days). Herbs can be trimmed once they reach 4‑6 inches in height. Edible flowers are best harvested just before full bloom for optimal color and flavor.
- Tip: Use clean, sharp scissors to cut just above the soil line, preserving the root system for a second harvest.
Harvesting for Maximum Aesthetic Impact
Cleaning and Storage
Rinse gently in cold water and pat dry with a paper towel. Store microgreens in a breathable container (e.g., a perforated bag) in the refrigerator for up to 5 days.
Pre‑Plate Preparation
Arrange harvested greens on a damp paper towel for a few minutes to revive crispness before plating.
Color Coordination
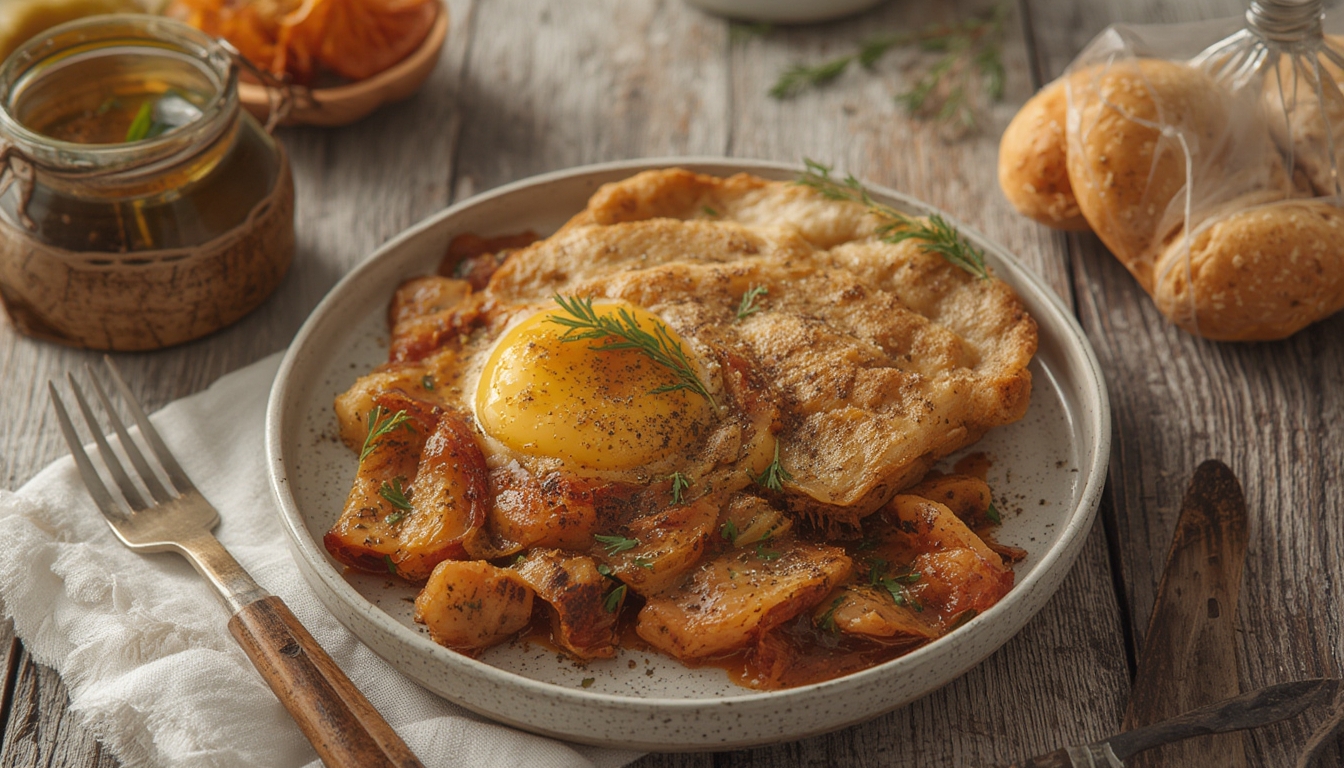
Mix contrasting colors: a purple beet microgreen bed with bright orange nasturtium petals creates a striking visual hierarchy.
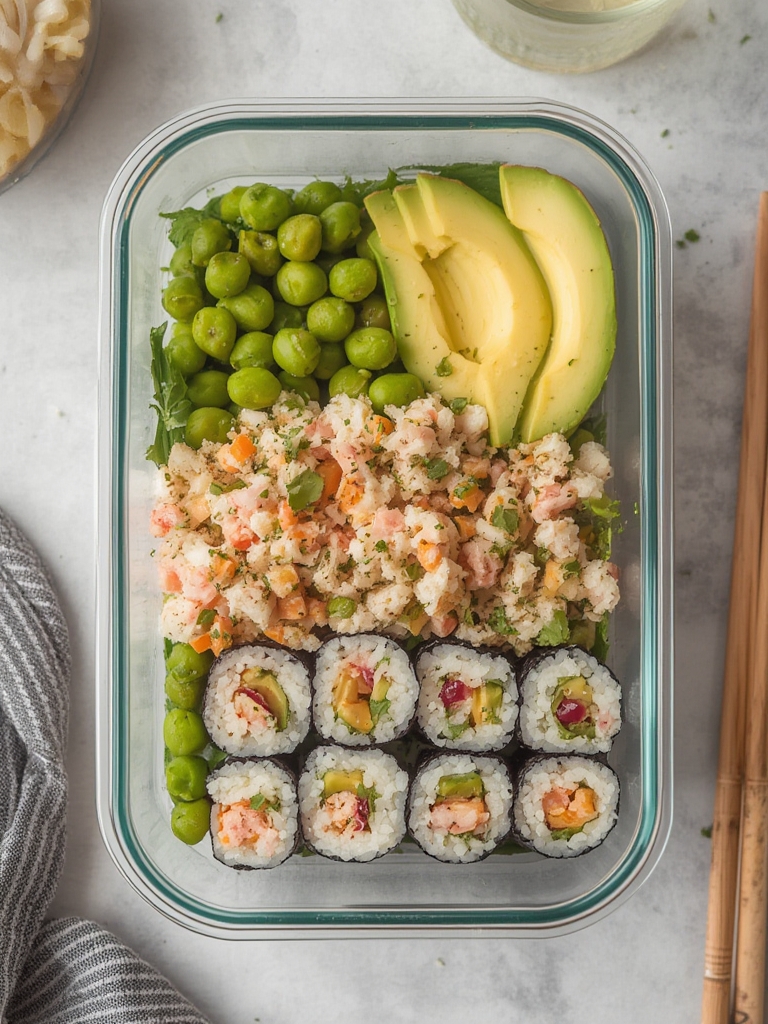
Styling Your Dishes with Home‑Grown Edibles
Layering Technique
Start with a base of neutral‑colored microgreens (e.g., pea shoots) to create a canvas. Add pops of color with edible flowers and a sprinkle of herb leaves on top.
Height and Texture
Use taller microgreens (sunflower) to add vertical interest, while delicate herbs (mint) provide a soft, flowing texture.
Plating Tools
Small tweezers or a culinary brush allow precise placement of individual petals or leaf tips, ensuring a clean, intentional look.
Finishing Touches
Lightly drizzle a flavored oil (e.g., basil‑infused olive oil) to give a subtle sheen that enhances the visual depth of the greens.
Troubleshooting Common Issues
Leggy or Spindly Growth
Cause: Insufficient light.
Solution: Move trays closer to the light source or increase LED intensity. Rotate trays daily.
Mold or Fungal Spots
Cause: Over‑watering or poor airflow.
Solution: Switch to bottom‑watering, increase spacing between trays, and use a fan for gentle circulation.
Uneven Color Development
Cause: Inconsistent seed distribution.
Solution: Use a seed‑sieving method for microgreens and thin seedlings if they become overcrowded.
Final Thoughts
Integrating home‑grown microgreens, herbs, and edible flowers into your kitchen routine transforms ordinary meals into visual experiences. By following the steps above—selecting the right varieties, setting up a controlled growing environment, caring for the plants with precise watering and lighting, and thoughtfully arranging the harvest on the plate—you’ll consistently produce vibrant, Instagram‑ready dishes. The best part? The entire process is quick, affordable, and sustainable, giving you fresh, flavorful, and beautiful ingredients at your fingertips.