
Welcome to your all‑in‑one guide on turning a humble garden staple into a cornerstone of healthy, functional cooking. Whether you’re a seasoned home‑chef or just starting your culinary adventure, growing your own kale provides fresh, nutrient‑dense leaves that can be transformed into vibrant meals, smoothies, and snacks. This post walks you through the science‑backed benefits of kale, a step‑by‑step planting plan, and easy‑to‑follow recipes that keep the nutritional punch intact. Let’s dive into the garden first, then bring those greens straight to the plate.
Why Choose Kale for Healthy & Functional Cooking
Nutritional Powerhouse
Kale belongs to the cruciferous family, renowned for high levels of vitamins A, C, K, and folate. One cup of raw kale delivers roughly 80 % of the daily vitamin K requirement and 70 % of vitamin C, both of which support immune function and collagen synthesis. Research shows that the glucosinolates in kale convert to sulforaphane during cooking—a compound linked to reduced inflammation and enhanced detox pathways. Pairing kale with a little healthy fat (olive oil or avocado) improves the absorption of fat‑soluble vitamins, making it an ideal base for functional meals.
Step‑by‑Step Guide to Growing Your Own Kale
1. Selecting the Right Variety
Choose a variety that matches your climate and culinary goals. Lacinato (Dinosaur) offers a slightly sweeter flavor, perfect for raw salads, while Red Russian tolerates colder temperatures and adds a pop of color to sautés. Check seed packets for the recommended planting window; most kale thrives when sown 4–6 weeks before the last frost date.
2. Preparing the Soil
Kale prefers a well‑draining loam with a pH of 6.0–7.0. Amend the bed with 2–3 inches of compost or well‑rotted manure to boost organic matter and improve moisture retention. For data‑driven growers, a simple soil test (available at garden centers) can confirm nutrient levels; aim for nitrogen (N) around 150 ppm, phosphorus (P) 30 ppm, and potassium (K) 150 ppm to promote leafy growth.
3. Sowing Seeds
Plant seeds ¼ inch deep, spacing them 12–18 inches apart to allow airflow—critical for disease prevention. If you’re using a raised bed, sow in rows 24 inches apart. Water gently with a fine mist to avoid displacing seeds. For a continuous harvest, sow a new batch every 2–3 weeks throughout the growing season.
4. Caring for Young Plants
Keep the soil consistently moist but not soggy; a moisture level of 60–70 % (measured with a handheld meter) is ideal. Mulch with straw or shredded leaves to retain moisture and suppress weeds. As seedlings develop their first true leaves, thin them to the recommended spacing—this reduces competition and encourages robust leaf development.
5. Managing Pests & Diseases
Common culprits include aphids, cabbage loopers, and downy mildew. Use a preventative spray of neem oil (1 tsp per gallon of water) every 7–10 days, and introduce beneficial insects like ladybugs to keep aphids in check. If you notice yellowing patches, increase airflow by spacing plants a bit wider and avoid overhead watering, which creates a humid environment favorable to mildew.
6. Harvesting at Peak Flavor
Begin harvesting when leaves reach 6–8 inches in length. Cut the outer leaves at the base, leaving the central stem intact; the plant will continue producing new leaves for up to 90 days. For maximum nutrient retention, harvest in the early morning after dew has dried but before the sun intensifies, as this preserves vitamin C levels.
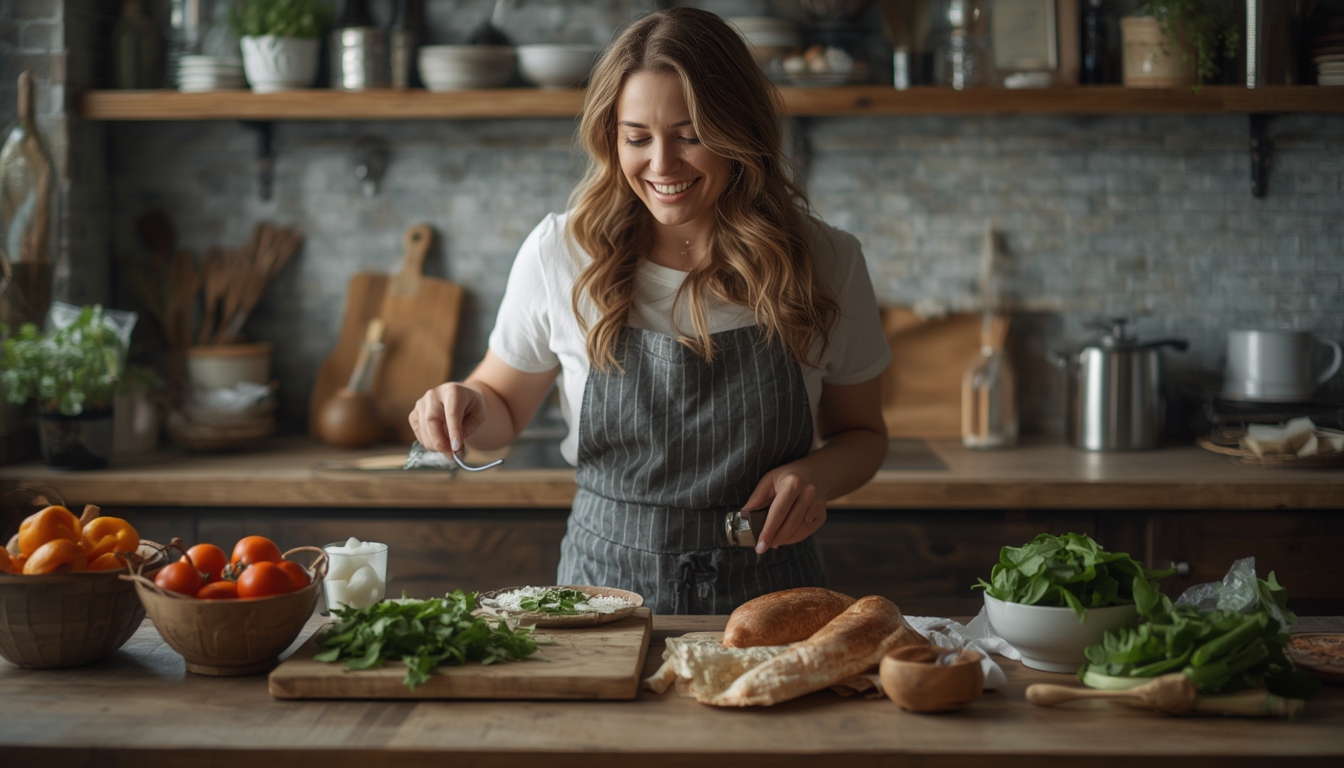
From Garden to Table: Simple Functional Recipes
Kale Power Smoothie
- Ingredients: 1 cup packed kale leaves (stems removed), 1 frozen banana, ½ cup frozen blueberries, 1 tbsp chia seeds, 1 cup unsweetened almond milk, a pinch of ground cinnamon.
- Method: Blend kale with almond milk first (30 seconds) to break down fibrous tissue, then add the remaining ingredients and blend until smooth. The chia seeds add omega‑3 fatty acids, while blueberries boost antioxidants, creating a balanced, anti‑inflammatory breakfast.
Warm Kale & Quinoa Bowl
- Ingredients: 2 cups cooked quinoa, 1 tbsp olive oil, 2 cloves garlic (minced), 1 cup chopped kale, ¼ cup toasted pumpkin seeds, ½ cup crumbled feta, lemon zest, salt & pepper to taste.
- Method: Heat olive oil in a skillet over medium heat, sauté garlic for 30 seconds, then add kale. Cook, stirring, for 3–4 minutes until wilted but still bright green. Toss the sautéed kale with quinoa, pumpkin seeds, and feta. Finish with a sprinkle of lemon zest for a vitamin C boost that enhances iron absorption from the kale.
These recipes illustrate how fresh, home‑grown kale can be integrated into everyday meals without sacrificing flavor or nutrition. By following the planting steps above, you’ll enjoy a steady supply of vibrant leaves, reducing grocery costs and ensuring that every bite is packed with functional benefits.
Maintaining Success Year‑Round
To keep your kale thriving beyond a single season, consider a few additional practices. In cooler climates, use a floating row cover to extend the harvest into early winter; studies show that kale can tolerate temperatures as low as 20 °F when protected. For hotter regions, provide partial shade during the hottest afternoon hours to prevent bolting (premature flowering), which can make leaves bitter. Finally, rotate your kale planting spot every 2–3 years to reduce soil‑borne disease buildup and maintain soil health.
With these data‑driven growing techniques and functional cooking ideas, you’re equipped to turn a simple garden vegetable into a cornerstone of a nutritious lifestyle. Harvest, cook, and enjoy the vibrant health benefits that only fresh, home‑grown kale can deliver.