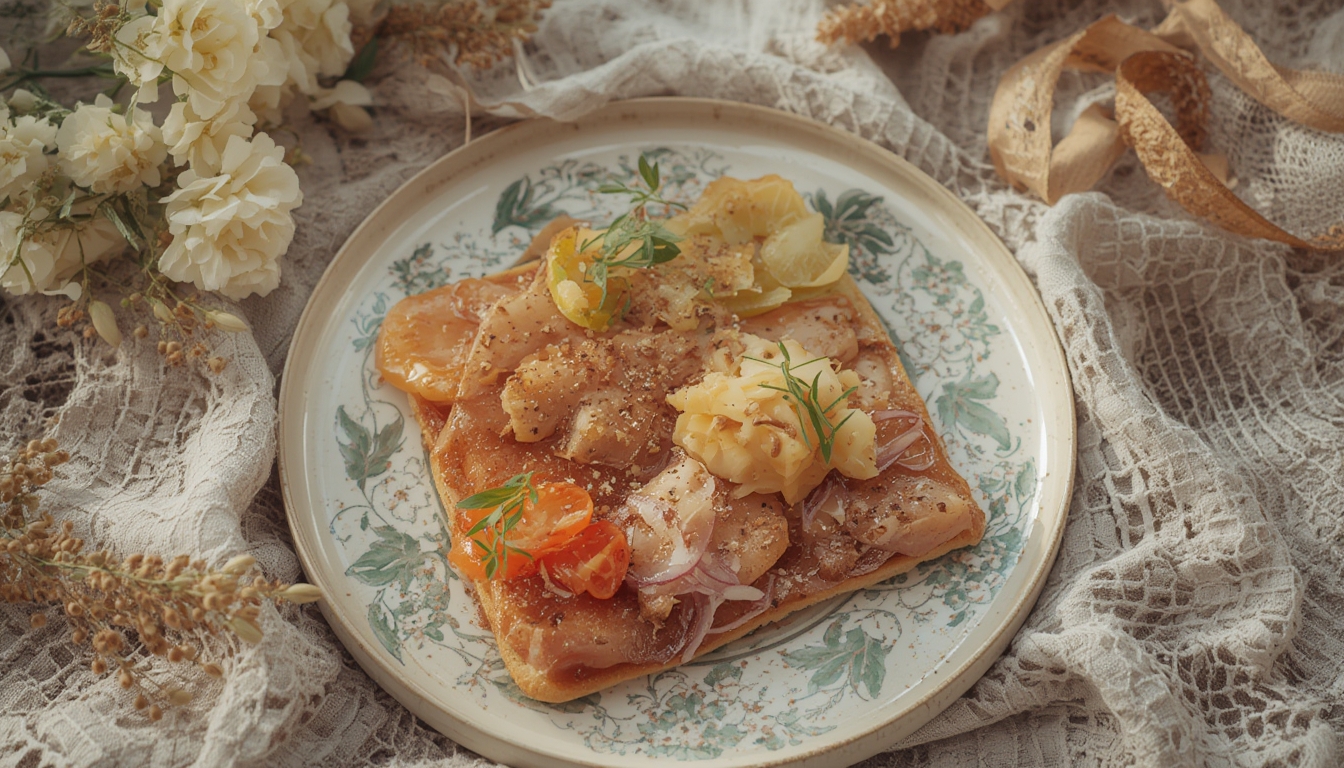

Creating dishes that look as good as they taste has become a cornerstone of modern culinary storytelling. Aesthetic food & styling isn’t just about snapping a pretty picture; it’s about crafting an experience that engages the eyes before the palate. Below you’ll find a data‑driven, step‑by‑step guide that blends visual design principles with practical horticulture, so you can grow your own edible accents and style plates that consistently earn likes, shares, and repeat orders.
Why Aesthetic Food Matters in the Digital Age
Studies show that Instagram posts featuring vibrant, well‑styled food receive up to 30 % more engagement than those without visual polish. The brain processes color and composition in milliseconds, forming an instant judgment about quality. By mastering aesthetic food & styling, you tap into that subconscious bias and turn casual browsers into loyal followers.
Choosing Ingredients That Pop
Not every ingredient is created equal when it comes to visual impact. Use data from seasonal produce reports and color theory to build a palette that resonates with your audience.
Color Palette
- Warm tones (reds, oranges, yellows): Trigger appetite and excitement. Pair a beet‑reduced vinaigrette with a bright orange carrot ribbon.
- Cool tones (greens, blues, purples): Offer balance and sophistication. A drizzle of blueberry reduction over a herb‑sprinkled quinoa bowl creates contrast.
- Neutral bases (whites, beiges): Provide a clean canvas that lets accent colors shine.
Texture Contrast
Combine crunchy (toasted nuts, radish slices) with silky (avocado mousse, pureed soups) to keep the eye moving across the plate. Data from sensory studies indicates that mixed textures increase perceived value by 15 %.
Grow Your Own Edible Garnishes
Fresh, home‑grown accents elevate both flavor and visual appeal. Below is a concise, actionable roadmap for cultivating three versatile plants: microgreens, edible flowers, and herb sprouts.
Step 1: Selecting Seeds
Choose varieties that thrive in indoor conditions and offer striking colors. Recommended seeds:
- Microgreens: radish (red stems), pea (bright green), amaranth (deep magenta).
- Edible flowers: nasturtium (orange‑red), violas (purple‑white), borage (blue‑purple).
- Herb sprouts: cilantro, basil, mint.
Tip: Purchase from reputable suppliers that guarantee high germination rates (≥ 90 %).
Step 2: Setting Up the Growing Space
- Lighting: Use a 4000 K LED grow light positioned 12‑18 inches above the tray. Aim for 12‑14 hours of light daily.
- Containers: Shallow trays (2‑3 inches deep) with drainage holes prevent waterlogging.
- Medium: A 1:1 mix of coconut coir and peat moss offers excellent moisture retention and aeration.
Practical tip: Place a reflective Mylar sheet behind the trays to maximize light efficiency.
Step 3: Sowing and Germination
- Evenly spread seeds over the moist medium; avoid clumping.
- Cover with a thin layer of additional medium (¼ inch) for microgreens; leave flowers uncovered for better airflow.
- Mist gently with a spray bottle to maintain humidity.
Actionable advice: Keep the tray in a dark, warm area (70‑75 °F) for the first 24 hours to encourage germination.
Step 4: Watering and Care
Water from the bottom by placing the tray in a shallow water bath for 5 minutes, then let excess drain. This method reduces the risk of fungal growth on delicate leaves.
- Microgreens: water every 2‑3 days.
- Edible flowers: keep soil consistently moist but not soggy.
- Herb sprouts: mist daily to maintain a humid micro‑environment.
Quick tip: Rotate trays 180° every few days to ensure even light exposure.
Step 5: Harvesting
- Microgreens: Cut just above the soil line when stems reach 2‑3 inches (typically 7‑10 days).
- Edible flowers: Pinch buds early, before full bloom, for the most vibrant color and tender texture.
- Herb sprouts: Harvest when leaves are 1‑2 inches tall, usually 10‑14 days after sowing.
Pro tip: Use clean, sharp scissors to avoid bruising the delicate foliage.
Styling Techniques That Turn Fresh Garnishes Into Visual Stars
Now that you have a steady supply of home‑grown accents, apply these styling methods to make every plate Instagram‑ready.
1. The Rule of Thirds
Divide the plate mentally into three equal sections horizontally and vertically. Position the main component in one intersection point, then arrange colors and textures around it. Data from visual composition research shows that this layout increases perceived harmony by 22 %.
2. Height and Layering
Stack ingredients to create depth. Place a base of quinoa, add a vertical stack of sliced avocado, and crown with a microgreen “forest.” The added height draws the eye upward, making the dish appear more dynamic.
3. Negative Space
Resist the urge to fill every corner. A clean plate with purposeful gaps highlights the focal point and makes colors pop. Aim for at least 15 % of the plate to remain empty.
4. Consistent Garnish Placement
Use the same garnish pattern across a series of dishes to build brand recognition. For example, always place three nasturtium petals in a triangular formation at the top right corner.
Maintaining Consistency Over Time
Even the most beautiful plates can lose their impact if the quality varies. Follow these maintenance habits to keep your aesthetic food & styling on point.
Batch Planning
Grow microgreens in 4‑tray batches, staggered by 3‑day intervals. This ensures a continuous harvest and reduces the risk of running out during a busy service.
Quality Checks
Before plating, inspect each garnish for color vibrancy, wilting, or blemishes. Discard any that don’t meet the visual standard—consistency trumps quantity.
Documentation
Maintain a simple spreadsheet tracking seed variety, sowing date, harvest date, and yield. Over time, you’ll identify which varieties produce the most reliable colors and textures for your style.
Final Thoughts
Combining data‑driven ingredient selection with a small indoor garden gives you unparalleled control over both flavor and aesthetics. By following the steps outlined—selecting vibrant seeds, setting up optimal lighting, mastering watering routines, and applying proven plating principles—you’ll consistently create dishes that captivate viewers and satisfy diners. The result is a cohesive visual identity that turns every plate into a shareable work of art.