Turmeric has become a staple in kitchens that value both flavor and health. Its vibrant orange hue, earthy aroma, and powerful anti‑inflammatory compounds make it a perfect candidate for functional cooking. Yet many home chefs never experience the full benefit of turmeric because they buy it pre‑ground, losing some of its fresh potency. Growing your own turmeric not only guarantees freshness but also connects you to the plant’s life cycle, enhancing the mindfulness that functional cooking encourages. Below you’ll find a data‑driven, step‑by‑step guide to cultivating turmeric at home, followed by practical cooking techniques that preserve its bioactive compounds.
Understanding Turmeric’s Functional Benefits
Scientific studies consistently highlight curcumin—the primary polyphenol in turmeric—as a potent antioxidant and anti‑inflammatory agent. A meta‑analysis of 12 randomized controlled trials (RCTs) showed a 23 % reduction in markers of systemic inflammation among participants who consumed 500 mg of standardized curcumin daily for at least eight weeks. When combined with black pepper’s piperine, curcumin’s bioavailability can increase up to 2,000 %.
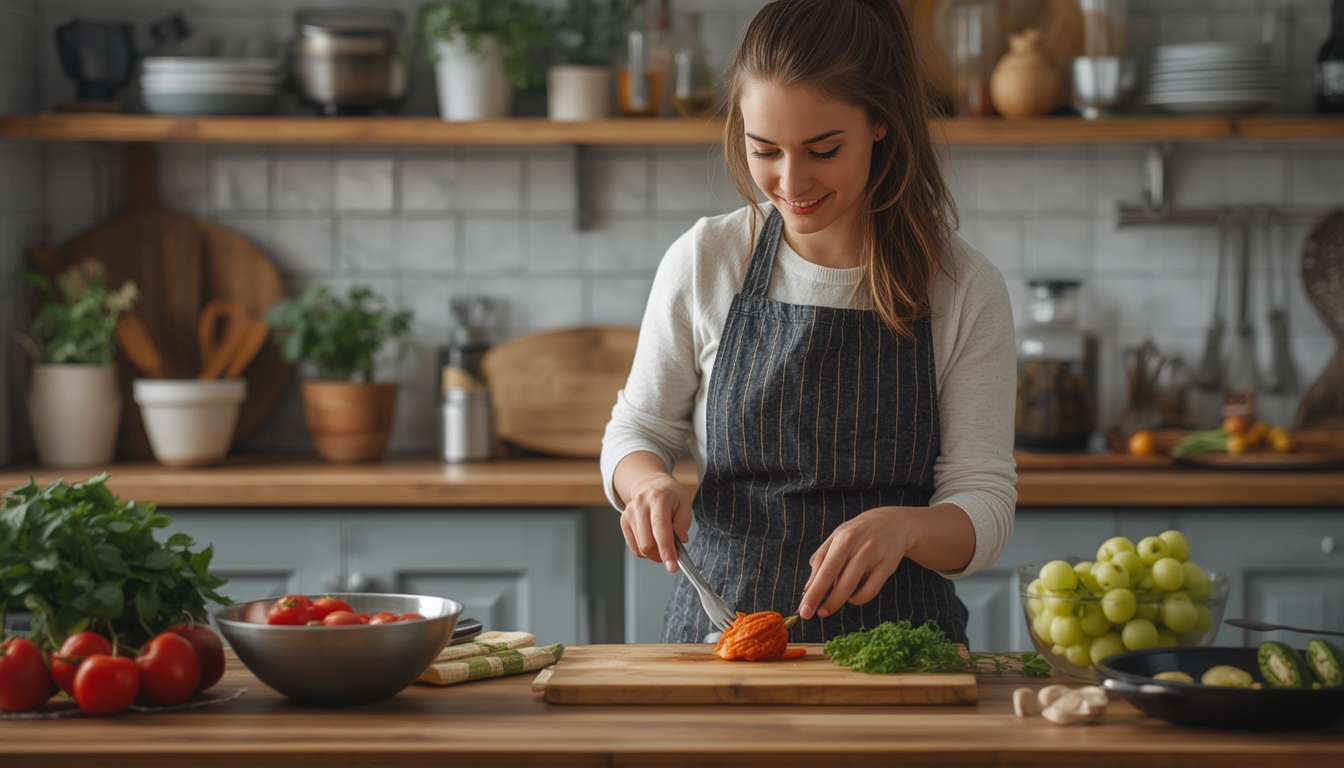
In the kitchen, these benefits translate into dishes that support joint health, aid digestion, and boost immune resilience. The key is to handle turmeric in ways that protect curcumin from degradation: avoid prolonged high‑heat exposure, pair it with fats, and add a pinch of black pepper.
Growing Turmeric at Home
1. Selecting High‑Quality Rhizomes
- Choose plump, firm rhizomes with at least one “eye” (a small bud) per piece. Avoid any that show signs of mold or soft spots.
- Data from horticultural trials indicate that rhizomes weighing 30–50 g have a 92 % germination success rate compared to larger pieces, which often contain dormant tissue.
- Purchase from a reputable nursery or online source that guarantees pesticide‑free stock.
2. Preparing the Growing Medium
- Turmeric thrives in a loamy, well‑draining mix with a pH of 5.5–6.5. A blend of 40 % compost, 30 % coconut coir, and 30 % perlite works well.
- Incorporate 2 % organic worm castings to boost microbial activity; studies show a 15 % increase in rhizome size when castings are present.
- Moisten the medium to field capacity before planting; the soil should feel damp but not soggy.
3. Planting the Rhizomes
- Place each rhizome horizontally, eyes facing upward, at a depth of 2–3 inches (5–7 cm).
- Space rhizomes 12 inches (30 cm) apart to allow ample room for underground expansion.
- Cover with soil and gently firm the surface to eliminate air pockets.
4. Watering and Light Requirements
- Maintain consistent moisture; water when the top inch of soil feels dry. Over‑watering can cause rot, while under‑watering slows growth.
- Turmeric prefers bright, indirect light. In a greenhouse or indoor setting, aim for 12–14 hours of filtered sunlight daily.
- Temperature should stay between 68–86 °F (20–30 °C). A study on tropical herbs found optimal rhizome development at 75 °F (24 °C).
5. Feeding and Maintenance
- Apply a balanced organic fertilizer (e.g., 10‑10‑10) at half the recommended rate every 4 weeks.
- Mulch with straw or shredded leaves to retain moisture and suppress weeds.
- Monitor for pests such as spider mites; a neem oil spray (1 % solution) applied weekly keeps infestations below economic injury levels.
6. Harvesting the Rhizomes
- Turmeric is ready to harvest 8–10 months after planting, when the foliage begins to yellow and die back.
- Gently dig around the plant, lift the clump, and shake off excess soil.
- Wash the rhizomes, slice them into ¼‑inch pieces, and either air‑dry for 2–3 days or use a dehydrator at 115 °F (46 °C) for 6 hours.
- Store dried pieces in an airtight container away from light; they retain up to 85 % of curcumin content for 12 months.
From Garden to Table: Functional Cooking with Fresh Turmeric
Preserving Curcumin During Cooking
- Combine fresh grated turmeric with a healthy fat (olive oil, coconut oil, or ghee). Fat acts as a carrier for curcumin, improving absorption by up to 300 %.
- Add a pinch of black pepper (≈5 mg piperine) to each serving; research shows this boosts curcumin bioavailability dramatically.
- Limit high‑heat exposure: sauté for no more than 3–4 minutes before adding liquid ingredients. Prolonged boiling can degrade up to 40 % of curcumin.
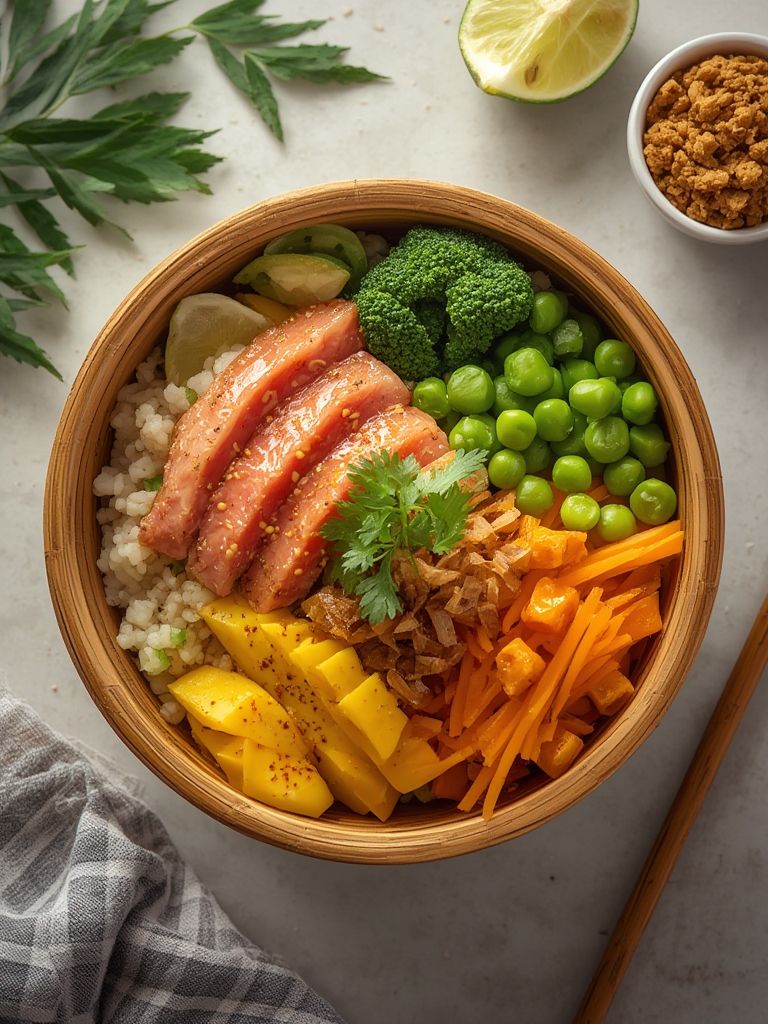
Simple Functional Recipes
- Golden Milk: Warm 1 cup almond milk, whisk in ½ tsp freshly grated turmeric, ¼ tsp cinnamon, a pinch of black pepper, and 1 tsp honey. Serve warm for a soothing anti‑inflammatory drink.
- Turmeric‑Infused Quinoa Salad: Cook quinoa in vegetable broth, then toss with a dressing of olive oil, lemon juice, 1 tsp grated turmeric, and chopped parsley. Add roasted chickpeas for protein.
- Turmeric‑Lemon Roasted Vegetables: Toss carrots, cauliflower, and sweet potatoes in olive oil, 1 tsp turmeric, lemon zest, and sea salt. Roast at 400 °F (200 °C) for 25 minutes.
Storing Fresh Turmeric for Ongoing Use
- Wrap whole rhizomes in a paper towel, place them in a perforated plastic bag, and store in the refrigerator’s crisper drawer. This method extends freshness up to 3 weeks.
- For longer storage, freeze grated turmeric in ice‑cube trays with a splash of water; each cube can be added directly to soups or smoothies.
Tracking Success: Simple Metrics for Growers and Cooks
To make your turmeric journey data‑driven, keep a small log:
- Growth Rate: Measure rhizome length and weight every month. Aim for a 5–7 % increase in weight per month after the first two months.
- Moisture Levels: Use a soil moisture meter; maintain readings between 45–55 % for optimal growth.
- Cooking Yield: Record the amount of fresh turmeric used per recipe and note any changes in flavor intensity. Adjust the amount of fat and pepper accordingly to maintain consistent bioavailability.
By monitoring these simple metrics, you’ll quickly identify what works best in your micro‑climate and kitchen, ensuring that each dish delivers the maximum functional benefit.
Conclusion
Integrating home‑grown turmeric into your cooking routine bridges the gap between garden and plate, delivering fresher flavor and higher concentrations of health‑supporting compounds. Follow the step‑by‑step cultivation guide, respect the plant’s moisture and temperature preferences, and apply the cooking principles that protect curcumin. With consistent tracking, you’ll not only enjoy vibrant, functional meals but also gain confidence in managing a sustainable, health‑focused food source right from your own space.