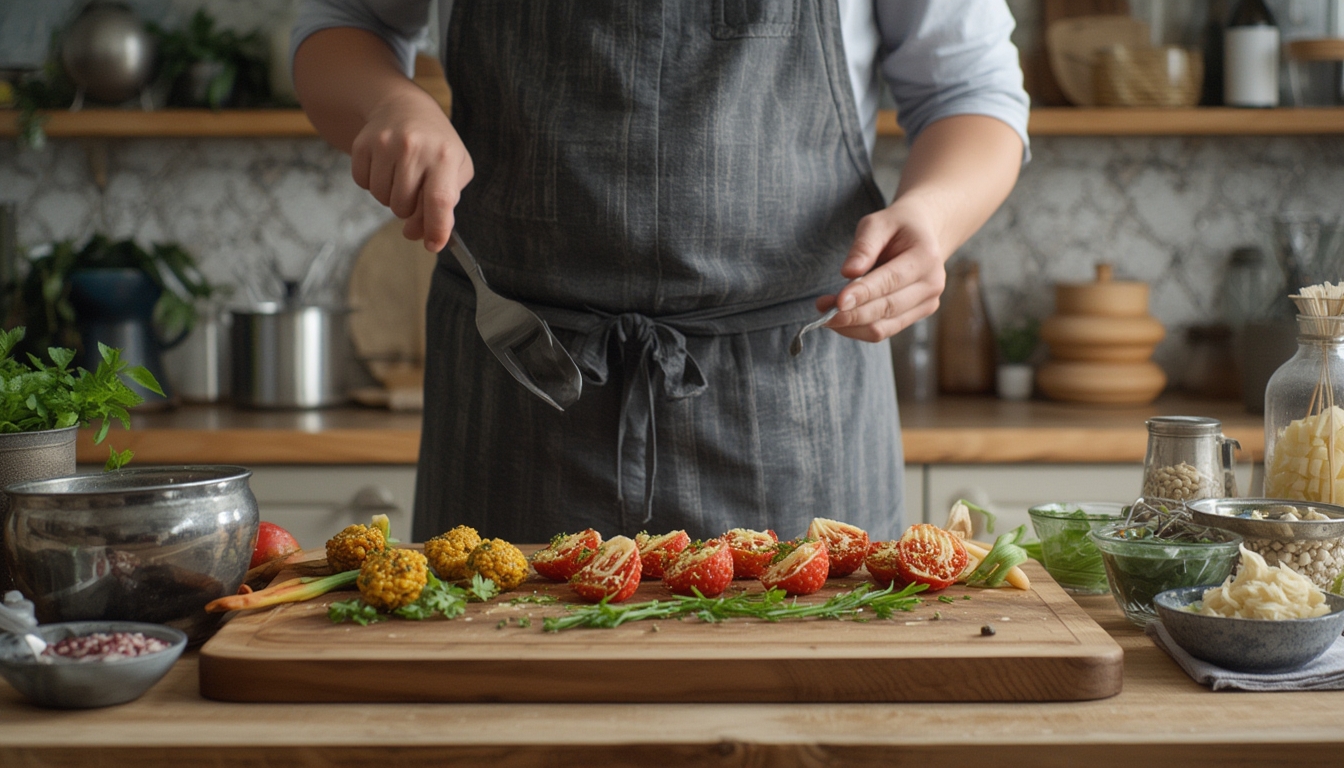
Healthy & functional cooking starts long before the skillet heats up – it begins in the garden, where fresh, nutrient‑dense ingredients are cultivated with care. By growing your own herbs, leafy greens, and root vegetables, you not only guarantee flavor and potency, but you also gain control over the soil quality, water usage, and harvesting times that directly impact the nutritional profile of each bite. Below is a step‑by‑step guide to planting, nurturing, and harvesting a versatile garden staple – kale – and turning it into a series of functional dishes that boost immunity, support digestion, and sustain energy throughout the day.
Choosing the Right Variety and Preparing the Site
1. Select a cold‑tolerant kale cultivar
- Look for varieties such as ‘Winterbor’, ‘Dwarf Blue Curled’, or ‘Red Russian’ which thrive in cooler temperatures and develop sweeter leaves after a light frost.
- These cultivars are rich in glucosinolates, vitamin K, and antioxidants that support detoxification pathways.
2. Test and amend the soil
- Conduct a simple pH test; kale prefers a slightly acidic to neutral range (pH 6.0‑7.0).
- Incorporate well‑rotted compost or aged manure at a rate of 2‑3 inches (5‑7 cm) to improve organic matter and microbial activity.
- Mix in a balanced granular fertilizer (10‑10‑10) at half the recommended dosage to avoid excessive nitrogen that can diminish flavor.
3. Layout and spacing
- Space seeds or transplants 12‑18 inches (30‑45 cm) apart in rows 24‑30 inches (60‑75 cm) apart to ensure good air circulation.
- Consider a raised‑bed design if your garden soil is heavy clay; this improves drainage and root penetration.
Planting and Early Care
1. Direct sowing vs. transplanting
- For a quick start, sow seeds ¼‑½ inch (0.6‑1.3 cm) deep after the last frost. Thin seedlings to the recommended spacing once they have two true leaves.
- If using transplants, plant them at the same depth they were in the nursery pot, gently firming the soil around the root ball.
2. Watering fundamentals
- Maintain consistent moisture – aim for about 1 inch (2.5 cm) of water per week, adjusting for rainfall.
- Water at the base of the plant to keep foliage dry, reducing the risk of fungal diseases such as downy mildew.
- Mulch with straw or shredded leaves to retain soil moisture and suppress weeds.
3. Early pest management
- Inspect leaves weekly for aphids and cabbage loopers. Hand‑pick visible pests and spray a mild neem oil solution (1 teaspoon per quart of water) if infestations appear.
- Introduce beneficial insects like ladybugs or lacewings by planting companion flowers such as marigold and dill nearby.
Mid‑Season Maintenance and Harvesting
1. Fertilization schedule
- Apply a side‑dressing of compost or a slow‑release organic fertilizer every 4‑6 weeks to sustain steady growth.
- For a functional boost, sprinkle a teaspoon of seaweed extract around the base of each plant once a month; it supplies micronutrients that enhance phytonutrient synthesis.
2. Pruning for continuous harvest
- Begin “cut‑and‑come‑again” harvesting when leaves reach 6‑8 inches (15‑20 cm) in length. Cut the outermost leaves at the base, leaving the central growing point intact.
- This method encourages the plant to produce new foliage, extending the harvest window well into late autumn.
3. Managing bolting
- Kale may bolt (send up a flower stalk) as temperatures rise. If you notice a central stem elongating, cut it back promptly to redirect energy to leaf production.
- Harvesting the entire plant before severe bolting preserves the highest concentration of glucosinolates.
From Garden to Table: Functional Recipes Using Fresh Kale
1. Kale‑Power Smoothie
Ingredients: 2 cups packed kale leaves, 1 ripe banana, ½ cup frozen blueberries, 1 tablespoon chia seeds, 1 cup unsweetened almond milk.
Method: Blend all ingredients until smooth. The combination of kale’s vitamin C, chia’s omega‑3 fatty acids, and blueberries’ anthocyanins creates a synergistic antioxidant boost that supports cellular repair.
2. Warm Kale & Quinoa Salad
Ingredients: 1 cup cooked quinoa, 2 cups sautéed kale (lightly wilted in 1 teaspoon olive oil), ¼ cup toasted pumpkin seeds, 2 tablespoons lemon‑tahini dressing.
Method: Toss the quinoa with the kale, sprinkle pumpkin seeds for zinc, and drizzle the dressing. This dish balances complex carbs, plant‑based protein, and healthy fats, ideal for post‑workout recovery.
3. Fermented Kale Kimchi
Ingredients: 1 pound chopped kale, 2 tablespoons sea salt, 1 tablespoon grated ginger, 2 cloves minced garlic, 1 teaspoon Korean red pepper flakes, 1 cup filtered water.
Method: Massage salt into the kale for 10 minutes, then pack tightly into a clean jar. Add the spice mixture and water, ensuring the leaves stay submerged. Seal and ferment at room temperature for 3‑5 days. The probiotic‑rich kimchi enhances gut microbiome diversity, supporting digestion and immune function.
Seasonal Care and Storage Tips
1. Extending freshness
- Wrap harvested kale leaves in a damp paper towel and store in a perforated plastic bag in the refrigerator’s crisper drawer. This maintains crispness for up to 10 days.
- For longer storage, blanch leaves briefly (30 seconds), shock in ice water, then freeze in airtight bags. Frozen kale retains most of its nutrients for up to 12 months.
2. Preparing for the next planting cycle
- After the final harvest, clear all plant debris to reduce disease carryover.
- Turn the soil, incorporate a generous layer of compost, and allow the bed to rest for 2‑3 weeks before sowing a spring crop of kale or another leafy green.
By integrating these cultivation practices with functional cooking techniques, you create a feedback loop where the garden fuels the kitchen, and the kitchen celebrates the garden’s bounty. The result is a sustainable, nutrient‑dense lifestyle that supports health goals while delivering delicious, vibrant meals every day.