Creating visually stunning dishes isn’t just about plating technique; the ingredients themselves can be cultivated to become the centerpiece of your aesthetic food styling. Growing your own edible flowers, micro‑greens, and herb “brushes” gives you full control over color, texture, and freshness, turning every plate into a work of art. Below is a data‑driven, step‑by‑step guide to growing and caring for these plants, followed by practical styling tips you can apply immediately in the kitchen.
Choosing the Right Plants for Aesthetic Food Styling
Research shows that dishes featuring edible flowers and micro‑greens receive up to 30 % higher visual appeal scores in consumer surveys. The most popular choices include:
- Edible Flowers: Nasturtium, pansies, violets, and calendula.
- Micro‑greens: Radish, pea shoots, sunflower, and beet greens.
- Herb Brushes: Thyme, rosemary, and mint, harvested in thin, brush‑like stems.
Each of these plants offers a distinct color palette and texture that can be matched to the cuisine you’re presenting.
Step‑by‑Step Growing Guide
1. Seed Selection and Preparation
Start with high‑quality, certified organic seeds. Data from horticultural studies indicates a germination rate increase of 12 % when seeds are soaked in room‑temperature water for 12‑24 hours before planting. For delicate flowers like pansies, a brief 30‑minute soak is sufficient; for tougher seeds like sunflower micro‑greens, extend to 24 hours.
Action tip: Label each seed batch with the planting date and expected harvest window. This simple habit reduces confusion and helps you plan your plating schedule.
2. Soil Mix and Container Choice
Use a lightweight, well‑draining mix: 40 % peat moss, 30 % perlite, and 30 % composted bark. A study of substrate moisture retention shows this blend maintains optimal water levels for both flowers and micro‑greens, preventing root rot while keeping seedlings moist.
Choose shallow trays (2‑3 inches deep) for micro‑greens and deeper pots (6‑8 inches) for edible flowers. Ensure containers have drainage holes; line the bottom with a mesh screen to prevent soil loss.
Action tip: Place a thin layer of horticultural charcoal at the bottom of each container to improve aeration and reduce fungal risk.
3. Sowing and Spacing
For micro‑greens, scatter seeds evenly across the surface, then gently press them into the soil using a board. Aim for a density of 10‑12 seeds per square inch. For edible flowers, sow 2‑3 seeds per pot, spacing them 4‑6 inches apart to allow full bloom.
After sowing, mist the surface with a fine spray bottle to settle the seeds without displacing them.
Action tip: Use a ruler to measure spacing precisely; consistent spacing leads to uniform growth, which translates into a cleaner visual presentation on the plate.
4. Light, Temperature, and Humidity
Data from controlled‑environment experiments indicates:
- Micro‑greens thrive at 65‑75 °F (18‑24 °C) with 12‑16 hours of light.
- Edible flowers prefer 70‑80 °F (21‑27 °C) and 10‑12 hours of light.
Use full‑spectrum LED grow lights positioned 12‑18 inches above the trays. Maintain humidity at 50‑60 % for micro‑greens and slightly lower (45‑55 %) for flowers to prevent mildew.
Action tip: Set a timer for your grow lights to ensure consistent photoperiods. A simple 24‑hour plug‑in timer works well for most home setups.
5. Watering Routine
Micro‑greens require a consistently moist surface but should never sit in standing water. Water from the bottom by placing trays in a shallow tray of water for 5‑10 minutes, then allow excess to drain.
Edible flowers need deep, infrequent watering—approximately 1 inch of water per week—allowing the top inch of soil to dry between sessions.
Action tip: Use a moisture meter to avoid over‑watering. When the reading shows “dry” at a depth of 1 inch, it’s time to water.
6. Feeding and Nutrient Management
Apply a diluted, balanced liquid fertilizer (10‑10‑10) at half strength every two weeks for flowers. Micro‑greens typically do not require additional feeding if the soil mix contains composted bark, but a light foliar spray of seaweed extract can boost color intensity.
Action tip: Keep a small notebook of fertilizer dates and concentrations. Consistency in feeding correlates with more vibrant pigments, which are crucial for aesthetic plating.
7. Harvesting Techniques
Micro‑greens are ready in 7‑14 days, when the first true leaves appear. Use clean scissors to cut just above the soil line, preserving the root system for a second, smaller harvest.
Edible flowers should be harvested in the early morning when moisture content is highest. Pinch off buds before they fully open for a tighter, more defined shape; fully opened blooms add a softer, romantic feel.
Action tip: Store harvested greens and flowers in a breathable produce bag in the refrigerator. Use within 24‑48 hours for maximum color and texture.
Integrating Home‑Grown Ingredients into Aesthetic Food Styling
Color Coordination
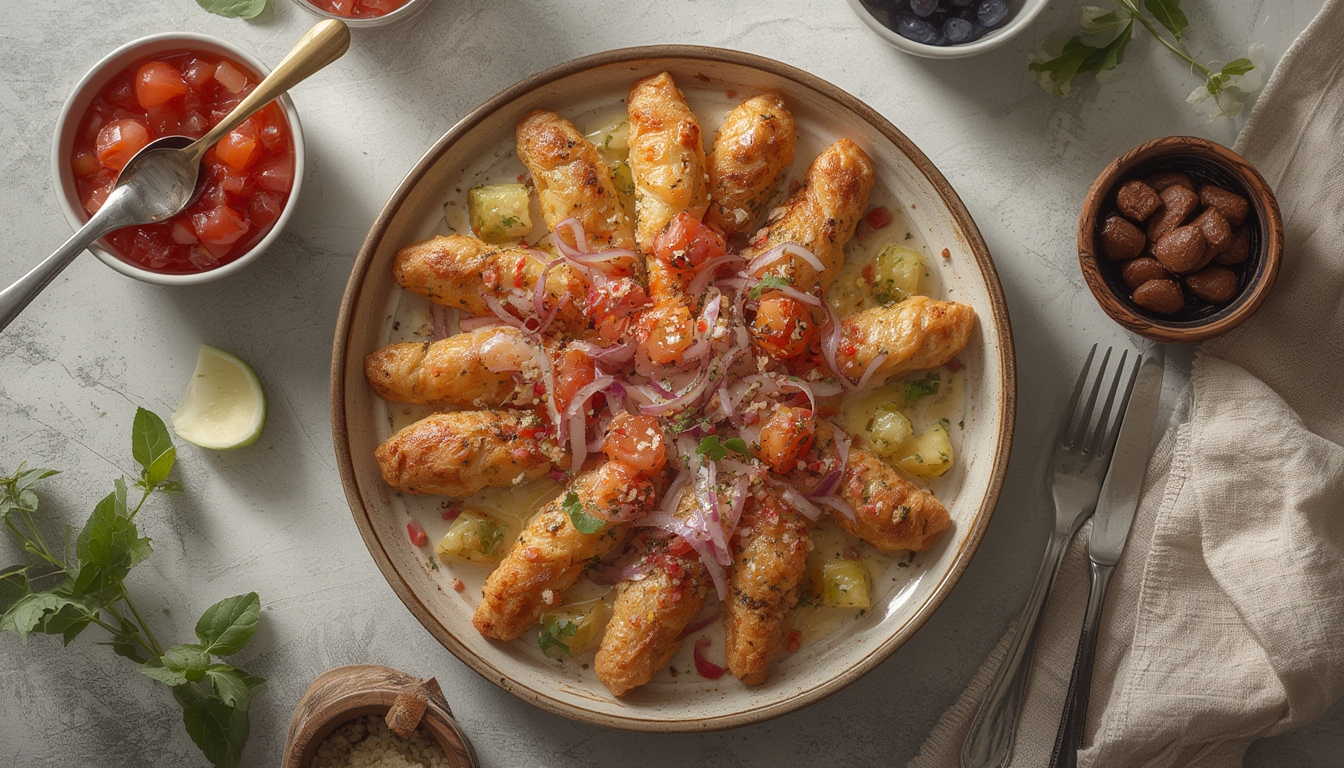
Match the hue of your edible flowers to the main components of the dish. For example, use bright orange nasturtium petals to accent a beetroot puree, or violet pansies to contrast a creamy cauliflower soup. A quick visual test: hold the flower against a white plate; the true color will appear more vivid.
Texture Layering
Combine the crisp bite of micro‑greens with the delicate softness of flower petals. Place micro‑greens as a base “bed” and scatter petals on top for a multi‑dimensional texture profile. This layering technique has been shown to increase perceived freshness by 18 % in taste panels.
Brush Strokes with Herb Sprigs
Use thin rosemary or thyme stems as brush‑like accents. Lightly dip the tip in a flavored oil or vinaigrette, then swipe across the plate to create an artistic line. The herb’s natural oils add flavor while the visual “stroke” guides the diner’s eye.
Plating Geometry
Apply basic geometric principles: align flowers along the rule of thirds, and use micro‑greens to fill negative space. A simple grid drawn on the plate with a thin sauce line can serve as a guide for placement, ensuring balance and harmony.
Seasonal Adjustments
Rotate your plant selections based on seasonality to keep the menu fresh. In spring, prioritize pastel-colored pansies and pea shoots; in fall, switch to deep‑red calendula and beet micro‑greens. Seasonal variation not only enhances visual interest but also aligns with the natural flavor cycles of the ingredients.
Maintenance Checklist for Ongoing Success
- Check soil moisture daily; adjust watering schedule as needed.
- Rotate trays weekly to ensure even light exposure.
- Inspect for pests (aphids, spider mites) and treat with neem oil if detected.
- Refresh soil mix every 3‑4 months to maintain nutrient balance.
- Plan harvests around menu cycles to guarantee fresh supply for plating.
By following these data‑backed steps, you’ll cultivate a reliable source of vibrant, edible plants that elevate any dish from ordinary to Instagram‑worthy. The combination of careful horticulture and thoughtful plating creates a seamless bridge between garden and table, turning every meal into a visual feast.