Modern desserts have moved far beyond the classic cake and pie, embracing science, creativity, and unexpected flavor pairings. In today’s kitchen, the line between culinary art and laboratory experiment blurs, inviting home bakers to explore techniques like spherification, foams, and flash freezing. This post walks you through three exciting sweet experiments, each paired with a simple guide to growing a complementary herb or fruit that elevates the final dish.
1. Molecular Fruit Caviar: Bursting Sweetness in Every Bite
What You’ll Need
- 2 cups of fresh fruit purée (mango, raspberry, or passion fruit work well)
- 1 gram sodium alginate
- 4 grams calcium lactate
- 250 ml distilled water
- Silicone spoon or small syringe
- Ice bath
Step‑by‑Step Process
- Prepare the alginate bath. Dissolve the sodium alginate in 250 ml of distilled water. Use a hand blender for 2‑3 minutes until the mixture is completely smooth. Let it rest for 15 minutes to eliminate bubbles.
- Make the fruit sphere mixture. Blend the fruit purée with calcium lactate until fully incorporated. The calcium will react with the alginate to form a gel skin.
- Form the caviar. Using a silicone spoon or syringe, gently drop the fruit mixture into the alginate bath. The droplets will instantly form a thin gel membrane while staying liquid inside.
- Rinse and chill. Transfer the formed caviar to a bowl of cold water for 30 seconds, then move them to an ice bath. This stops the gelation process and firms the texture.
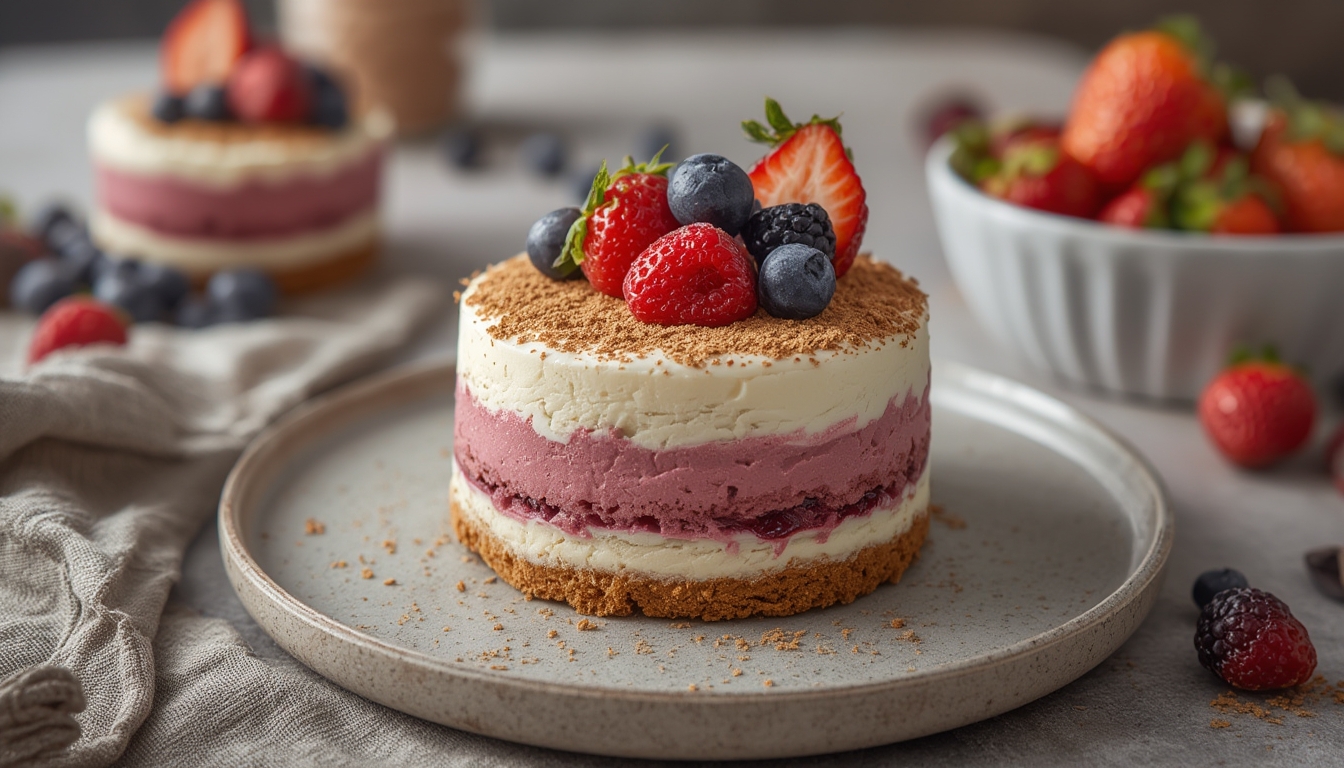
- Serve. Sprinkle the fruit caviar over a vanilla panna cotta, a lemon mousse, or a simple yogurt parfait for a pop‑of‑flavor surprise.
Practical Tips
- Use distilled water to avoid mineral interference with the alginate.
- Keep the fruit purée cold before adding calcium lactate; warm purée can cause uneven gel formation.
- If the caviar is too soft, increase the calcium lactate by 1 gram and repeat the process.
2. Nitro‑Frozen Citrus Sorbet: A Frosty Sensation in Seconds
Ingredients
- 1 cup freshly squeezed citrus juice (grapefruit, orange, or lime)
- ½ cup simple syrup
- Liquid nitrogen (handle with gloves and safety goggles)
Method
- Combine juice and syrup. Mix the citrus juice with the simple syrup in a stainless steel bowl.
- Cool the mixture. Place the bowl in the freezer for 5 minutes to lower the temperature without freezing.
- Add liquid nitrogen. Slowly pour a small amount of liquid nitrogen while stirring continuously with a wooden spoon. The mixture will freeze instantly, forming a light, airy sorbet.
- Serve immediately. Scoop the sorbet into chilled glasses and garnish with a mint leaf or a zest twist.
Safety and Success
- Never handle liquid nitrogen with bare hands; always wear insulated gloves.
- Work in a well‑ventilated area to avoid nitrogen gas buildup.
- Stir constantly to prevent large ice crystals and achieve a smooth texture.
3. Sweet Herb‑Infused Air: Light, Aromatic Clouds
Supplies
- 1 cup water
- 2 tablespoons sugar
- ½ teaspoon soy lecithin (food‑grade)
- Fresh herb leaves (basil, lavender, or rosemary)
- Immersion blender
Creating the Air
- Infuse the liquid. Heat the water and sugar until dissolved, then add a handful of fresh herb leaves. Let steep for 10 minutes, then strain.
- Blend with lecithin. Add the soy lecithin to the infused liquid. Using an immersion blender, blend on high for 2‑3 minutes until a frothy foam forms.
- Serve as a garnish. Spoon the airy foam over a chocolate mousse, a fruit tart, or a simple panna cotta. The herb aroma will lift the dessert’s flavor profile.
Key Points
- Use food‑grade lecithin; it acts as an emulsifier to trap air.
- Do not over‑blend; once the foam reaches a glossy, stable consistency, stop.
- For a sweeter foam, increase the sugar by a tablespoon.
Growing Basil for Sweet Desserts: A Simple Herb to Elevate Your Experiments
Why Basil?
Basil isn’t just for savory dishes; its sweet, slightly peppery notes pair beautifully with fruit caviar, citrus sorbet, and herb‑infused air. Growing your own basil ensures fresh, aromatic leaves at the peak of flavor.
Step‑by‑Step Growing Guide
- Choose the right container. Select a pot at least 6 inches wide with drainage holes. Fill with a light, well‑draining potting mix (a 1:1 blend of peat and perlite works well).
- Sow the seeds. Sprinkle basil seeds on the surface, cover lightly with a thin layer of soil (about ¼ inch), and gently press down.
- Water correctly. Mist the soil until it’s evenly moist but not soggy. Keep the soil consistently damp during germination (about 7‑10 days).
- Provide light. Place the pot in a sunny windowsill receiving 6‑8 hours of direct sunlight daily. If natural light is limited, use a 12‑hour LED grow light set 12 inches above the seedlings.
- Thin seedlings. Once true leaves appear, thin the plants to one per 4‑inch spacing. This encourages strong stems and airflow.
- Fertilize lightly. Apply a diluted liquid fertilizer (½ strength) once a month to promote lush growth.
- Harvest responsibly. Pinch off the top leaves just above a node once the plant reaches 6‑8 inches. Regular harvesting encourages bushier growth and prevents flowering, which can make leaves bitter.
- Control pests. If you notice aphids, spray a gentle soap solution (1 teaspoon mild dish soap per quart of water) and rinse the leaves.
Actionable Tips for Success
- Rotate the pot weekly to ensure even light exposure.
- Never let the soil dry completely; basil is sensitive to drought stress.
- When the plant starts to flower, cut the flower buds immediately to keep the flavor bright.
- Store harvested leaves in a damp paper towel inside a zip‑lock bag in the refrigerator for up to a week.
By integrating these modern dessert techniques with home‑grown basil, you create a seamless loop of flavor—from garden to plate. Each experiment offers a unique sensory experience, while the herb garden provides fresh, aromatic support that transforms ordinary sweets into unforgettable culinary moments.