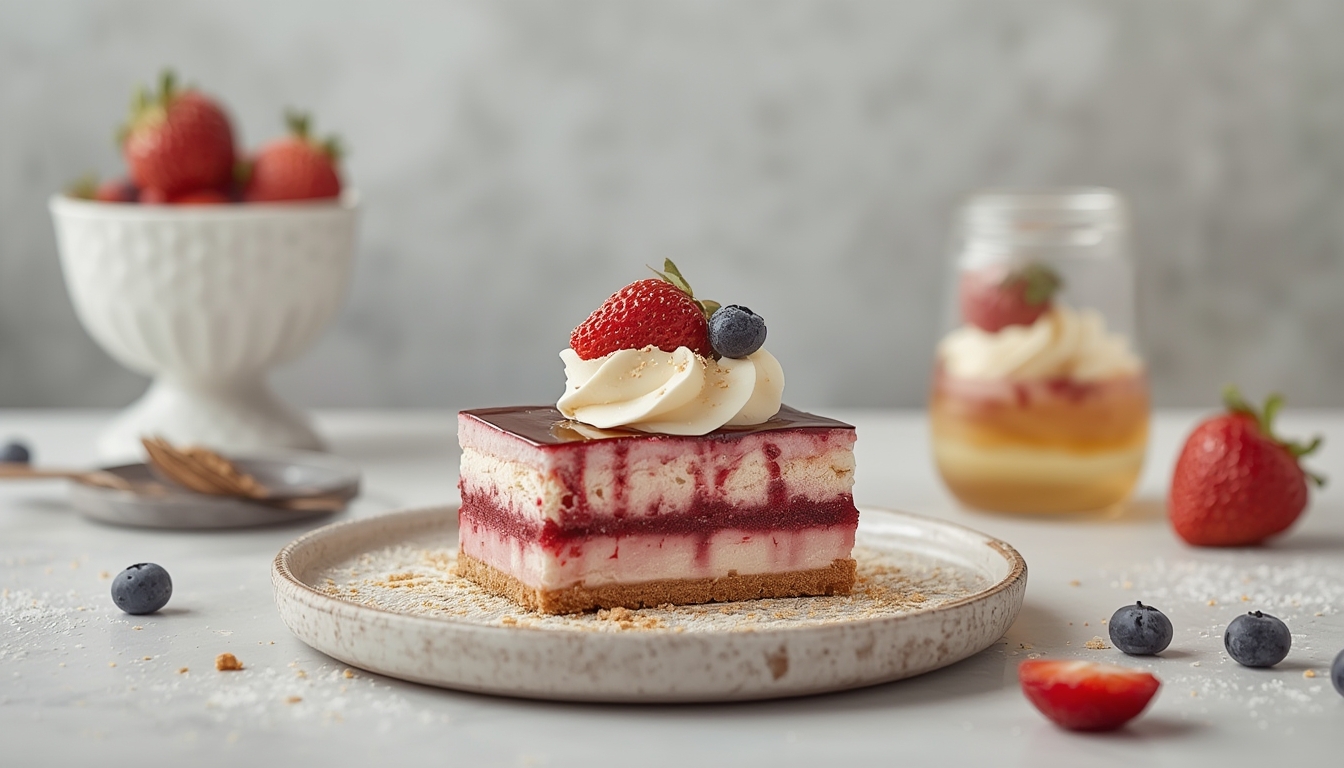
Modern desserts have moved far beyond the classic cake and pie, embracing scientific techniques, unexpected flavor pairings, and playful textures. Whether you’re a home baker looking to impress friends or a culinary enthusiast eager to experiment, this guide walks you through the latest trends in sweet creations and even shows you how to grow a key ingredient—vanilla orchids—to keep your pantry stocked with fresh, aromatic beans.
Why Modern Desserts Matter
Today’s sweet scene is driven by curiosity. Chefs use tools like sous‑vide, liquid nitrogen, and hydrocolloids to transform simple ingredients into unforgettable experiences. The result? Desserts that surprise the palate with bursts of flavor, multi‑layered textures, and visual drama. By mastering a few modern techniques, you can elevate everyday treats into Instagram‑worthy masterpieces.
Key Techniques to Experiment With
1. Molecular Gelling with Agar‑Agar and Gelatin
Agar‑agar, a seaweed‑derived gelling agent, sets at room temperature and creates a firmer bite than gelatin. Use it to make delicate fruit caviars, jelly ribbons, or layered parfaits. To achieve a perfect gel:
- Measure precisely: 1 g agar per 100 ml liquid.
- Boil the mixture: Agar activates only at a rolling boil; stir continuously.
- Cool quickly: Transfer to an ice bath for rapid setting, then refrigerate for a smoother texture.
2. Spherification for Flavor Bursts
Spherification encases liquid in a thin, gelatinous membrane, creating “caviar‑like” pearls that pop in the mouth. Two methods exist:
- Basic spherification: Mix sodium alginate into a flavored liquid, then drop it into a calcium lactate bath.
- Reverse spherification: Add calcium lactate to the liquid and drop it into an alginate bath—ideal for dairy‑based mixtures that would otherwise dissolve.
Tip: Use a syringe or a small spoon for uniform pearls, and rinse each sphere in clean water before serving.
3. Nitro‑Frozen Treats
Liquid nitrogen freezes desserts instantly, creating ultra‑smooth ice creams, sorbets, and “smoke‑filled” desserts. Safety first: always wear insulated gloves and work in a well‑ventilated area.
- Prep the base: Blend fruit, dairy, or alternative milks with sugar.
- Freeze with nitrogen: Slowly pour liquid nitrogen while stirring vigorously; the mixture will solidify in seconds.
- Serve immediately: The rapid freeze prevents large ice crystals, delivering a velvety mouthfeel.
Flavor Pairing Trends to Try
Modern desserts thrive on contrast—sweet with salty, creamy with crunchy, or familiar with exotic. Here are three daring combos:
- Matcha & White Chocolate: Earthy green tea balances buttery white chocolate in mousse or truffles.
- Black Garlic & Caramel: The subtle umami of black garlic deepens caramel’s richness in sauces or drizzles.
- Yuzu & Coconut: Bright citrus notes cut through creamy coconut custard for a tropical twist.
Step‑by‑Step Guide to Growing Your Own Vanilla Orchid
Vanilla beans are a prized ingredient in many modern desserts, from custards to ice creams. Growing vanilla at home ensures you have fresh, aromatic pods on hand. Follow these practical steps for success.
Step 1: Choose the Right Variety
Start with Vanilla planifolia, the most common commercial species. Purchase a healthy, disease‑free cutting from a reputable nursery.
- Tip: Look for vines with green, glossy leaves and no signs of yellowing or wilting.
Step 2: Provide a Warm, Humid Environment
Vanilla orchids thrive in tropical conditions—ideally 70‑85°F (21‑29°C) with 80‑90% humidity.
- Actionable advice: Place the plant in a greenhouse, terrarium, or a bright indoor space near a humidifier. Mist the leaves twice daily.
- Tip: Use a hygrometer to monitor humidity levels; adjust misting frequency accordingly.
Step 3: Choose the Right Growing Medium
Vanilla prefers a well‑draining mix that mimics its natural epiphytic habitat.
- Recipe: Combine 40% orchid bark, 30% sphagnum peat moss, 20% perlite, and 10% coconut coir.
- Tip: Fill a wide, shallow pot to allow the vine to spread horizontally.
Step 4: Support the Vine
Vanilla vines can grow up to 30 ft (9 m) in the wild. Provide a sturdy trellis or wooden stakes for climbing.
- Actionable advice: Anchor the base of the vine to the support using soft plant ties. Gently coil new growth around the structure as it elongates.
Step 5: Watering and Feeding
Maintain consistent moisture without waterlogging.
- Watering schedule: Water lightly every 2‑3 days, allowing excess to drain.
- Fertilizer: Apply a balanced orchid fertilizer (20‑20‑20) diluted to half strength once a month during the growing season.
- Tip: Reduce feeding during the dormant winter months (December‑February).
Step 6: Pollination for Fruit Set
In nature, a specific bee (Melipona) pollinates vanilla flowers. Indoors, you’ll need to hand‑pollinate.
- When to pollinate: Flowers open for only 12‑24 hours. Look for a bright yellow, cup‑shaped bloom.
- Method: Use a small brush or a toothpick to transfer pollen from the anther to the stigma (the sticky tip). Perform this gently to avoid damaging the flower.
- Tip: Pollinate early in the morning for best results.
Step 7: Harvesting and Curing the Pods
After successful pollination, the pod will develop over 6‑9 months.
- Harvest: Pick pods when they turn yellowish‑brown and begin to split at the tip.
- Curing process:
- Kill the beans by blanching in hot water (≈ 65°C) for 2 minutes.
- Sweat the beans in a wooden box for 24 hours, covering with a cloth.
- Dry them in the sun or a low‑heat oven (≈ 60°C) until the surface feels dry but the interior remains pliable (≈ 2‑3 weeks).
- Store in airtight jars for 2‑3 months to develop full flavor.
Freshly cured vanilla beans add an unparalleled depth to modern desserts, from custard sauces to infused syrups.
Putting It All Together: A Sample Dessert Recipe
Combine the techniques and fresh vanilla in a “Vanilla‑Yuzu Mousse with Agar‑Agar Fruit Caviar.”
Ingredients
- 2 cups heavy cream
- ½ cup sugar
- 3 large egg yolks
- 1 vanilla bean (cured and scraped) or 1 tsp vanilla extract
- ¼ cup yuzu juice
- 1 tsp agar‑agar
- ½ cup fruit juice (e.g., mango or passion fruit)
- ½ tsp sodium alginate (for caviar)
- ¼ tsp calcium lactate (for caviar bath)
Method
- Make the mousse: Whisk egg yolks with sugar over a double boiler until pale and thick. Remove from heat, stir in vanilla bean seeds and yuzu juice. Cool slightly, then fold in whipped cream. Chill for 1 hour.
- Prepare agar fruit caviar: Dissolve agar‑agar in 100 ml fruit juice, bring to a boil, then cool to 40°C. Using a syringe, drop the mixture into a calcium lactate bath (½ cup water + ¼ tsp calcium lactate). Let spheres sit 1 minute, then rinse.
- Assemble: Spoon mousse into serving glasses, top with a spoonful of fruit caviar, and garnish with a thin slice of fresh yuzu peel.
This dessert showcases the bright acidity of yuzu, the aromatic richness of vanilla, and the playful pop of fruit caviar—perfect proof that modern techniques and home‑grown ingredients can create unforgettable sweet experiences.