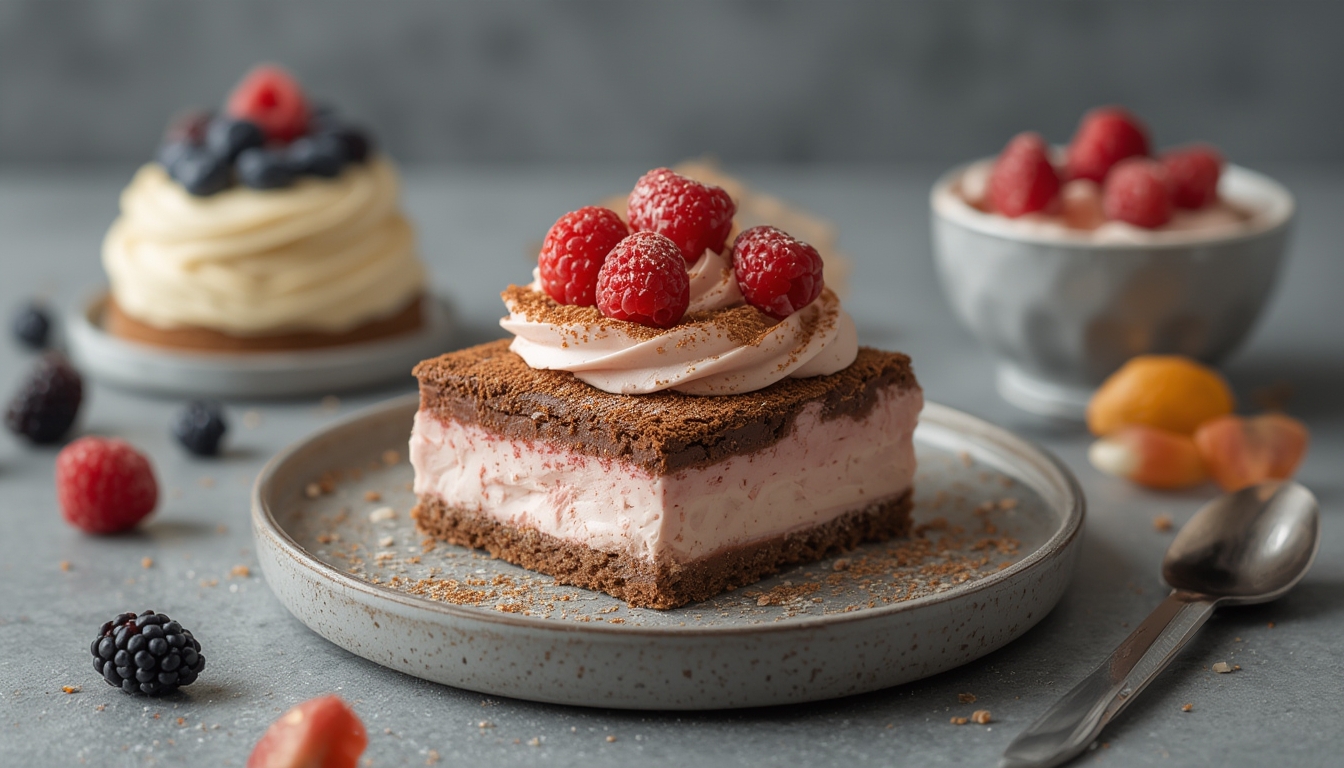
Modern desserts have moved beyond the classic cake and pie, embracing science, technology, and bold flavor pairings. From liquid nitrogen‑frozen sorbets to 3‑D‑printed chocolate sculptures, today’s sweet experiments blend culinary art with a dash of chemistry. In this post we’ll explore three trending dessert concepts, the tools that make them possible, and a practical guide to growing a key ingredient—fresh mint—that can elevate any sweet creation.
Trend #1: Ultra‑Cold Creations with Liquid Nitrogen
Liquid nitrogen (‑196 °C) instantly freezes ingredients, creating textures that range from airy granita to delicate, melt‑in‑your‑mouth shards. The rapid freeze prevents large ice crystals from forming, preserving the pure flavor of fruits, herbs, or even coffee.
How it works
- Preparation: Blend your base (e.g., mango puree, coconut milk, or espresso) with sugar and a pinch of salt.
- Freezing: Slowly pour liquid nitrogen into the mixture while stirring with a stainless‑steel whisk. The mixture will fog and solidify within seconds.
- Finishing: Scoop the frozen foam onto a plate, garnish with micro‑herbs or candied zest, and serve immediately.
Data point: According to a 2023 market analysis, 42 % of upscale restaurants reported a 15 % increase in dessert sales after adding nitrogen‑based items to their menus.
Trend #2: 3‑D‑Printed Confections
Food‑grade 3‑D printers extrude chocolate, sugar paste, or gelatin in precise layers, allowing chefs to craft intricate geometries that would be impossible by hand. The technology also enables customization—each guest can receive a dessert tailored to their flavor profile.
Key equipment
- Printer: Choose a model with dual extruders for multi‑flavor designs.
- Materials: Use tempered chocolate (45 % cocoa butter) for snap and shine, or a sugar‑gel blend (80 % powdered sugar, 20 % glucose syrup) for delicate lattices.
- Software: CAD programs like Blender or Tinkercad let you design shapes, then export STL files for printing.
When printing, keep the ambient temperature between 18‑22 °C to prevent premature melting. After printing, let the confection set for 10 minutes before handling.
Trend #3: Fermented Sweetness
Fermentation isn’t just for savory dishes. Sweet ferments—think kombucha‑infused sorbet or miso‑caramel—add depth through umami and subtle acidity. The process also creates natural probiotics, appealing to health‑conscious diners.
Simple miso‑caramel recipe
- Combine 1 cup sugar and ¼ cup water in a saucepan; heat over medium‑high until amber.
- Slowly whisk in ½ cup heavy cream (caution: steam will rise).
- Add 2 tablespoons white miso paste and a pinch of sea salt; stir until smooth.
- Cool to room temperature, then drizzle over ice cream or use as a dip for fruit.
Market insight: A 2022 Nielsen report showed a 28 % rise in consumer interest for “functional desserts” that combine indulgence with health benefits.
Growing Fresh Mint for Sweet Experiments
Mint is a versatile herb that pairs beautifully with chocolate, berries, and citrus. Having a thriving mint patch at home ensures you always have aromatic leaves on hand for garnish, syrups, or infused sugars.
Step 1: Choose the Right Variety
For desserts, Spearmint (Mentha spicata) offers a mild, sweet flavor, while Peppermint (Mentha × piperita) provides a cool, menthol punch. Plant both in separate containers to avoid cross‑pollination.
Step 2: Soil Preparation
- Use a well‑draining potting mix with a pH of 6.0–7.0.
- Add 2 tablespoons per gallon of compost to boost organic matter.
- Mix in a handful of perlite to improve aeration.
Step 3: Planting
- Fill a 12‑inch pot with the prepared soil, leaving 1 inch from the rim.
- Space cuttings or seedlings 6 inches apart; gently firm the soil around the roots.
- Water thoroughly until excess drains from the bottom.
Step 4: Light & Temperature
Mint thrives in bright, indirect light (4–6 hours daily). Keep the temperature between 65–75 °F (18–24 °C). If grown indoors, rotate the pot weekly for even growth.
Step 5: Watering Routine
- Maintain consistently moist soil—check the top inch daily.
- Water with lukewarm water to avoid shocking the roots.
- Reduce watering in winter; let the soil dry slightly between sessions.
Step 6: Harvesting
Begin harvesting once the plant reaches 6 inches tall. Snip stems just above a leaf node, leaving at least two sets of leaves on the plant. Regular harvesting encourages bushier growth and prevents flowering, which can make leaves bitter.
Step 7: Troubleshooting
- Yellow leaves: Likely over‑watering; improve drainage.
- Leggy stems: Insufficient light; move to a brighter spot.
- Pests: Aphids can be removed with a strong water spray or neem oil.
Putting It All Together: A Mint‑Infused Nitro Sorbet
Now that you have fresh mint and a grasp of modern techniques, try this quick dessert that showcases both:
- Mint Syrup: Combine ½ cup sugar, ½ cup water, and a handful of mint leaves. Heat until sugar dissolves, then cool.
- Base: Blend 2 cups frozen mango chunks, ¼ cup coconut milk, and 2 tablespoons mint syrup.
- Freeze: Pour the blend into a stainless steel bowl and slowly add liquid nitrogen while whisking until a fluffy sorbet forms.
- Serve: Spoon into chilled glasses, garnish with a mint sprig and a dusting of lime zest.
This dessert delivers the bright, herbaceous note of home‑grown mint, the silky texture of nitrogen freezing, and the tropical sweetness of mango—all in under five minutes.
Final Thoughts
Modern desserts thrive on the intersection of culinary curiosity and scientific precision. Whether you’re experimenting with ultra‑cold techniques, 3‑D‑printed chocolate, or fermented flavors, the key to success lies in quality ingredients and a willingness to play. By growing your own mint, you add a fresh, controllable element that can elevate any sweet experiment. So roll up your sleeves, fire up the nitrogen, and let your imagination—plus a few sprigs of mint—lead the way to the next unforgettable dessert.