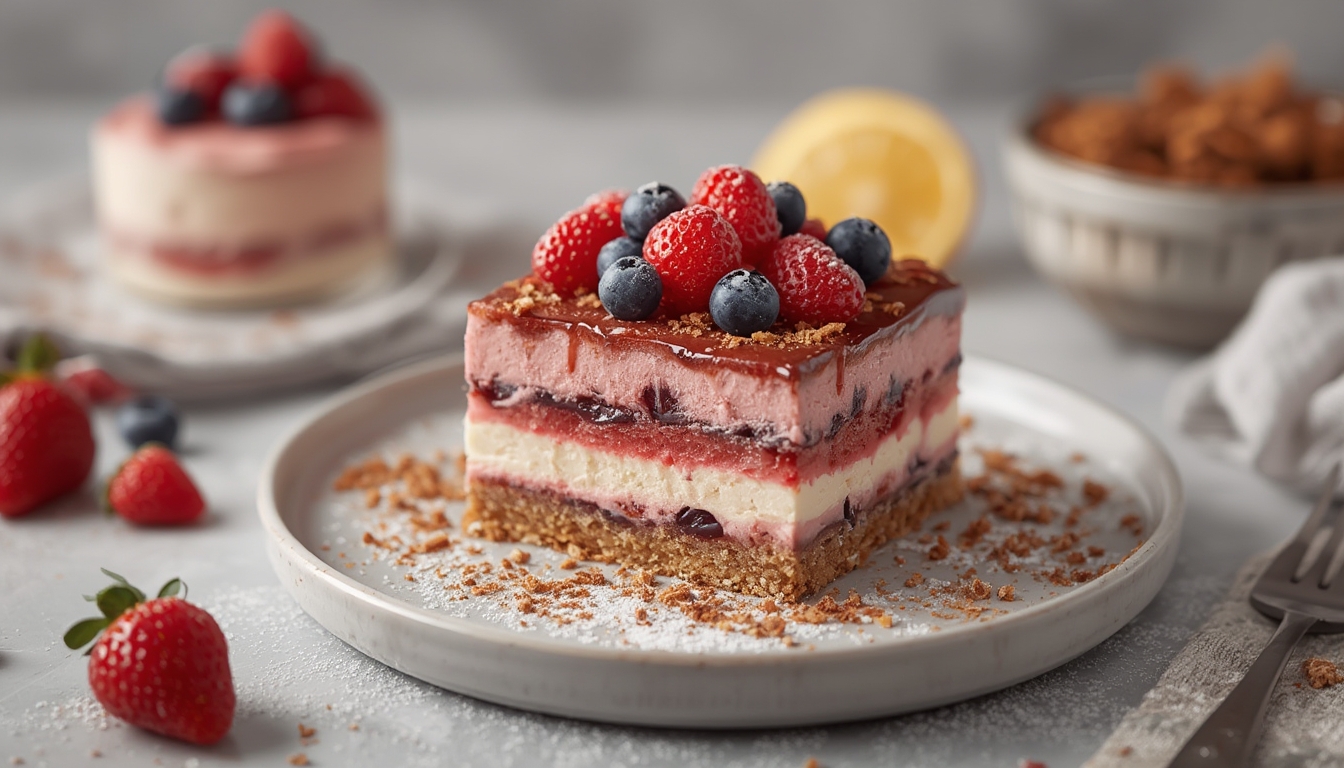

Modern desserts have moved far beyond the classic cake and pie, embracing science, creativity, and bold flavor pairings. Whether you’re a home baker curious about molecular techniques or a seasoned pastry chef looking for fresh inspiration, this guide walks you through three exciting sweet experiments that are both data‑driven and approachable. Each experiment includes clear, step‑by‑step instructions, practical tips, and troubleshooting tricks to help you achieve consistent, Instagram‑ready results.
1. Spherified Fruit Caviar
Spherification transforms liquid fruit purées into bite‑size “caviar” pearls that burst with flavor. The technique relies on a precise calcium‑alginate reaction, and the key to success is controlling the concentration of both the fruit base and the setting bath.
Ingredients & Equipment
- 200 ml fresh fruit purée (e.g., mango, raspberry, or passion fruit)
- 2 g sodium alginate
- 500 ml distilled water
- 5 g calcium lactate
- Digital kitchen scale (±0.1 g accuracy)
- Immersion blender
- Syringe or small spoon
- Fine‑mesh strainer
Step‑by‑Step Process
- Prepare the fruit base. Blend the fruit until completely smooth, then pass it through a fine‑mesh strainer to remove pulp. Tip: Chill the purée to 4‑6 °C; colder liquids form more stable spheres.
- Mix the alginate. Sprinkle 2 g sodium alginate over the purée while blending with the immersion blender on low speed. Continue until the mixture is homogenous and free of clumps. Tip: Let the mixture rest for 10 minutes to allow air bubbles to rise.
- Make the calcium bath. Dissolve 5 g calcium lactate in 500 ml distilled water, stirring until fully dissolved. Tip: Use distilled water to avoid mineral interference that can affect gel strength.
- Form the pearls. Fill a syringe with the alginate‑fruit mixture. Gently release droplets (about 2 mm in diameter) into the calcium bath. The droplets will solidify within 30‑45 seconds. Tip: Move the syringe slowly to avoid splashing, which can create uneven spheres.
- Rinse and store. Using a slotted spoon, transfer the pearls to a bowl of clean water for 30 seconds to stop the reaction. Drain and pat dry with a paper towel. Store in a sealed container at 4 °C and use within 24 hours for optimal texture.
Common Pitfalls & Fixes
- Too soft or too firm? Adjust the calcium lactate concentration by ±0.5 g. More calcium yields firmer spheres; less creates a softer “gel‑like” bite.
- Cloudy pearls? Ensure the fruit purée is well‑strained and the alginate fully dissolved; any residual particles cause opacity.
2. Nitro‑Frozen Citrus Sorbet
Liquid nitrogen offers an ultra‑fast freezing method that creates a sorbet with ultra‑smooth crystals and a vivid citrus punch. The rapid freeze locks in aroma compounds that can evaporate during slower freezes.
Ingredients & Equipment
- 250 ml freshly squeezed orange juice
- 150 ml lemon juice
- 100 g granulated sugar
- 30 ml water
- Pinch of sea salt
- Liquid nitrogen (≈2 L, handled with gloves and safety goggles)
- Stainless steel mixing bowl
- Wooden spoon or silicone spatula
Step‑by‑Step Process
- Create the simple syrup. Combine sugar and water in a small saucepan; heat over medium until the sugar dissolves completely. Cool to room temperature. Tip: Adding a pinch of sea salt enhances the perception of sweetness.
- Blend the base. Mix the orange juice, lemon juice, and cooled simple syrup in a stainless steel bowl. Chill the mixture in the refrigerator for 15 minutes; colder liquid reduces the amount of nitrogen needed.
- Freeze with nitrogen. Wearing protective gloves, slowly pour liquid nitrogen into the bowl while stirring continuously with a wooden spoon. The mixture will freeze almost instantly, forming a fine, snow‑like texture. Tip: Add nitrogen in small bursts (≈100 ml at a time) to avoid splattering.
- Finish and serve. Once the sorbet reaches a scoopable consistency (≈2 minutes of stirring), transfer it to a chilled serving dish. Garnish with candied zest or fresh mint.
Safety & Quality Notes
- Never ingest liquid nitrogen directly; always allow it to fully evaporate before serving.
- Maintain a consistent stirring speed; uneven stirring creates larger ice crystals, reducing the smoothness.
3. Deconstructed Chocolate Mousse with Avocado Foam
Combining the richness of dark chocolate with the airy lightness of avocado foam creates a dessert that feels both indulgent and health‑conscious. The data‑driven balance of fat content (from avocado) and cocoa solids ensures a stable foam without the need for egg whites.
Ingredients & Equipment
- 120 g dark chocolate (70 % cocoa), melted
- 1 ripe Hass avocado
- 30 ml maple syrup or agave nectar
- 1 tsp vanilla extract
- Pinch of sea salt
- Hand‑held immersion blender
- Silicone mousse molds or ramekins
Step‑by‑Step Process
- Prepare the chocolate base. Melt the dark chocolate in a double boiler, stirring until smooth. Remove from heat and let cool to 30‑35 °C (86‑95 °F). Tip: Use a digital thermometer; overheating can cause the chocolate to seize.
- Make the avocado foam. In a tall mixing cup, combine the avocado flesh, maple syrup, vanilla, and sea salt. Blend with the immersion blender on high for 45 seconds until a glossy, airy foam forms. Tip: Scrape the sides midway to ensure uniform aeration.
- Layer the dessert. Spoon a thin layer of melted chocolate into each mold, then add a generous dollop of avocado foam on top. Finish with a final drizzle of chocolate for visual contrast.
- Set and serve. Refrigerate the assembled desserts for 20 minutes to allow the chocolate to firm slightly while the foam retains its light texture. Serve chilled, optionally dusted with cocoa powder or a sprinkle of toasted almond slivers.
Adjustments for Texture
- If the foam collapses, increase the blending time by 10‑15 seconds or add a small amount (½ tsp) of soy lecithin as an emulsifier.
- For a richer mouthfeel, replace half of the avocado with silken tofu; this maintains the foam structure while adding protein.
Putting It All Together: A Modern Dessert Plate
To showcase the three experiments as a cohesive tasting menu, arrange each component on a single plate:
- Place a spoonful of spherified fruit caviar near the edge for a burst of acidity.
- Add a small quenelle of nitro‑frozen citrus sorbet in the center, allowing the cold contrast to highlight the fruit pearls.
- Finish with a deconstructed chocolate mousse mound, topped with a drizzle of the remaining chocolate and a few toasted almond shards.
This layout balances temperature, texture, and flavor, guiding the palate from bright and crisp to velvety and deep. The data‑driven ratios—such as 2 g alginate per 200 ml purée or 5 g calcium lactate per 500 ml water—provide a reliable foundation, while the practical tips ensure repeatable success.
Final Thoughts
Modern desserts thrive on the intersection of culinary art and scientific precision. By mastering spherification, rapid freezing, and foam stabilization, you can create visually stunning, flavor‑forward treats that impress both the eyes and the taste buds. Remember to measure ingredients accurately, respect safety protocols (especially when handling liquid nitrogen), and adjust variables based on your kitchen’s temperature and humidity. With these experiments in your repertoire, you’re ready to push the boundaries of sweet creativity—one bite at a time.