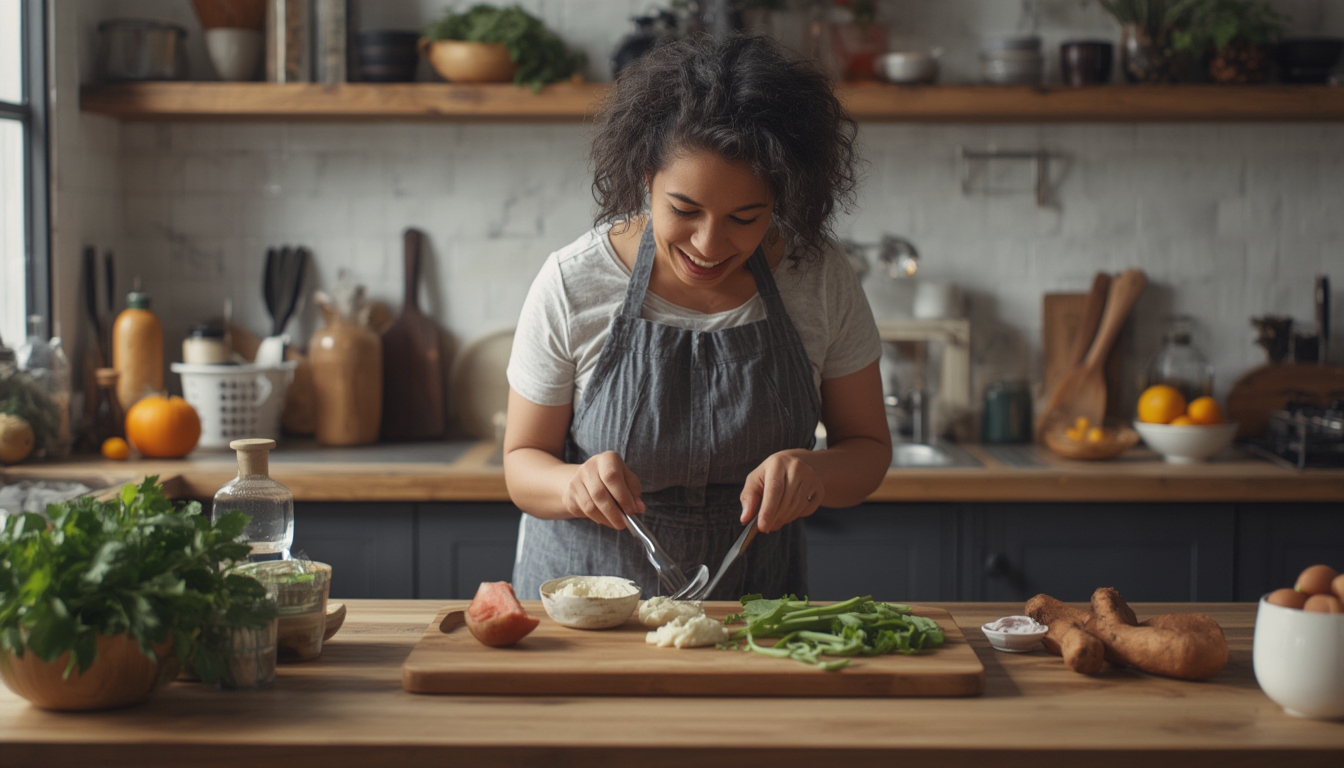
Creating a thriving herb garden is one of the most practical ways to bring Healthy & Functional Cooking into your daily routine. Fresh herbs are packed with antioxidants, vitamins, and phytochemicals that boost flavor while supporting immunity, digestion, and overall wellness. This guide walks you through every step—from selecting the right varieties to harvesting and incorporating them into nutrient‑dense meals—so you can enjoy a continuous supply of functional ingredients right from your kitchen windowsill or backyard.
1. Choose the Right Herbs for Functional Benefits
1.1. Identify Your Health Goals
- Anti‑inflammatory: Turmeric, rosemary, and oregano.
- Digestive support: Peppermint, fennel, and dill.
- Immune‑boosting: Thyme, sage, and basil.
1.2. Match Herbs to Your Growing Space
For indoor windowsills, select compact varieties like basil, chives, and parsley. If you have a sunny patio or garden bed, you can expand to larger plants such as rosemary, sage, and lemon balm. Check the USDA hardiness zone for your region to ensure the herbs will survive winter temperatures.
2. Prepare the Growing Medium
2.1. Soil Composition
Healthy herbs thrive in well‑draining soil with a pH between 6.0 and 7.0. Mix one part peat moss, one part perlite, and one part composted garden soil. This blend retains moisture without becoming waterlogged, reducing the risk of root rot.
2.2. Container Selection
- Size: Choose pots at least 6‑8 inches deep for most herbs; larger varieties like rosemary need 12‑inch containers.
- Material: Terracotta provides natural breathability, while plastic retains moisture longer—ideal for indoor settings.
- Drainage: Ensure each pot has at least one drainage hole; add a layer of gravel at the bottom to improve water flow.
3. Planting and Sowing
3.1. Seed vs. Transplant
Starting from seed gives you full control over varieties, but transplants (young plants) reduce germination time and are less prone to early‑stage disease. For functional cooking, consider buying certified organic seedlings for herbs like cilantro and mint.
3.2. Planting Depth and Spacing
- Seedlings: Plant at the same depth they were growing in their original container.
- Seeds: Sow ¼ inch deep; cover lightly with soil.
- Spacing: Allow 12‑18 inches between mature plants to promote airflow and reduce fungal risk.
3.3. Watering Schedule
After planting, water gently until the soil is uniformly moist. Thereafter, aim for the “finger test”: insert a finger 1‑2 inches into the soil; if it feels dry, water. Over‑watering is a common mistake—herbs prefer slightly dry periods between watering.
4. Ongoing Care and Maintenance
4.1. Light Requirements
Most culinary herbs need 6‑8 hours of direct sunlight daily. If natural light is limited, supplement with a full‑spectrum LED grow light set on a 12‑hour cycle.
4.2. Feeding
Apply a balanced, organic liquid fertilizer (10‑10‑10) once a month during the growing season. Over‑fertilizing can lead to lush foliage with reduced flavor intensity, so stick to the recommended dosage.
4.3. Pruning and Harvesting
- Pinch back: Remove the top 2‑3 inches of growth once the plant reaches 6 inches tall. This encourages bushier growth and higher leaf yield.
- Harvest technique: Use clean scissors to cut just above a leaf node, preserving the plant’s ability to produce new shoots.
- Frequency: Harvest regularly—every 2‑3 weeks—to maintain vigor and keep the plant from flowering, which can diminish leaf flavor.
5. Integrating Herbs into Functional Meals
5.1. Quick Antioxidant Boost
Blend a handful of fresh rosemary, a squeeze of lemon, and a drizzle of extra‑virgin olive oil for a potent antioxidant dressing. Use it on roasted vegetables to enhance both flavor and nutrient absorption.
5.2. Digestive Support Tea
Steep 1‑2 teaspoons of dried peppermint leaves in hot water for 5 minutes. Add a slice of fresh ginger for extra anti‑nausea benefits. This tea can be enjoyed after meals to aid digestion.
5.3. Immune‑Strengthening Soup
Combine sautéed onions, garlic, and thyme with bone broth, kale, and diced carrots. Simmer for 20 minutes, then finish with a splash of lemon juice and a handful of chopped basil. The synergy of vitamin C, zinc, and phytonutrients supports immune function.
6. Troubleshooting Common Issues
6.1. Yellowing Leaves
Often a sign of over‑watering or nutrient deficiency. Check soil moisture and reduce watering frequency. If the soil is low in nitrogen, apply a light organic compost tea.
6.2. Pests
Identify pests early—aphids, spider mites, and whiteflies are common. Use a neem oil spray (1 % solution) every 7‑10 days, or introduce beneficial insects like ladybugs to the garden.
6.3. Leggy Growth
Insufficient light causes stretched, weak stems. Move the plant to a brighter location or increase supplemental lighting. Prune back leggy sections to stimulate compact growth.
7. Harvest Storage for Maximum Potency
7.1. Fresh Use
Rinse herbs gently, pat dry, and store in a sealed container with a damp paper towel in the refrigerator. Use within 3‑5 days for peak flavor.
7.2. Freezing
Chop herbs, place in ice‑cube trays, cover with olive oil, and freeze. These herb‑infused oil cubes are ready to drop into soups, sauces, or stir‑fries, preserving both taste and functional compounds.
7.3. Drying
Hang small bunches upside‑down in a dark, well‑ventilated area for 1‑2 weeks. Once fully dry, crumble into a glass jar away from direct sunlight. Dried herbs retain most of their medicinal properties and are perfect for seasoning blends.
Conclusion
By selecting the right herbs, providing optimal growing conditions, and integrating them thoughtfully into meals, you create a self‑sustaining cycle of Healthy & Functional Cooking. The data‑driven approach—monitoring soil pH, watering intervals, and light exposure—ensures consistent yields and maximizes the therapeutic compounds in each leaf. Start small, stay consistent, and watch your kitchen transform into a hub of vibrant, health‑boosting flavors.