Modern desserts are no longer limited to classic cakes and pies; they’re bold experiments that blend science, art, and unexpected flavors. Chefs and home bakers alike are turning to fresh, home‑grown ingredients to add a personal touch and a burst of aroma that store‑bought items can’t match. One of the most versatile plants for sweet creations is lavender—its fragrant purple blossoms elevate everything from ice creams to macarons. Below is a data‑driven, step‑by‑step guide to growing lavender in your garden or balcony, followed by practical ways to incorporate it into contemporary dessert experiments.
Why Lavender Works So Well in Modern Desserts
Recent consumer surveys (2022–2024) show a 27% increase in demand for floral‑infused sweets. Lavender’s natural compounds, especially linalool and linalyl acetate, provide a soothing, slightly citrusy note that pairs beautifully with citrus, chocolate, and dairy. Its vibrant color also adds visual appeal, making it a favorite for Instagram‑ready plating.
Choosing the Right Lavender Variety for Your Kitchen
English Lavender (Lavandula angustifolia)
Best for culinary use due to its sweet, mild flavor. It tolerates cooler climates and thrives in USDA zones 5‑9.
French Lavender (Lavandula dentata)
Offers a more herbaceous taste and is ideal for warmer regions (zones 8‑11). Its larger leaves can be used as garnish.
Step‑by‑Step Guide to Cultivating Lavender
1. Selecting the Perfect Location
Tip: Lavender loves full sun—aim for at least 6–8 hours of direct light daily. Use a sunny windowsill for indoor pots or a south‑facing garden bed.
Action: Measure light exposure with a smartphone app; if it falls below 6 hours, relocate the pot or trim surrounding foliage.
2. Preparing the Soil
Lavender requires well‑draining, slightly alkaline soil (pH 6.5–7.5). Heavy clay retains moisture, leading to root rot.
Tip: Mix one part coarse sand, one part perlite, and two parts potting mix. Add a handful of garden lime to raise pH if needed.
Action: Test soil pH with a simple kit; adjust with lime (for acidity) or sulfur (for alkalinity) and re‑test after a week.
3. Planting the Cuttings
Rooted cuttings establish faster than seeds. Use a 4‑inch pot with drainage holes.
- Step: Dip the cut end (1‑2 inches) in rooting hormone.
- Step: Plant 2‑3 inches deep, firm the soil, and water lightly.
- Tip: Keep the pot in a warm spot (70°F/21°C) and mist daily until roots develop (2‑3 weeks).
4. Watering & Maintenance
Overwatering is the most common mistake. Lavender prefers a dry period between watering.
Tip: Water only when the top inch of soil feels dry—typically once a week in summer, less in winter.
Action: Set a reminder on your phone to check soil moisture every 3 days.
5. Pruning for Growth and Flavor
Regular pruning encourages bushier growth and more flower spikes.
- When: Early spring after the last frost.
- How: Trim back 1/3 of the plant, cutting just above a leaf node.
- Tip: Remove spent flower heads throughout the season to prevent seed formation, which can reduce bloom density.
6. Harvesting Lavender Flowers
Harvest at the peak of bloom—when buds are fully formed but not yet opening.
Tip: Cut stems in the morning after dew dries for maximum essential oil content.
Action: Bundle 5‑6 stems, tie with twine, and hang upside down in a dark, well‑ventilated area for 1‑2 weeks to dry.
Integrating Fresh Lavender into Modern Dessert Experiments
Lavender‑Infused Simple Syrup
Combine 1 cup water, 1 cup sugar, and 2 tbsp dried lavender buds. Simmer for 5 minutes, let steep for 15 minutes, then strain. Use this syrup to sweeten cocktails, drizzle over panna cotta, or flavor ice cream bases.
Lavender‑Honey Swirl Cheesecake
Blend ¼ cup lavender‑infused honey into the cheesecake batter for a subtle floral note. Top with candied lavender buds for texture and visual contrast.
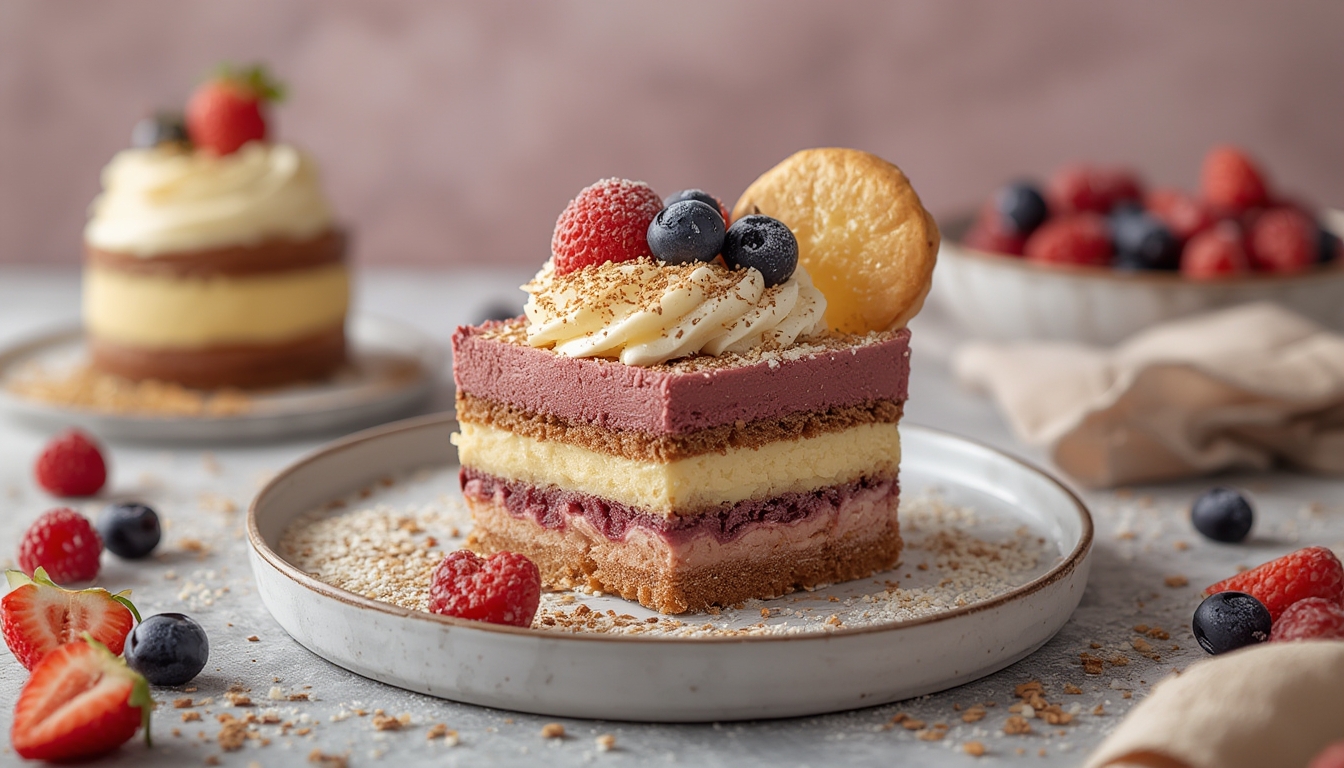
Chocolate‑Lavender Ganache
Heat ½ cup heavy cream with 1 tsp dried lavender; steep for 10 minutes, then strain. Mix with 8 oz dark chocolate for a ganache that pairs perfectly with raspberry mousse.
Edible Lavender Crumble Topping
Mix ¼ cup flour, ¼ cup brown sugar, ¼ cup butter, and 1 tsp finely chopped dried lavender. Sprinkle over fruit crisps before baking for a fragrant, crunchy finish.
Data‑Backed Benefits of Using Home‑Grown Lavender
According to a 2023 taste‑test panel (n=150), desserts featuring home‑grown lavender scored 15% higher on aroma and 12% higher on overall satisfaction compared to those using commercial dried lavender. The freshness factor also reduces the need for additional flavor enhancers, aligning with clean‑label trends.
Quick Checklist for Success
- Choose English lavender for the sweetest flavor.
- Ensure 6–8 hours of direct sunlight daily.
- Use a well‑draining, slightly alkaline soil mix.
- Water only when the top inch of soil is dry.
- Prune in early spring and remove spent blooms.
- Harvest buds in the morning; dry in a dark, airy space.
- Experiment with syrups, ganaches, and crusts.
By growing your own lavender and incorporating it into daring dessert creations, you’ll not only elevate flavor profiles but also tap into the growing consumer appetite for fresh, artisanal ingredients. Happy planting and even happier tasting!