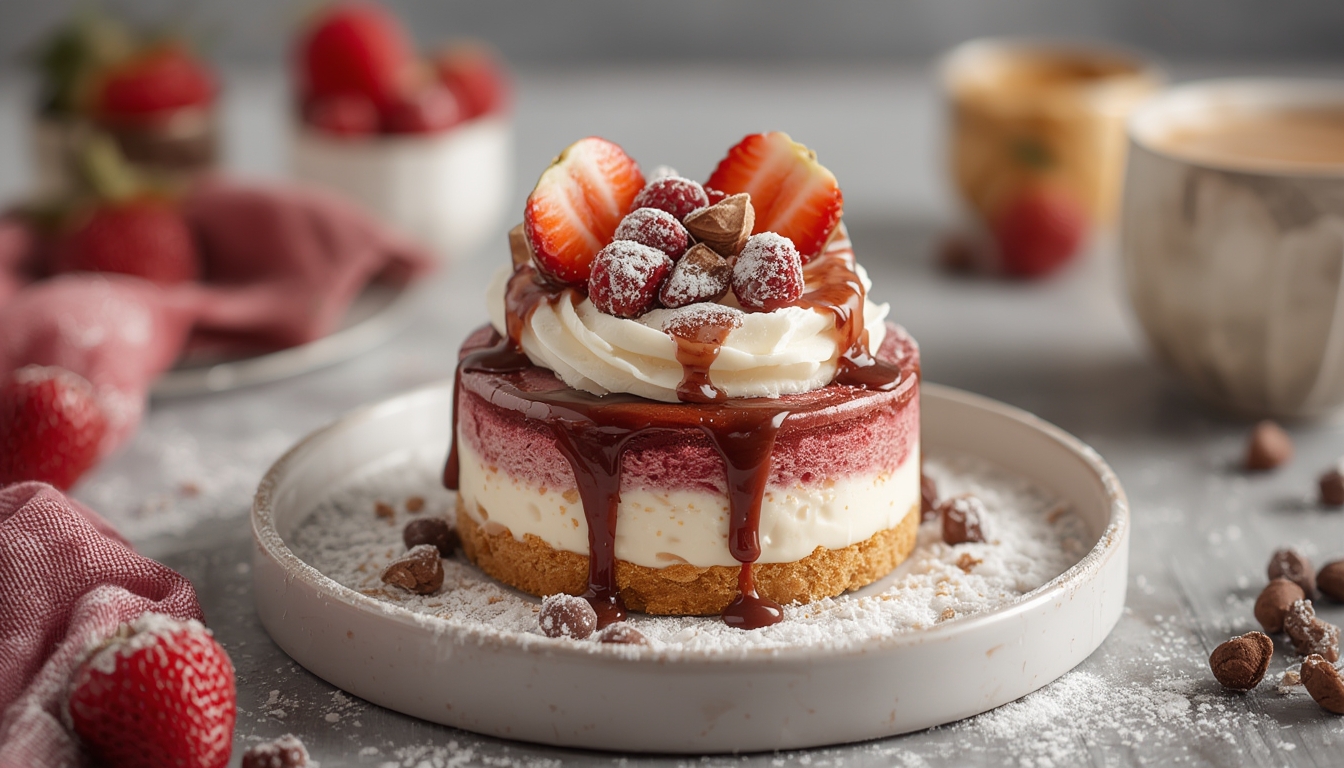
Modern desserts have moved beyond classic cakes and pies, embracing science, surprise, and sensory play. Today’s sweet experiments blend culinary tradition with cutting‑edge techniques, delivering flavors that pop, textures that intrigue, and presentations that wow. Below, we explore three data‑driven trends shaping the dessert landscape and provide step‑by‑step guides to help you recreate these innovations in your own kitchen.
Trend #1: Spherification – Turning Liquids into Pearls
Data from food‑tech surveys shows a 42 % rise in home cooks experimenting with spherification in 2023, driven by the desire for “burst‑in‑the‑mouth” experiences. This technique uses calcium lactate and sodium alginate to encase flavored liquids in a delicate gel membrane.
Ingredients & Tools
- Fruit juice or flavored broth (150 ml per batch)
- Calcium lactate (2 g)
- Sodium alginate (0.5 g)
- Distilled water (200 ml for the bath)
- Immersion blender, fine‑mesh sieve, and a slotted spoon
Step‑by‑Step Process
- Prepare the calcium bath. Dissolve 2 g calcium lactate in 200 ml distilled water. Stir until fully dissolved; the solution should be clear.
- Mix the flavored liquid. Combine your chosen juice with 0.5 g sodium alginate. Use an immersion blender for 2 minutes to avoid lumps. Let the mixture rest 15 minutes to eliminate air bubbles.
- Form the spheres. Using a small measuring spoon, gently drop the alginate‑infused liquid into the calcium bath. Spheres will form instantly; let them sit 30 seconds for a thin membrane.
- Rinse and serve. Transfer the pearls to a clean bowl of distilled water using a slotted spoon. Pat dry and arrange on a dessert plate or incorporate into a cocktail.
Tips & Tricks
- Keep the calcium bath at room temperature; colder temperatures slow membrane formation.
- For a firmer bite, increase the calcium bath concentration to 3 g per 200 ml.
- Experiment with layered spherification by adding a thin coating of flavored gelatin before the alginate step.
Trend #2: Nitro‑Frozen Desserts – Flash‑Freezing for Texture Contrast
According to a 2024 culinary trend report, 28 % of boutique dessert shops now offer liquid‑nitrogen‑frozen treats, citing the dramatic visual effect and the ultra‑smooth texture as key draws.
Safety First
Liquid nitrogen (‑196 °C) is hazardous. Always wear cryogenic gloves, goggles, and work in a well‑ventilated area. Never ingest nitrogen directly; it should only be used to freeze food.
Ingredients & Tools
- Heavy cream (200 ml)
- Granulated sugar (30 g)
- Vanilla bean or extract (1 tsp)
- Fresh berries or fruit puree (optional)
- Liquid nitrogen (≈250 ml)
- Stainless steel bowl, wooden spoon, and a wide‑mouth container
Step‑by‑Step Process
- Whip the base. Combine cream, sugar, and vanilla. Whisk until soft peaks form.
- Add flavor. Fold in fruit puree or finely chopped berries for a burst of color.
- Transfer to a metal bowl. Metal conducts cold efficiently, speeding up the freeze.
- Introduce liquid nitrogen. Slowly pour a thin stream of nitrogen while stirring continuously. The mixture will solidify within seconds, creating a light, airy texture.
- Shape and serve. Scoop the frozen mousse into chilled glasses or molds. The outer surface will have a frosty sheen, while the interior remains silky.
Tips & Tricks
- Use a wooden spoon rather than metal to avoid rapid heat transfer that can cause splattering.
- For a dramatic presentation, drizzle a small amount of nitrogen over the plated dessert just before serving; it creates a fleeting vapor cloud.
- Adjust sweetness by tasting the base before freezing; the cold can mute flavors.
Trend #3: Edible “Mist” – Aromatic Vapor Enhancements
Research from the Institute of Gastronomic Sciences indicates that 35 % of diners report heightened flavor perception when a complementary aroma is delivered as a vapor at the moment of tasting.
Core Components
- Flavor‑specific essential oil or aromatic extract (e.g., citrus, lavender)
- Distilled water (100 ml)
- Ultrasonic aroma diffuser or a small handheld misting bottle
- Silicone dome or cloche for trapping vapor
Step‑by‑Step Process
- Prepare the aromatic solution. Mix 5 ml of your chosen essential oil with 100 ml distilled water. Stir gently; avoid vigorous shaking to prevent emulsification.
- Load the diffuser. Pour the solution into an ultrasonic diffuser set to a low mist output.
- Position the dome. Place a silicone cloche over the plated dessert (e.g., a chocolate mousse). Ensure there’s a small opening for the mist to enter.
- Release the vapor. Activate the diffuser for 10 seconds, allowing the aromatic mist to fill the dome. Immediately lift the dome to let the vapor envelop the dessert as the diner takes the first bite.
Tips & Tricks
- Choose food‑grade essential oils to guarantee safety.
- Match the aroma to the dessert’s flavor profile—citrus for berry desserts, rosemary for caramel, etc.
- Test the mist intensity on a small plate first; too strong a scent can overwhelm the palate.
Putting It All Together: A Sample Dessert Menu
Combine the three trends into a cohesive tasting experience:
- Starter: A spoonful of mango spherification placed atop a vanilla‑infused nitro‑frozen mousse.
- Middle: A chocolate ganache sphere that bursts with raspberry coulis when bitten.
- Finish: A light lemon sorbet served under a citrus‑mist dome, releasing a refreshing vapor as the spoon lifts.
By following the step‑by‑step guides above, you’ll create a multi‑sensory dessert journey that aligns with current consumer data and showcases the playful spirit of modern sweet experiments. Remember, the key to success lies in precise measurements, controlled temperatures, and thoughtful pairing of flavors with aromas. Happy experimenting!