Embracing a plant‑forward lifestyle doesn’t mean you have to give up the flavors you love—it simply means letting vegetables, legumes, and whole grains take the spotlight on your plate while still allowing occasional animal‑based proteins. One of the most versatile crops for this approach is kale. Its robust texture, nutrient density, and ability to thrive in a variety of climates make it perfect for home gardeners and a star ingredient in flexitarian meals. Below is a step‑by‑step guide to growing kale successfully, followed by practical tips for turning your harvest into delicious, balanced plates.
Step 1: Choose the Right Kale Variety
Why Variety Matters
There are three main groups to consider:
- Curly kale – classic, easy to find, great for salads and chips.
- Lacinato (Dinosaur) kale – darker leaves, milder flavor; ideal for sautés and soups.
- Red Russian kale – tender leaves with a subtle sweetness; perfect for raw wraps.
Actionable tip: Pick a variety that matches your preferred cooking methods. If you love crispy kale chips, start with curly kale; for a softer sauté, go with Lacinato.
Step 2: Prepare the Soil
Soil pH and Nutrients
Kale thrives in slightly acidic to neutral soil (pH 6.0‑7.0). Before planting, test the soil with a simple kit. Amend as needed:
- Add lime to raise pH if it’s below 6.0.
- Mix in well‑rotted compost or aged manure to boost organic matter.
- Incorporate a balanced fertilizer (10‑10‑10) at a rate of 1 lb per 100 sq ft for a quick nutrient boost.
Actionable tip: Spread a 2‑inch layer of compost, work it into the top 6‑8 inches of soil, and water thoroughly to settle the amendment.
Step 3: Sow Seeds or Transplant Seedlings
Timing and Spacing
For a continuous harvest, sow seeds every 2‑3 weeks:
- Direct‑seed outdoors 2‑4 weeks before the last frost date.
- Space rows 18‑24 inches apart; thin seedlings to 12‑18 inches apart once they have two true leaves.
- If starting indoors, sow seeds 4‑6 weeks before the last frost in biodegradable pots.
Actionable tip: Mark planting dates on a calendar. A staggered schedule ensures you always have fresh kale, reducing waste and keeping meals vibrant.
Step 4: Water and Mulch Wisely
Consistent Moisture Without Overwatering
Kale needs about 1‑1.5 inches of water per week. Use a drip‑irrigation system or a soaker hose to deliver water at the soil level, minimizing leaf wetness (which can invite disease).
Apply a 2‑inch layer of organic mulch (straw, shredded leaves, or wood chips) around the base of each plant. Mulch conserves moisture, suppresses weeds, and slowly adds nutrients as it breaks down.
Actionable tip: Check soil moisture with your finger—if the top inch feels dry, water deeply until water reaches the root zone.
Step 5: Manage Pests and Diseases Naturally
Common Culprits and Simple Controls
Key pests include aphids, cabbage loopers, and flea beetles. Beneficial insects such as ladybugs and lacewings keep them in check.
- Plant marigolds or nasturtiums nearby to deter pests.
- Use a soap spray (1 tsp mild liquid soap per quart of water) for aphids, applying early in the morning.
- Hand‑pick larger caterpillars and drop them into a bucket of soapy water.
For disease prevention, practice crop rotation—avoid planting kale or other brassicas in the same spot for at least three years.
Actionable tip: Inspect leaves weekly. Early detection of yellow spots or holes allows you to intervene before an outbreak spreads.
Step 6: Harvest at the Right Time
When and How to Cut
Kale leaves are most tender when they’re 4‑6 inches long. Start harvesting the outer leaves first, leaving the central bud to keep producing.
- Use clean, sharp scissors or a knife to cut 1‑2 inches above the crown.
- Harvest in the morning after the dew has dried for crisper texture.
- Leave at least 6‑8 leaves on the plant to ensure continued growth.
Actionable tip: Store harvested leaves in a perforated bag in the refrigerator’s crisper drawer. They stay fresh for up to 10 days, giving you a ready supply for meals.
Turning Your Kale Harvest into Flexitarian Plates
Meal‑Planning Basics
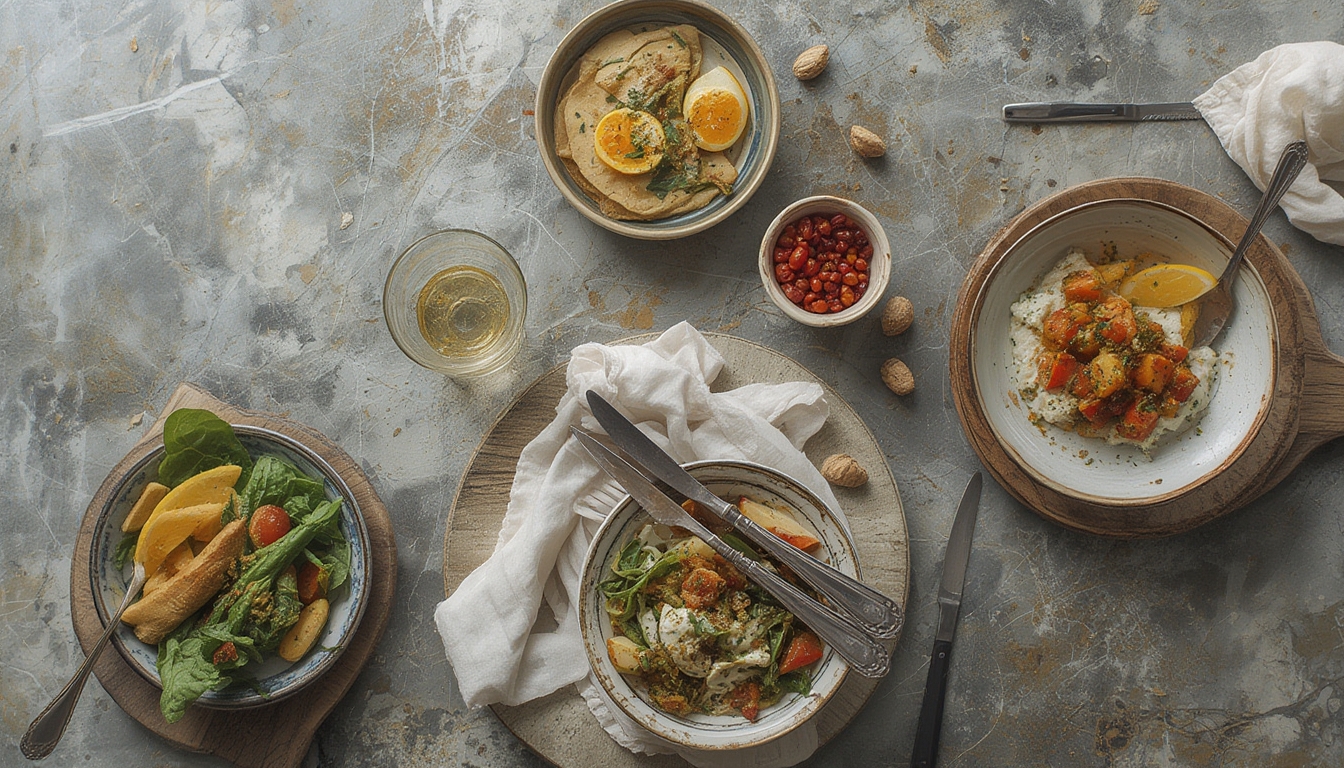
Flexitarian eating emphasizes plant‑centric meals with occasional animal protein. Here’s a quick framework to build balanced plates:
- Base: ½ of the plate – raw or lightly cooked kale (massaged salads, sautéed stems).
- Protein: ¼ of the plate – legumes (chickpeas, lentils), tofu, or a modest portion of fish/poultry.
- Whole Grain: ¼ of the plate – quinoa, farro, or brown rice.
- Flavor Boosters: Add nuts, seeds, citrus zest, or a drizzle of olive‑oil‑based dressing.
Three Easy Flexitarian Recipes
1. Kale‑Lentil Power Bowl
- Steam 1 cup cooked lentils with a pinch of cumin.
- Sauté 2 cups chopped kale in 1 tbsp olive oil until wilted; finish with a splash of lemon juice.
- Combine lentils, kale, and ½ cup cooked quinoa; top with toasted pumpkin seeds and a dollop of Greek yogurt.
2. Crispy Kale & Chickpea Tacos
- Roast 1 can chickpeas tossed in smoked paprika and a drizzle of oil at 400°F for 20 minutes.
- Massage kale leaves with 1 tsp tahini, 1 tsp apple cider vinegar, and a pinch of salt.
- Serve in corn tortillas, adding roasted chickpeas, avocado slices, and salsa verde.
3. Kale‑Pesto Pasta with Grilled Chicken
- Blend 2 cups kale, ¼ cup walnuts, 2 tbsp Parmesan, 1 clove garlic, and ¼ cup olive oil into a smooth pesto.
- Cook whole‑wheat spaghetti; toss with pesto and a splash of pasta water.
- Top with sliced grilled chicken breast and a sprinkle of lemon zest.
Maintaining Momentum: Small Daily Actions
Make Plant‑Forward Living Habitual
Consistency is key. Incorporate these micro‑habits into your routine:
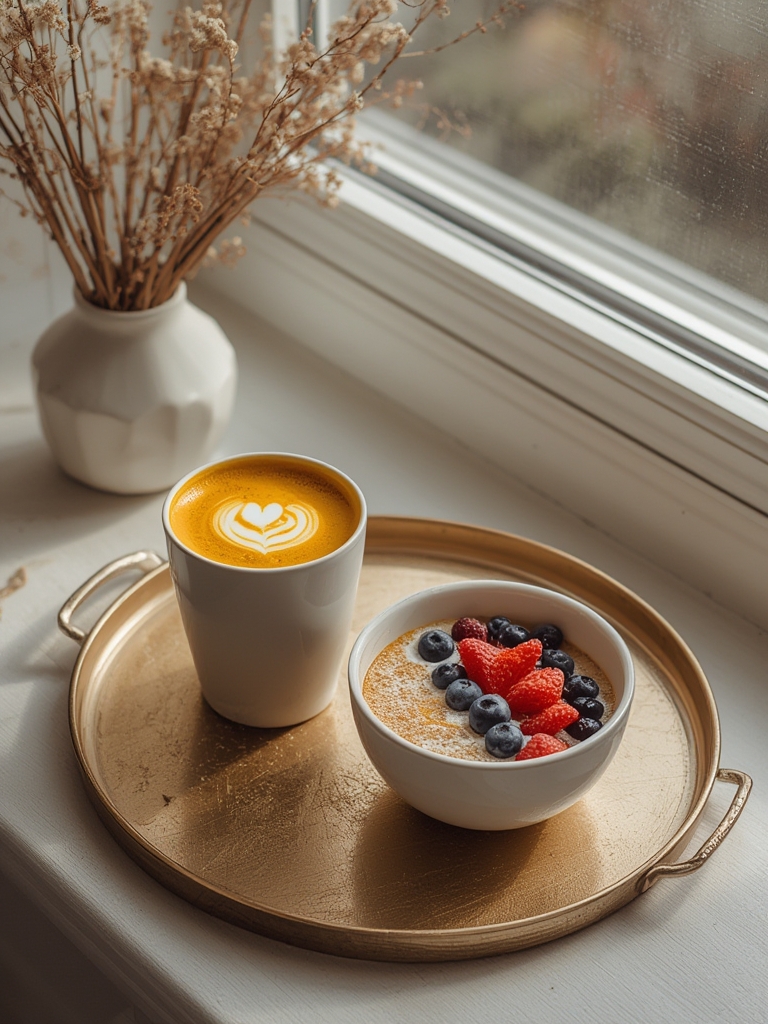
- Morning prep: While your coffee brews, wash a handful of kale and toss it with olive oil and salt—ready for a quick sauté.
- Snack swap: Replace chips with kale chips (bake torn leaves at 350°F for 10‑12 minutes, lightly salted).
- Batch cooking: Cook a large pot of quinoa or brown rice on Sunday; portion into containers for the week.
These tiny steps keep your kitchen stocked with fresh, nutrient‑dense ingredients and make flexitarian meals feel effortless.
Conclusion: From Garden to Table
Growing kale at home gives you control over quality, flavor, and timing—essential ingredients for a thriving plant‑forward, flexitarian lifestyle. By following the soil‑prep, planting, watering, pest‑management, and harvesting steps outlined above, you’ll enjoy a steady supply of vibrant greens. Pair that bounty with simple protein and grain combos, and you’ll have balanced plates that satisfy both palate and nutrition goals. Start small, stay consistent, and watch your garden—and your meals—flourish.