Modern desserts are no longer just about sugar and butter; they blend science, art, and culinary tradition to create unforgettable experiences. By embracing techniques like spherification, flash freezing, and flavor encapsulation, home bakers can push the boundaries of sweetness while keeping the process approachable. Below is a data‑driven, step‑by‑step guide to three popular sweet experiments that will elevate your dessert repertoire and impress any palate.
1. Molecular Fruit Caviar – Tiny Pearls of Intense Flavor
Fruit caviar uses the spherification method popularized by molecular gastronomy. The result is a burst of fresh fruit juice encased in a delicate gel membrane, perfect for topping mousse, panna cotta, or cocktail glasses.
Ingredients (makes ~150 pearls)
- 200 ml fruit puree (e.g., raspberry, mango, or passion fruit)
- 2 g sodium alginate
- 500 ml distilled water
- 5 g calcium lactate
- Pinch of fine sea salt (optional, to balance sweetness)
Equipment
- Immersion blender
- Two small bowls
- Syringe or squeeze bottle with a fine tip
- Digital kitchen scale
- Fine mesh strainer
Step‑by‑Step Process
- Prepare the alginate bath. Dissolve 2 g sodium alginate in 500 ml distilled water using an immersion blender. Blend for 2‑3 minutes until the solution is smooth, then let it rest for 15 minutes to eliminate air bubbles.
- Make the calcium bath. Dissolve 5 g calcium lactate in 250 ml distilled water. Stir until fully dissolved; no heating is required.
- Blend the fruit puree. Puree the fruit and strain through a fine mesh to remove seeds or pulp. Add a pinch of sea salt to enhance flavor complexity.
- Form the pearls. Fill a syringe with the fruit puree. Gently release droplets (about 1 ml each) into the alginate bath. The droplets will instantly form a gel membrane while the interior stays liquid.
- Rinse and store. After 30 seconds, use a slotted spoon to transfer the pearls into a clean bowl of water, then rinse briefly in fresh water. Pat dry on a paper towel and keep them chilled until serving.
Practical Tips
- Use a low‑viscosity fruit puree for uniform pearls; thicker purées can clog the syringe.
- Temperature matters: keep both baths at room temperature (20‑22 °C) for consistent gel formation.
- Experiment with layering flavors—add a drop of citrus zest to the calcium bath for a subtle aromatic twist.
2. Nitro Ice Cream – Ultra‑Smooth, Flash‑Frozen Delight
Liquid nitrogen freezes ice cream in seconds, creating ultra‑fine crystals and a dramatic, smoky presentation. This method eliminates the need for an ice‑cream maker while delivering a silky texture.
Ingredients (serves 4)
- 250 ml heavy cream
- 250 ml whole milk
- 100 g granulated sugar
- 4 large egg yolks
- 1 tsp vanilla extract
- Liquid nitrogen (≈ 1 kg, food‑grade)
Equipment
- Stainless steel mixing bowl (large enough for rapid stirring)
- Whisk
- Thermometer
- Protective gloves and goggles (mandatory for handling nitrogen)
- Wooden spoon or silicone spatula
Step‑by‑Step Process
- Make the custard base. Whisk together egg yolks and sugar until pale and thick. In a saucepan, heat cream and milk to 85 °C, then slowly pour the hot liquid into the yolk mixture while whisking constantly.
- Cook the custard. Return the mixture to the saucepan and cook over low heat, stirring, until it reaches 82 °C (the point where it coats the back of a spoon). Remove from heat and stir in vanilla.
- Cool quickly. Transfer the custard to a shallow metal pan and place it in an ice‑water bath for 5 minutes, stirring occasionally.
- Freeze with nitrogen. Wearing gloves and goggles, slowly pour a thin stream of liquid nitrogen into the custard while continuously stirring with a wooden spoon. The mixture will freeze instantly; continue stirring until a smooth, scoopable texture forms (about 2‑3 minutes).
- Serve immediately. Scoop the nitro ice cream into chilled bowls. The residual nitrogen will evaporate, leaving a light mist—add fresh berries or a drizzle of caramel for contrast.
Practical Tips
- Never add liquid nitrogen directly to the face; always pour it away from the body.
- Stir constantly to prevent icy chunks and ensure uniform crystal size.
- If the mixture becomes too hard, add a splash of cold milk and continue stirring to regain creaminess.
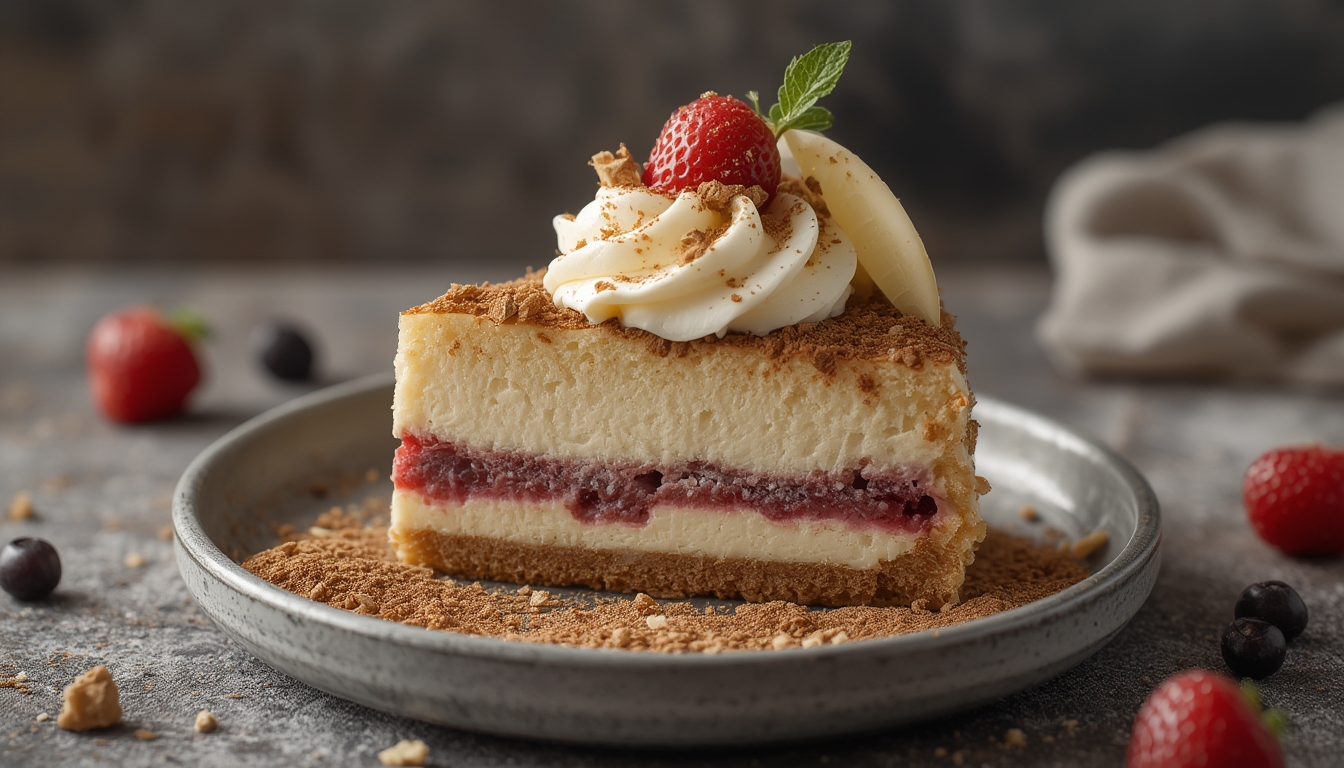
3. Deconstructed Cheesecake – Textural Play with Classic Flavors
Deconstruction separates each component of a traditional cheesecake, allowing diners to experience the flavors in a new order. This approach highlights the buttery crust, tangy cream cheese, and sweet fruit coulis as distinct yet harmonious elements.
Components & Ingredients
- Crust crumble: 100 g graham crackers, 30 g melted butter, pinch of sea salt.
- Cheesecake mousse: 200 g cream cheese, 50 ml heavy cream, 30 g powdered sugar, 1 tsp lemon zest.
- Fruit coulis: 150 g fresh berries, 20 g sugar, 1 tsp lemon juice.
- Optional garnish: toasted almond slivers, micro mint leaves.
Step‑by‑Step Process
- Prepare the crust crumble. Pulse graham crackers in a food processor until fine. Mix with melted butter and a pinch of salt. Spread on a parchment sheet and bake at 160 °C for 8 minutes. Let cool, then break into irregular crumbs.
- Make the mousse. Beat cream cheese until smooth. In a separate bowl, whip heavy cream to soft peaks, then fold into the cream cheese with powdered sugar and lemon zest. Chill for 15 minutes.
- Cook the coulis. Combine berries, sugar, and lemon juice in a saucepan. Simmer over low heat for 5 minutes, then blend smooth and strain to remove seeds.
- Plate the deconstruction. In a shallow bowl, arrange a spoonful of crust crumble, a dollop of mousse, and a drizzle of coulis. Finish with toasted almond slivers and a micro mint leaf for aroma.
Practical Tips
- For a gluten‑free version, substitute graham crackers with almond flour and a bit more butter.
- Keep the mousse chilled until plating; a warm mousse loses its airy texture.
- Adjust the coulis thickness by adding a teaspoon of water if it becomes too thick after straining.
Putting It All Together – A Sweet Experiment Night
Design a tasting menu that moves from the bright burst of fruit caviar, through the dramatic chill of nitro ice cream, to the layered comfort of deconstructed cheesecake. Serve each dessert on its own plate, allowing guests to focus on the individual technique. Capture the experience with a short video or series of photos; the visual impact of nitrogen vapor and glistening fruit pearls adds shareable content for social platforms.
By following these data‑backed steps and incorporating the practical tips provided, you’ll not only master modern dessert techniques but also develop the confidence to experiment further—whether that means swapping flavors, adjusting textures, or inventing entirely new sweet concepts. Happy experimenting!