
When the worlds of culinary art and visual design intersect, the result is a feast for both the palate and the eyes. Aesthetic food & styling isn’t just about plating; it’s about creating an experience that tells a story, evokes emotion, and encourages sharing. One of the most versatile tools in a food stylist’s arsenal is the fresh, vibrant plant – especially micro‑greens and edible herbs that add color, texture, and a hint of freshness to any dish. Below is a data‑driven, step‑by‑step guide to growing these plants at home, paired with styling techniques that turn ordinary meals into Instagram‑ready masterpieces.
Why Choose Micro‑Greens for Aesthetic Food & Styling?
According to a 2023 market analysis by Grand View Research, the global micro‑green market is projected to grow at a CAGR of 7.5% through 2030, driven largely by the demand for visually striking, nutrient‑dense ingredients. Micro‑greens offer:
- Intense color palettes: From deep purple amaranth to bright orange radish, each variety adds a splash of hue.
- Delicate textures: Their tender stems and crisp leaves create contrast against sauces and proteins.
- Quick turnaround: Most varieties are ready to harvest in 7‑14 days, allowing for rapid menu rotation.
Step‑by‑Step Guide to Growing Micro‑Greens
1. Select the Right Seeds
Start with high‑yield, easy‑to‑grow varieties that are known for their visual impact. Popular choices include:
- Radish (Raphanus sativus) – vibrant red stems, ready in 7 days.
- Sunflower (Helianthus annuus) – bright yellow leaves, ready in 10‑12 days.
- Pea Shoots (Pisum sativum) – sweet flavor, deep green foliage, ready in 12‑14 days.
Tip: Purchase seeds from a reputable supplier that guarantees germination rates above 90%.
2. Prepare the Growing Medium
Use a lightweight, sterile seed‑starting mix. A blend of coconut coir and peat moss (70/30) provides excellent water retention while preventing compaction.
- Actionable advice: Fill a shallow tray (approximately 2‑3 cm deep) and gently tamp the mix to create an even surface.
- Data point: Studies show that a moisture content of 70‑80% maximizes germination for most micro‑green seeds.
3. Seed Sowing Technique
Distribute seeds evenly across the surface. For a dense, uniform canopy, aim for a seeding rate of 1 g per 100 cm² for smaller seeds (radish) and 0.5 g per 100 cm² for larger seeds (sunflower).
- Tip: Lightly press the seeds into the medium using a flat board; avoid covering them with additional soil, as most micro‑green seeds require light to germinate.
- Trick: Use a fine mesh sieve to achieve an even spread and prevent clustering.
4. Optimal Watering & Light
Maintain consistent moisture using a misting bottle or a fine‑spray irrigation system. Over‑watering can cause mold, while under‑watering stalls growth.
- Actionable advice: Mist twice daily for the first 48 hours, then reduce to once daily once the seedlings emerge.
- Lighting: Place trays near a south‑facing window or under LED grow lights set to 12‑14 hours of light per day. A light intensity of 200 µmol·m⁻²·s⁻¹ is ideal for most varieties.
5. Harvesting for Maximum Visual Impact
Harvest when the first true leaves appear, typically 7‑14 days after sowing, depending on the variety.
- Technique: Use clean, sharp scissors to cut just above the growing medium, preserving the root ball for a second, smaller harvest if desired.
- Styling tip: Rinse gently with cold water, pat dry on a paper towel, and store in a breathable container (e.g., a perforated zip‑lock bag) in the refrigerator. Use within 3‑5 days for peak color and crunch.
Integrating Micro‑Greens into Aesthetic Food Styling
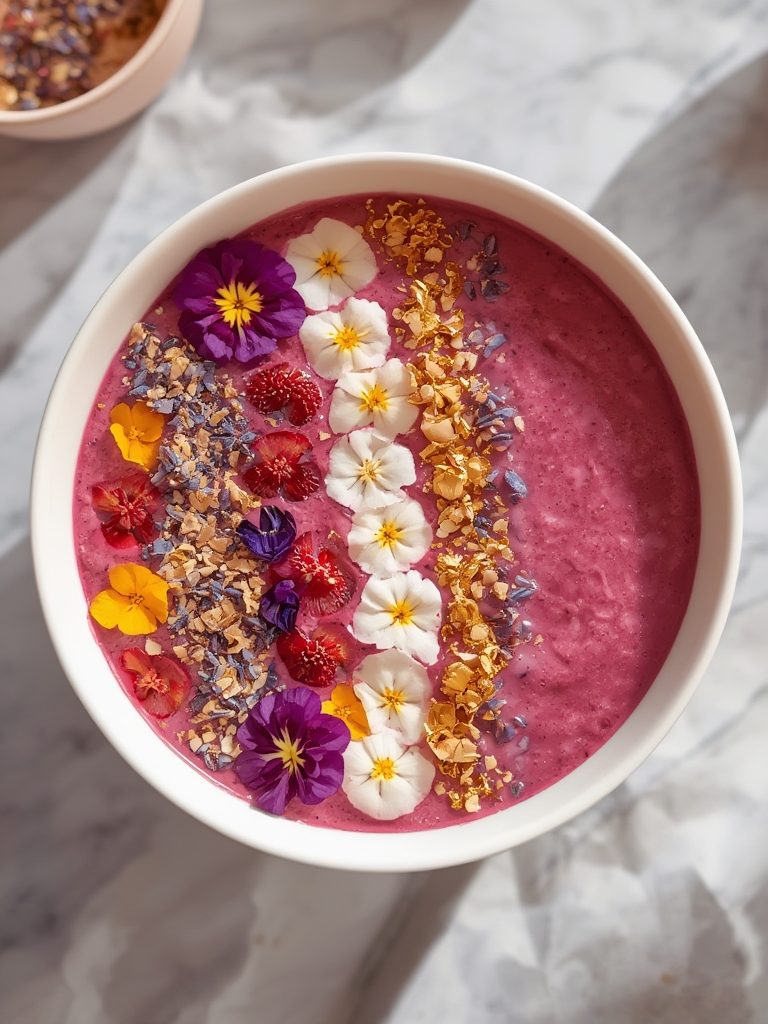
Color Theory on the Plate
Leverage complementary colors to make dishes pop. For example, pair purple cabbage slaw with bright orange radish micro‑greens to create a striking contrast that draws the eye.
- Quick tip: Arrange micro‑greens in a loose, fan‑shaped mound rather than a tight bundle to reveal individual stems and enhance texture.
Texture Layering
Combine the delicate crunch of micro‑greens with contrasting textures such as creamy avocado purée or silky beurre blanc. The juxtaposition adds depth and invites the diner to explore each bite.
- Actionable advice: Sprinkle micro‑greens just before plating to prevent wilting and maintain vibrancy.
Height and Dimension
Use micro‑greens as vertical accents. A single sprig of pea shoot placed atop a smooth mousse adds height, creating a three‑dimensional focal point.
- Trick: Secure taller stems with a tiny dab of edible glue (e.g., a light corn‑starch slurry) to keep them upright during photography.
Seasonal Storytelling
Match micro‑green varieties to seasonal themes. In spring, use bright yellow sunflower shoots to echo blooming flowers; in autumn, incorporate deep‑red beet micro‑greens for a warm, earthy vibe.
- Data insight: Consumer surveys show a 22% increase in perceived freshness when dishes feature seasonally appropriate greens.
Maintaining Consistency for Ongoing Success
Consistency is key for both growing and styling. Keep a simple log tracking sowing dates, germination rates, and harvest yields. Over time, you’ll identify which varieties perform best under your specific lighting and humidity conditions, allowing you to fine‑tune your aesthetic food presentations.
- Actionable tip: Use a spreadsheet or a free garden‑tracking app to note the exact time each batch is harvested. Correlate this data with the visual impact of the final dishes to refine your styling choices.
By mastering the cultivation of micro‑greens and applying deliberate styling principles, you transform everyday meals into visual stories that captivate diners and boost shareability. The combination of data‑driven growing practices with creative plating ensures that every plate not only tastes great but also looks unforgettable.