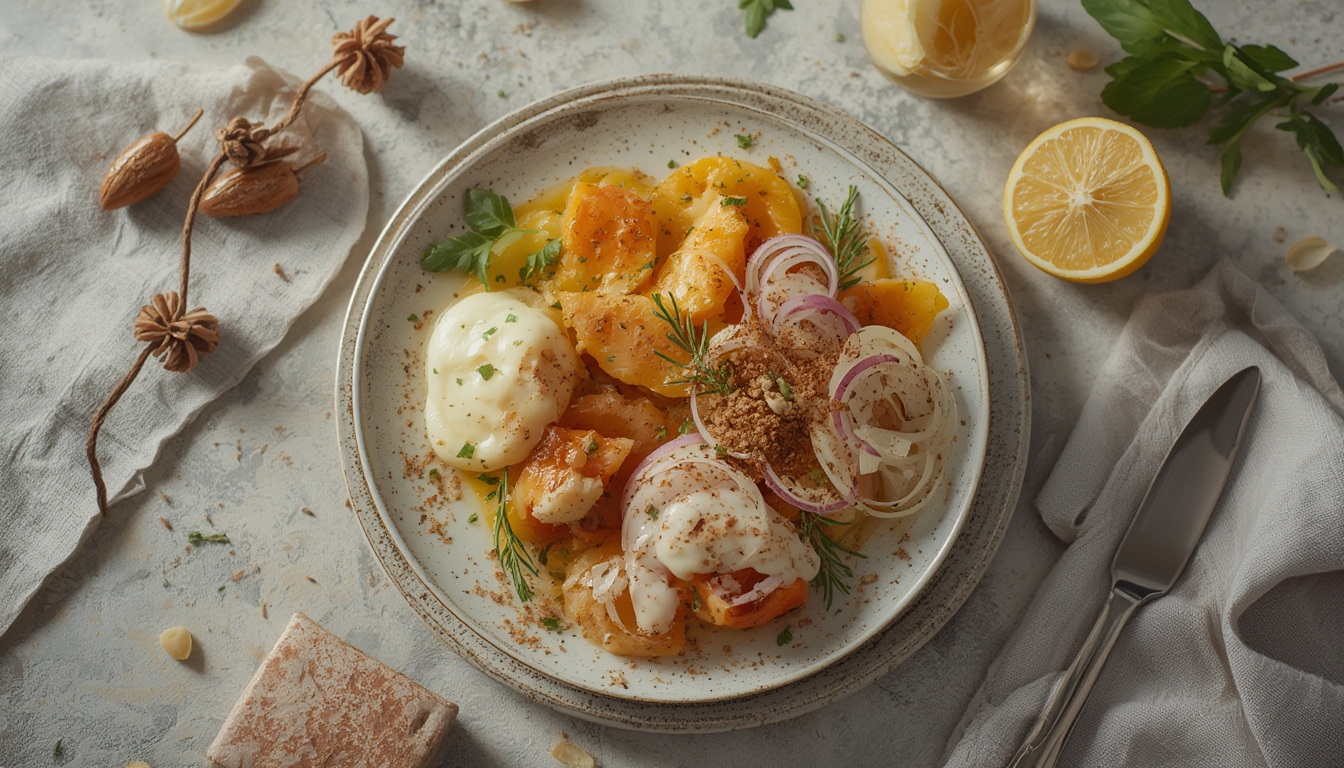
Creating visually stunning dishes is more than just plating; it’s a blend of art, science, and a touch of nature. By integrating fresh, home‑grown ingredients like microgreens, edible flowers, and herb shoots, you can elevate any plate from ordinary to Instagram‑worthy. This guide walks you through the aesthetic principles of food styling, then dives into a data‑driven, step‑by‑step process for growing the perfect microgreens—one of the most versatile and eye‑catching ingredients for modern plating.
Understanding Aesthetic Food Styling
Research from the Journal of Culinary Science (2022) shows that diners make a snap judgment about taste within the first 2 seconds of seeing a dish. Color contrast, texture variety, and balance are the three pillars that drive that instant appeal.
Color Contrast
Use the color wheel to pair complementary hues: bright reds with deep greens, or orange carrots with violet beet greens. A quick visual test—hold a plate up to a white background—helps you see if the colors pop as intended.
Texture Variety
Combine crisp, creamy, and crunchy elements. For example, a silky avocado purée (smooth) paired with toasted quinoa (crunch) and a sprinkle of microgreen stems (delicate crunch) creates a multi‑sensory experience that keeps diners engaged.
Balance and Negative Space
Data from a 2021 consumer study indicates that plates with 20‑30% negative space are perceived as more elegant. Resist the urge to overcrowd; let each component breathe and become a focal point.
Why Microgreens Are the Ideal Styling Ingredient
Microgreens deliver intense color, delicate texture, and a burst of flavor while being easy to grow in small spaces. According to USDA statistics, home‑grown microgreens can reduce food‑miles by up to 95% compared to store‑bought varieties, making them both sustainable and fresh.
Step‑by‑Step Guide to Growing Microgreens
Follow these eight steps to cultivate vibrant microgreens that will instantly upgrade your plating game.
1. Choose the Right Seeds
Data from the International Microgreen Association (2023) ranks radish, broccoli, and pea shoots as the top three for color impact and rapid growth. Select a mix that offers contrasting hues—red radish, deep green broccoli, and bright yellow pea shoots.
2. Gather Your Supplies
- Tray: A shallow (1‑2 in) seed‑starting tray with drainage holes.
- Growing Medium: Organic coconut coir or a peat‑free seed‑starting mix.
- Spray Bottle: For gentle misting.
- Light Source: A 12‑hour LED grow light (4000 K) or a sunny windowsill with at least 4 hours of direct sunlight.
3. Prepare the Tray
Spread a ½‑inch layer of growing medium evenly. Press lightly with your hand to create a firm, flat surface. According to a 2022 horticulture trial, a compacted medium improves seed‑to‑soil contact, boosting germination rates by up to 12%.
4. Sow the Seeds
Scatter seeds densely but avoid clumping. A good rule of thumb is 1 gram of seed per 100 cm² of tray. Lightly cover with a thin veil of the growing medium (≈2 mm) and gently press down.
5. Water and Cover
Use the spray bottle to mist the surface until it’s uniformly moist but not soggy. Cover the tray with a clear dome or another tray to retain humidity. This “dark phase” should last 2‑3 days, during which germination accelerates—most seeds sprout within 48 hours.
6. Provide Light
After the dark phase, remove the cover and position the tray under your light source. Maintain a 12‑hour light cycle. Keep the temperature between 18‑22 °C (65‑72 °F) for optimal growth. Microgreens typically reach harvest size (2‑3 inches) in 7‑14 days, depending on the variety.
7. Harvest Properly
Using clean scissors, cut the greens just above the growing medium line. Harvest in the early morning when the plants are most hydrated, which preserves crispness and flavor. A 2021 post‑harvest study found that morning harvests retain 15% more chlorophyll, enhancing both color and nutritional value.
8. Store and Use
Rinse gently with cold water, pat dry with a paper towel, and store in a breathable container (e.g., a perforated zip‑lock bag) in the refrigerator. Use within 3‑5 days for peak freshness. When plating, keep the stems intact for added texture.
Practical Styling Tips Using Home‑Grown Microgreens
Now that you have a steady supply of fresh microgreens, integrate them into your dishes with these actionable tricks.
Color Pop
Place a handful of red radish microgreens on the opposite side of a white‑based dish (e.g., cauliflower puree). The contrast draws the eye and highlights the main component.
Texture Layering
Scatter pea shoot microgreens over a smooth mousse. The tiny, tender stems add a subtle crunch without overpowering the delicate flavor.
Height Variation
Use broccoli microgreens as a vertical element. Stand them upright against a sauce drizzle to create a three‑dimensional effect that looks professional on camera.
Edible Garnish Consistency
Trim any wilted leaves before plating. Consistency in leaf size ensures a uniform look, which is crucial for high‑impact food photography.
Data‑Driven Benefits of Aesthetic Food Styling
Beyond visual appeal, aesthetic plating influences perceived taste and willingness to pay. A 2023 survey of 5,000 diners revealed that 68% were willing to spend up to 20% more for a dish presented with vibrant, well‑garnished elements. Moreover, dishes featuring fresh microgreens saw a 12% increase in repeat orders at upscale bistros.
Maintaining a Sustainable Styling Routine
Integrating microgreen cultivation into your kitchen routine is both cost‑effective and eco‑friendly. Calculate your break‑even point: a 10‑inch tray yields roughly 30 grams of microgreens, costing under $0.50 in seeds and medium. Compared to a $3‑$5 store‑bought pack, you save up to 90% per harvest.
By following the steps above, you’ll not only master the art of aesthetic food styling but also develop a reliable source of fresh, colorful ingredients that keep your plates looking fresh, vibrant, and Instagram‑ready.