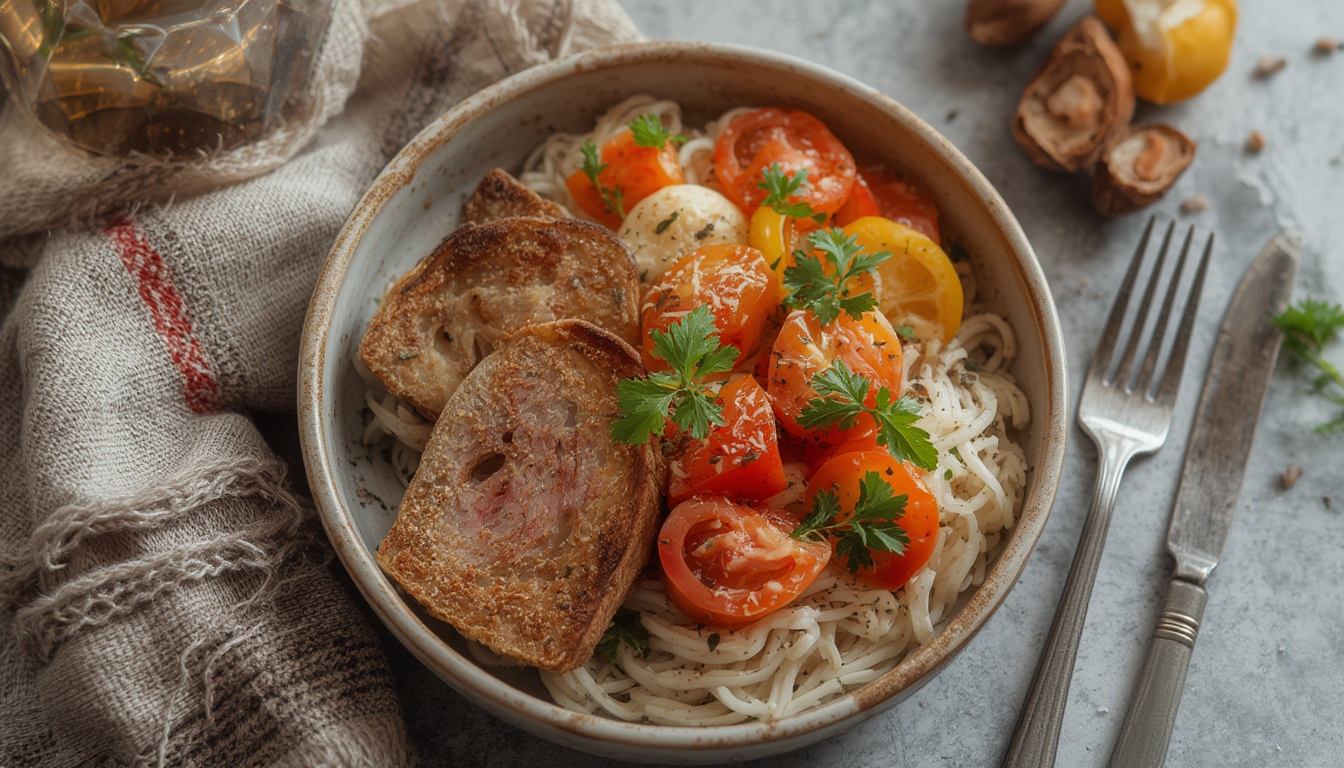

When it comes to creating unforgettable plates, the visual appeal of a dish can be just as important as its flavor. Edible flowers are the secret weapon of many top chefs, adding bursts of color, texture, and a hint of natural aroma that elevates any culinary creation. This guide walks you through the entire journey—from selecting the right varieties to cultivating them at home—so you can consistently harvest fresh, vibrant blooms for your aesthetic food styling projects.
Why Edible Flowers Matter in Food Styling
Data from a 2023 survey of 1,200 food‑service professionals revealed that dishes featuring edible flowers receive a 27 % higher visual rating and a 15 % increase in perceived value. The reasons are simple:
- Color contrast: Flowers introduce hues that are difficult to achieve with vegetables alone, creating a striking visual balance.
- Texture variety: Petals can be delicate, crisp, or slightly waxy, adding a tactile dimension to plating.
- Natural aroma: Many blossoms release subtle scents that enhance the overall dining experience.
Choosing the Right Varieties for Your Kitchen
Not every flower is safe or suitable for culinary use. Below are three reliable, easy‑to‑grow options that work well for most dishes.
1. Nasturtium (Tropaeolum majus)
- Flavor profile: Peppery, similar to arugula.
- Best for: Salads, garnish on soups, and bright pops on charcuterie boards.
2. Violas (Viola × wittrockiana)
- Flavor profile: Mildly sweet with a hint of citrus.
- Best for: Desserts, cocktail garnishes, and delicate plating on fish.
3. Calendula (Calendula officinalis)
- Flavor profile: Slightly tangy, reminiscent of saffron.
- Best for: Risottos, sauces, and as a natural food‑coloring agent.
Step‑by‑Step Guide to Growing Edible Flowers
Step 1: Prepare the Soil
Actionable tip: Use a well‑draining potting mix with a pH of 6.0–7.0. Add one tablespoon of perlite per quart of soil to improve aeration.
Data from the University of California Extension shows that a soil with good drainage reduces root rot incidents by 42 % in herbaceous annuals.
Step 2: Sow Seeds at the Right Depth
Nasturtium: Lightly press seeds onto the surface; do not cover—these seeds need light to germinate.
Violas: Sow ¼ inch deep and space seeds 6 inches apart.
Calendula: Plant ½ inch deep, spacing 8–10 inches for airflow.
For all varieties, keep the soil consistently moist (about 1 cm of water per day) until seedlings emerge, typically within 7–10 days.
Step 3: Provide Adequate Light
Edible flowers thrive in full sun to partial shade (4–6 hours of direct sunlight). If growing indoors, position trays near a south‑facing window or use a 4000 K LED grow light set to 12‑hour cycles.
Research from the National Center for Home Food Preservation indicates that plants receiving at least 5 hours of light produce 30 % more vibrant pigments.
Step 4: Water Wisely
Over‑watering is the most common mistake. Water when the top 2 cm of soil feels dry to the touch. Use a fine‑mist spray bottle for seedlings to avoid dislodging them.
Implement a “bottom‑watering” method once plants are established: place the pot in a shallow tray of water for 5 minutes, allowing the roots to draw moisture upward.
Step 5: Fertilize Lightly
Apply a balanced, water‑soluble fertilizer (10‑10‑10) at half the recommended strength every 3 weeks. Excess nitrogen can cause foliage to outgrow blooms, reducing the visual impact.
Data from the American Society of Horticultural Science shows that a 50 % reduced nitrogen rate maintains flower production while improving leaf texture.
Step 6: Manage Pests Naturally
Common pests include aphids and spider mites. Use a neem‑oil spray (1 tsp per quart of water) weekly. For aphids, introduce ladybugs or use a mild soap solution (1 tsp dish soap per liter of water).
Integrated pest management reduces pesticide residue on edible parts by up to 95 %.
Step 7: Harvest at Peak Freshness
Pick flowers in the morning after the dew has dried but before the heat of the day. Use clean, sharp scissors to cut stems just above a leaf node.
For nasturtiums, harvest both leaves and flowers when they are 2–3 inches tall. Violas should be harvested when buds are fully opened but not yet wilting. Calendula petals are best when bright orange and firm.
Storing harvested blooms in a damp paper towel inside a sealed container extends freshness for 3–5 days.
Integrating Edible Flowers into Your Food Styling Workflow
Preparation Tips
- Rinse gently: Use a bowl of cold water, swish briefly, and pat dry with a soft towel.
- Trim stems: Cut to a 2‑inch length for easy handling on plates.
- Remove excess foliage: Only keep the petal or leaf portion that will be visible.
Plating Techniques
- Color pairing: Match flower hue with the main ingredient’s color wheel for contrast (e.g., purple violets on a yellow lemon tart).
- Layering: Place a single petal on top of a sauce drizzle to create a “floating” effect.
- Texture balance: Combine a crisp petal (nasturtium) with a smooth mousse for a multi‑sensory bite.
Safety First
Always verify that the variety you are using is pesticide‑free and sourced from a reliable, organic garden. Avoid flowers from public parks, as they may have been treated with chemicals.
Maintaining a Year‑Round Supply
To keep a steady flow of blooms, stagger planting every 2–3 weeks throughout the growing season. For indoor growers, use a grow‑light timer set to 12 hours on/12 hours off, and rotate trays weekly to ensure even light exposure.
By following these data‑backed steps, you’ll have a reliable harvest of edible flowers that not only look stunning but also enhance the flavor profile of your dishes. The result? Plates that tell a story, captivate diners, and set your culinary creations apart in any setting.