
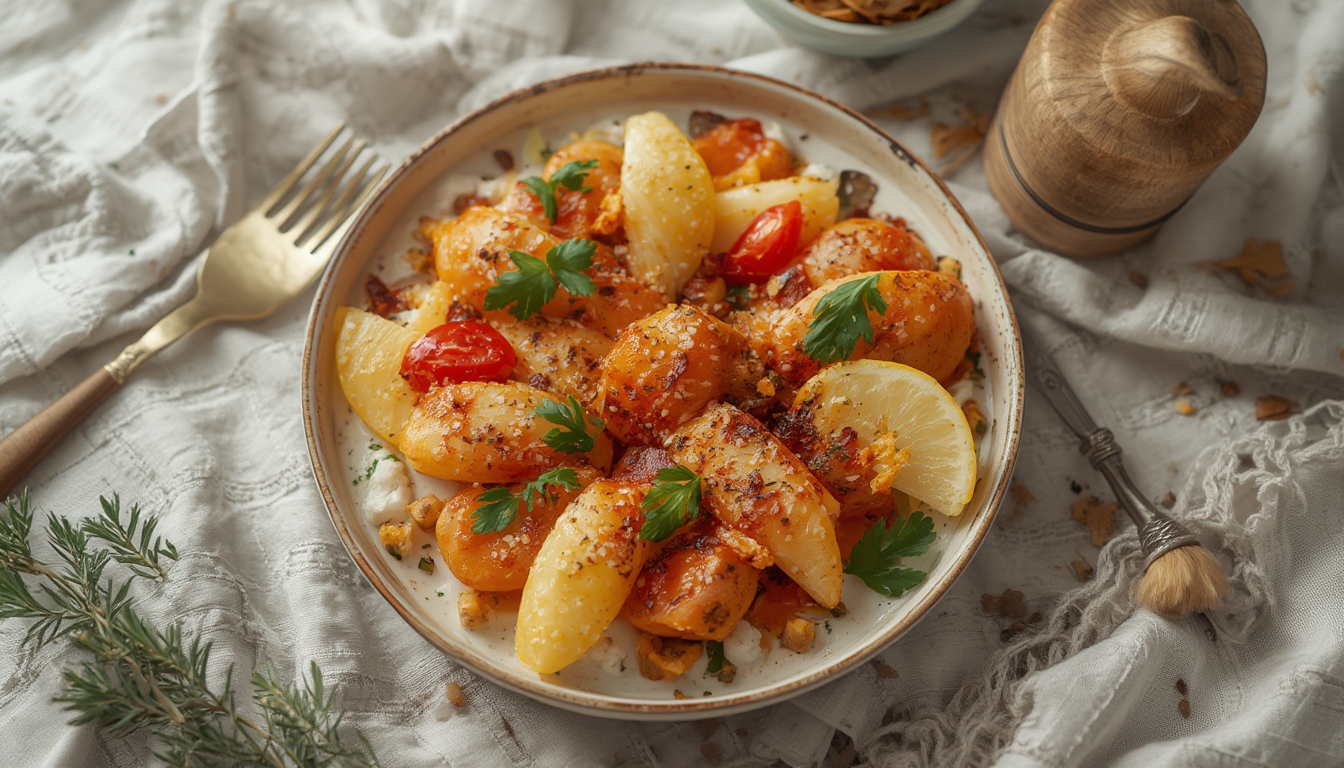
Creating picture‑perfect plates isn’t just about cooking skills; it’s also about the living canvas you place on the dish. Growing your own edible greens, micro‑herbs, and flowers gives you fresh, vibrant colors and textures that elevate any culinary presentation. Below is a data‑driven, step‑by‑step guide to cultivating the ideal plant for aesthetic food styling, complete with practical tips you can apply right away.
Why Grow Your Own Styling Plants?
Studies show that diners perceive dishes with fresh, colorful garnishes as higher‑quality and more flavorful. Home‑grown microgreens and edible flowers not only provide that visual pop but also guarantee pesticide‑free, nutrient‑dense ingredients. By controlling the growth environment, you can time harvests to match seasonal menus, reduce waste, and keep your plating consistently stunning.
Choosing the Right Plant for Visual Impact
When selecting a plant, consider three key data points: color contrast, leaf texture, and growth speed. The following varieties score high across the board:
- Red Amaranth Microgreens – vivid magenta leaves that contrast beautifully with white plates.
- Rainbow Swiss Chard – stems in pink, orange, and yellow for bold, layered looks.
- Edible Nasturtium – peppery leaves and bright orange flowers that add both flavor and flair.
- Micro Basil – deep green, aromatic leaves that complement Mediterranean dishes.
Pick one or combine several to create a palette that matches your culinary style.
Step‑by‑Step Growing Guide
Step 1: Selecting High‑Quality Seeds
Source seeds from reputable suppliers that provide germination rates above 90 %. For aesthetic consistency, choose organic, non‑GMO varieties. Store seeds in a cool, dark place (4‑8 °C) in an airtight container to preserve viability for up to a year.
Tip: Label each seed packet with the expected harvest date; this helps you plan plating schedules.
Step 2: Preparing the Growing Medium
Use a lightweight, sterile seed‑starting mix with a pH of 6.0–6.5. A 1:1 blend of coconut coir and peat moss offers excellent water retention while staying airy enough for root development. Fill shallow trays (2–3 cm deep) to a uniform level, then lightly tamp the surface.
Tip: Sprinkle a thin layer of perlite on top to improve airflow and prevent mold during the humid germination phase.
Step 3: Sowing and Germination
Scatter seeds evenly across the surface; for microgreens, a density of 10–12 g per square foot yields a full, lush canopy. Gently press seeds into the medium using a board or the back of a spoon—no covering is needed for most micro‑seeds, but a light mist of water helps them adhere.
Cover the tray with a clear dome or plastic wrap to maintain humidity (≈90 %). Place the tray in a warm spot (20‑22 °C) and keep the medium moist but not soggy. Germination typically occurs within 2–5 days, depending on the variety.
Tip: Use a spray bottle with a fine mist to water; over‑watering can drown delicate seedlings.
Step 4: Light and Water Management
Once sprouts emerge, remove the cover and move the tray to a bright location receiving 12–16 hours of indirect sunlight or a 4000 lux LED grow light. Light intensity directly influences leaf color intensity—stronger light deepens reds and purples, while softer light preserves delicate whites.
Water from the bottom by placing trays in a shallow tray of water for 5–10 minutes, then let excess drain. This method prevents water spots on leaves, which can detract from a polished presentation.
Tip: Rotate trays every 2 days to ensure even light exposure and uniform growth.
Step 5: Harvesting for Maximum Visual Impact
Microgreens are ready to cut when the first true leaves appear, usually 7–14 days after sowing. Use clean, sharp scissors to snip just above the growing medium. For edible flowers, harvest when buds are fully opened but before they start to wilt—this typically occurs 3–4 weeks after sowing.
Rinse gently with cool water and pat dry with a paper towel. Store harvested greens in a breathable container (e.g., a perforated bag) in the refrigerator for up to 5 days. Flowers last slightly longer when kept in a glass of water at room temperature.
Tip: Harvest in the morning when moisture content is highest; this keeps leaves crisp for plating.
Step 6: Maintaining Plant Health for Ongoing Crops
After the first harvest, you can often get a second cut from the same tray by allowing the plants to regrow. Keep the medium moist and continue providing 12–16 hours of light. If growth slows, refresh the medium or start a new tray to maintain a steady supply.
Monitor for common issues: yellowing leaves may indicate over‑watering, while leggy stems suggest insufficient light. Adjust accordingly to keep the plants vibrant.
Tip: Keep a simple log of watering dates, light hours, and harvest yields. Over time, you’ll identify the exact conditions that produce the most striking colors for your dishes.
Styling Tips: Turning Fresh Harvests into Instagram‑Ready Plates
Now that you have a reliable source of edible greens and flowers, here are quick, actionable styling tricks:
- Layer Textures: Pair crisp microgreens with soft mousse or creamy sauces to create contrast.
- Color Blocking: Use a single‑color garnish (e.g., red amaranth) against a neutral base for a bold statement.
- Edible Brush Strokes: Lightly dip a micro‑herb in a flavored oil and brush across the plate for an artistic line.
- Vertical Height: Stack a few stems of nasturtium or Swiss chard to add dimension without overcrowding.
Conclusion
Growing your own aesthetic food styling plants empowers you to control both flavor and visual appeal, turning every plate into a work of art. By following the data‑backed steps above—selecting high‑germination seeds, preparing an optimal medium, managing light and water, and harvesting at peak vibrancy—you’ll consistently produce fresh, eye‑catching ingredients. Pair these home‑grown greens and flowers with thoughtful plating techniques, and you’ll have a recipe for culinary success that looks as good as it tastes.
